> ## Documentation Index
> Fetch the complete documentation index at: https://docs.beam.ai/llms.txt
> Use this file to discover all available pages before exploring further.
# Workspace Setup
> Create or join a workspace to start collaborating with your team on AI agent automation
Your Beam workspace is where your team collaborates on AI agent automation. Whether you're creating a new workspace or joining an existing one, setup takes just minutes.
Navigate your workspace
The workspace home shows your agents and a chat composer for asking Beam to perform tasks or brainstorm. Use the workspace navigation to open **Skills**, **Projects**, **Inbox**, **Tasks**, **Agent templates**, **Integrations**, and **Views**.
Understanding Workspaces
A workspace is your team's dedicated environment for building and managing AI agents. Each workspace keeps your team's agents, tasks, and integrations completely separate from other organizations using Beam.
**What's Included**:
* Team member access and permissions
* Shared agents and workflows
* Integration connections
* Task execution history
* Workspace-level settings
Beam offers SaaS (cloud-hosted), Managed Service (dedicated infrastructure), and Self-hosted deployment options. All provide the same workspace management experience.
Creating Your Workspace
Access Workspace Creation
1. Click the workspace dropdown in the top-left corner
2. Select **"Create or Join Workspace"**
3. Click the **"Create workspace"** tab
**Workspace Name** (Required):
* Choose a descriptive name like "Engineering Team" or "Customer Success"
* Appears in workspace dropdown for all members
* Can be changed later in settings
**Domain** (Optional):
* Enter your company domain (e.g., yourcompany.com)
* Beam automatically fetches your company logo
* You can upload a custom logo instead
**Icon**:
* Automatically generated from workspace name
* Displays in the workspace selector
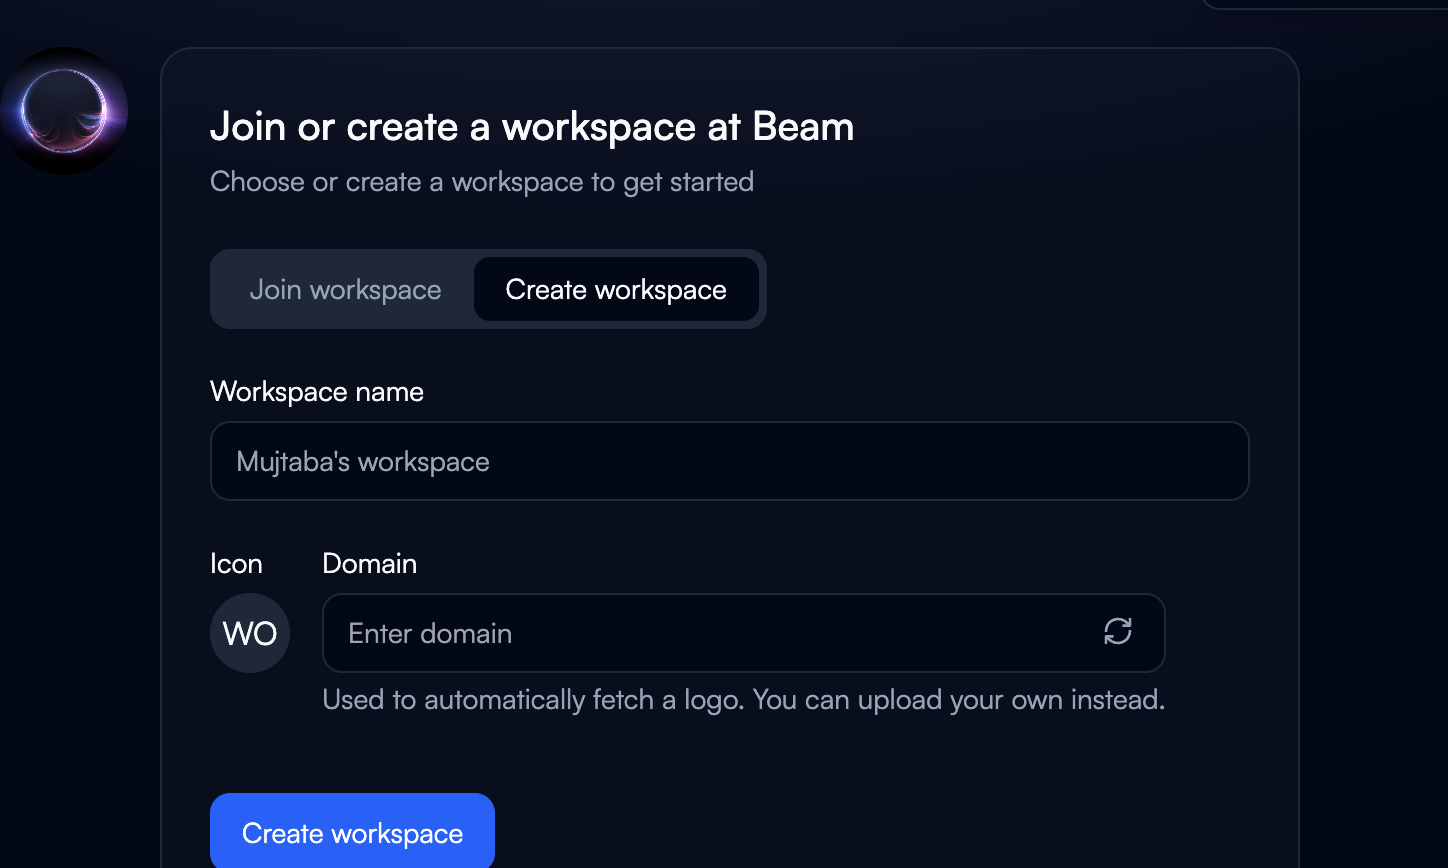
Create and Invite Members
1. Click **"Create workspace"** button
2. Workspace created in 2-3 seconds
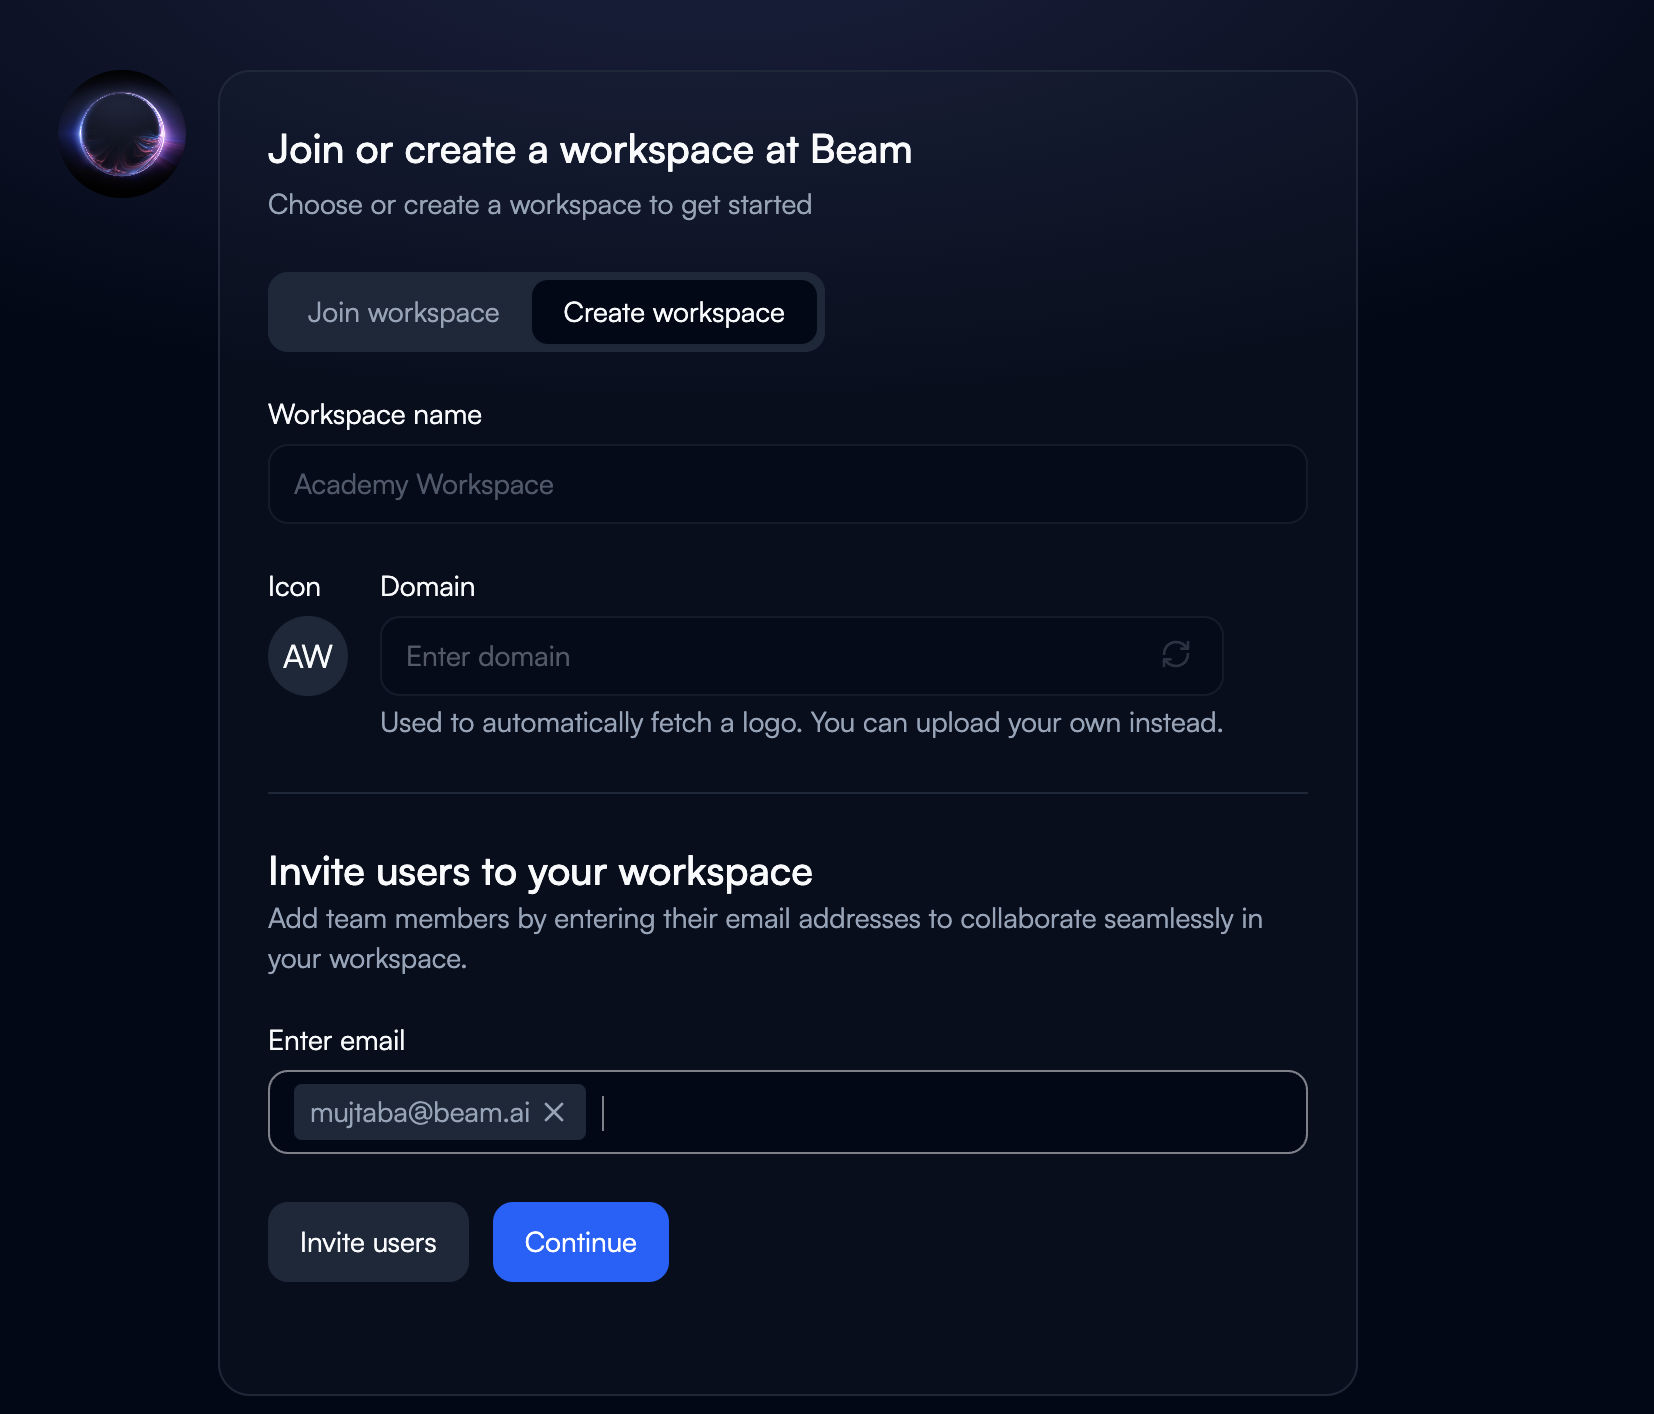
3. Optionally add team member emails to invite them now, or skip to invite later from workspace settings
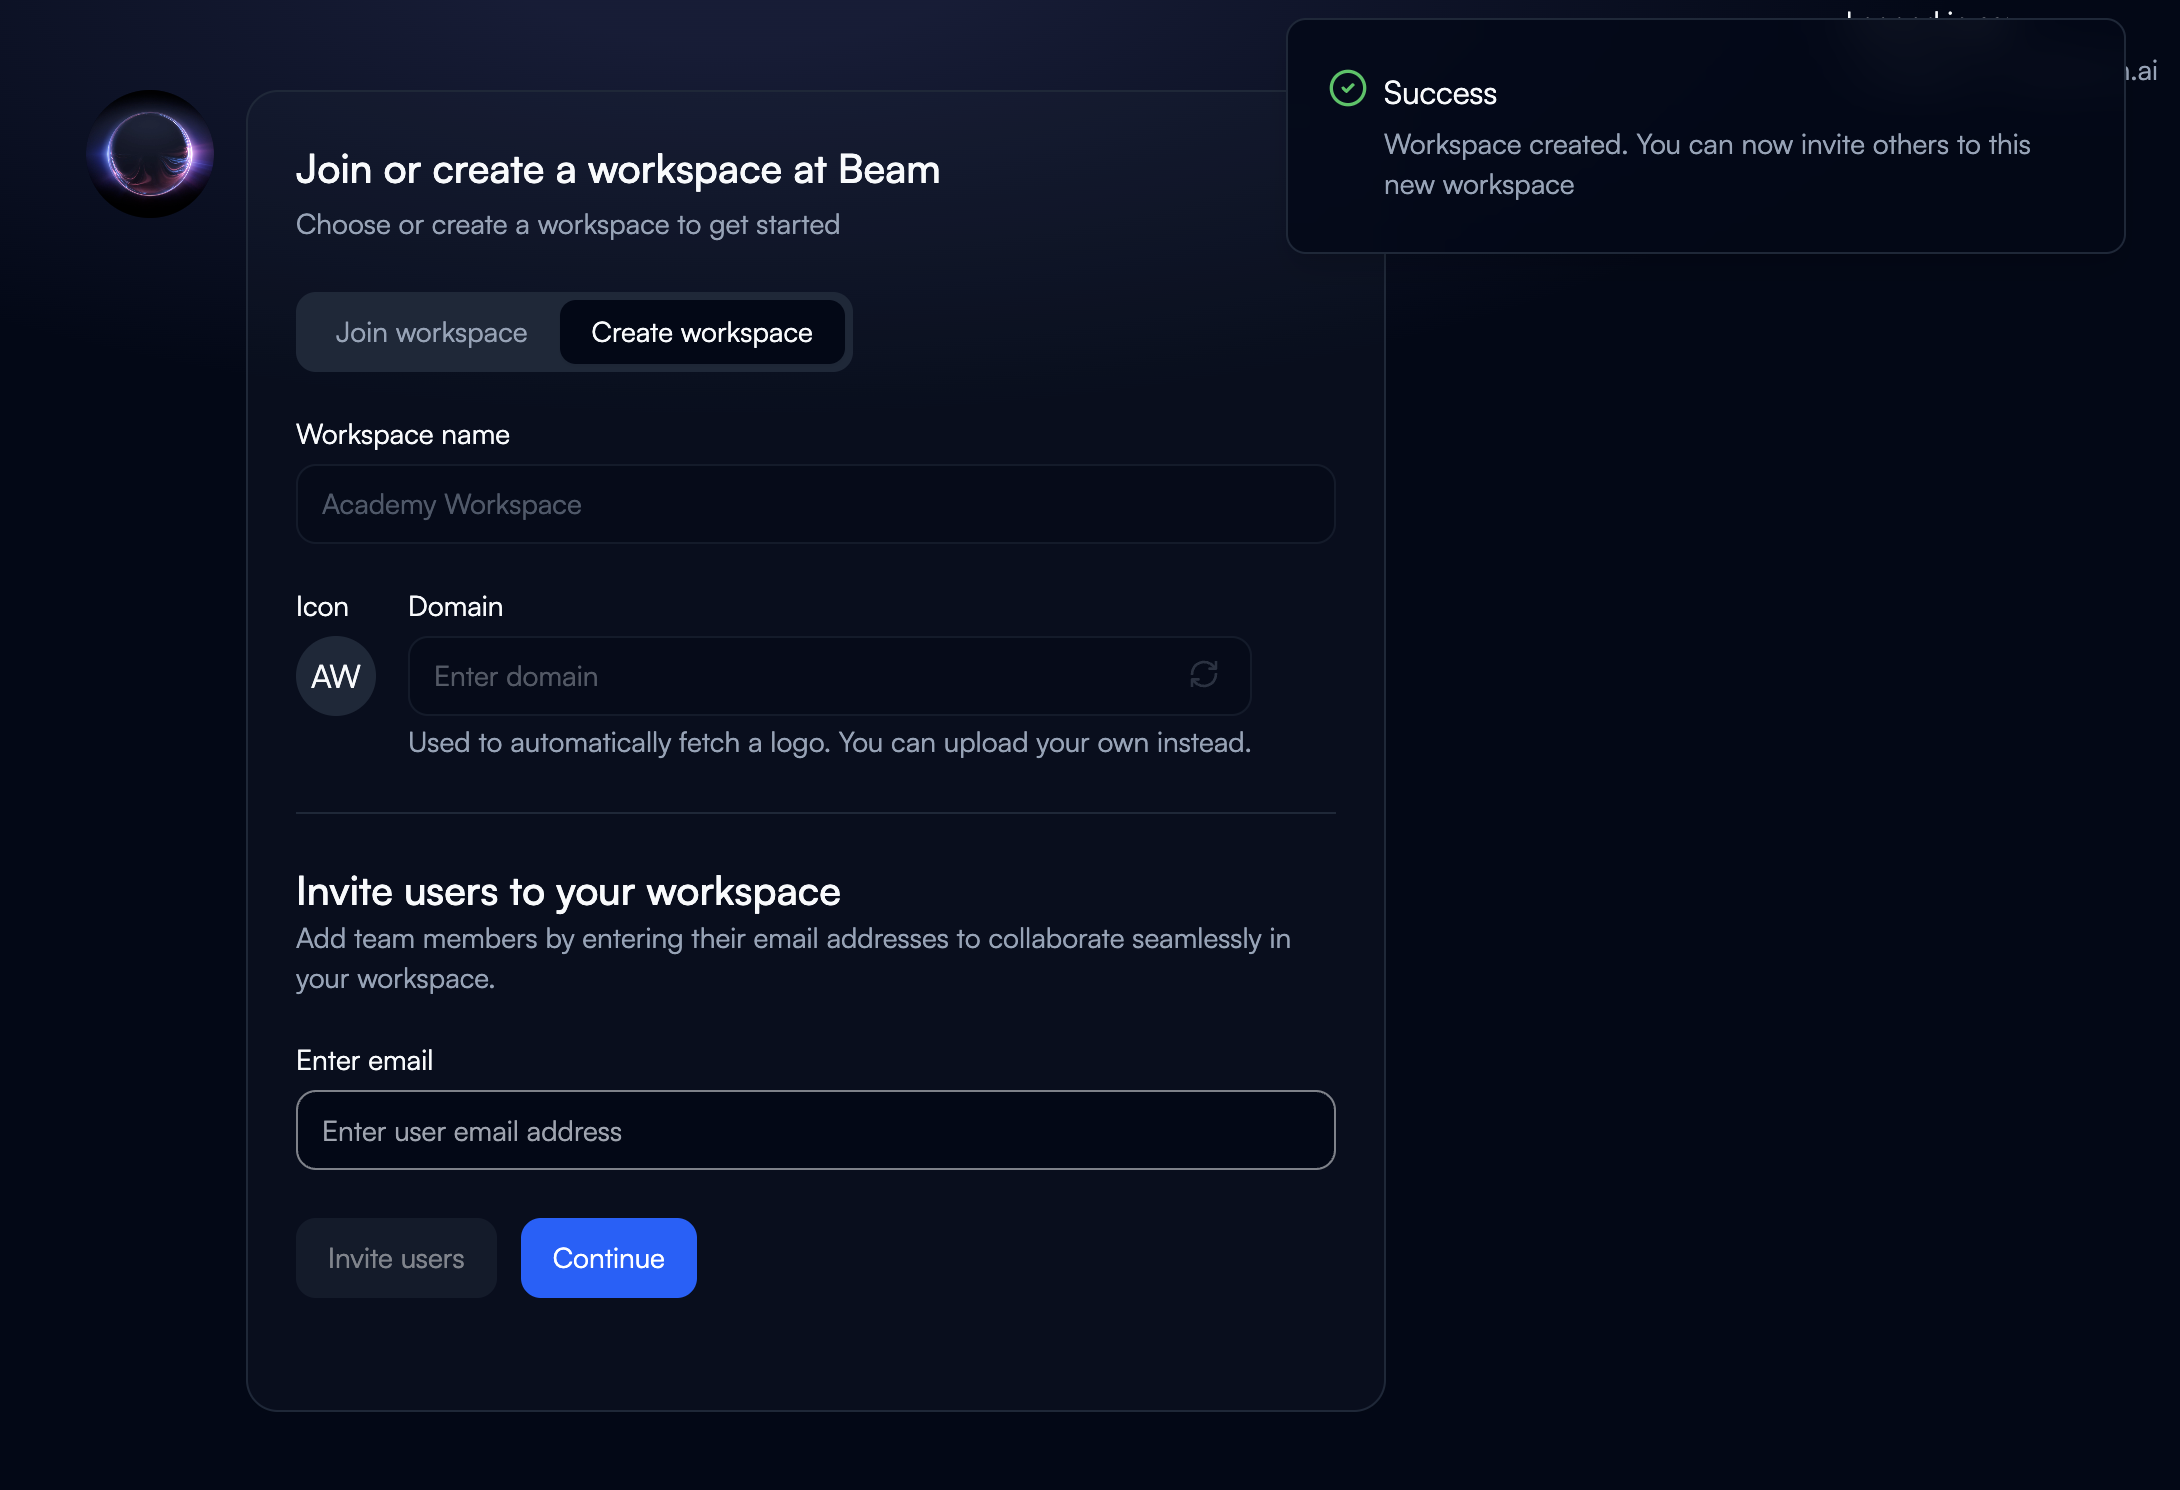 You can add member emails at this step or click Continue to invite them later:
Joining an Existing Workspace
If you've been invited by a team member, follow these steps.
Check Your Invitation
You'll receive an email with:
* Workspace name and organization
* Your assigned role
* Access link or password login instructions
* Invitation expiry (typically 7 days)
**Authentication Methods**:
* **Magic Link**: Click link in email (most common)
* **Password Login**: Use email + password if magic links are blocked
If your magic link is invalidated immediately, your organization's email scanner is pre-clicking links. Use password login instead.
Access Join Workspace
1. Navigate to Beam platform
2. Click workspace dropdown in top-left
3. Select **"Create or Join Workspace"**
4. Click **"Join workspace"** tab
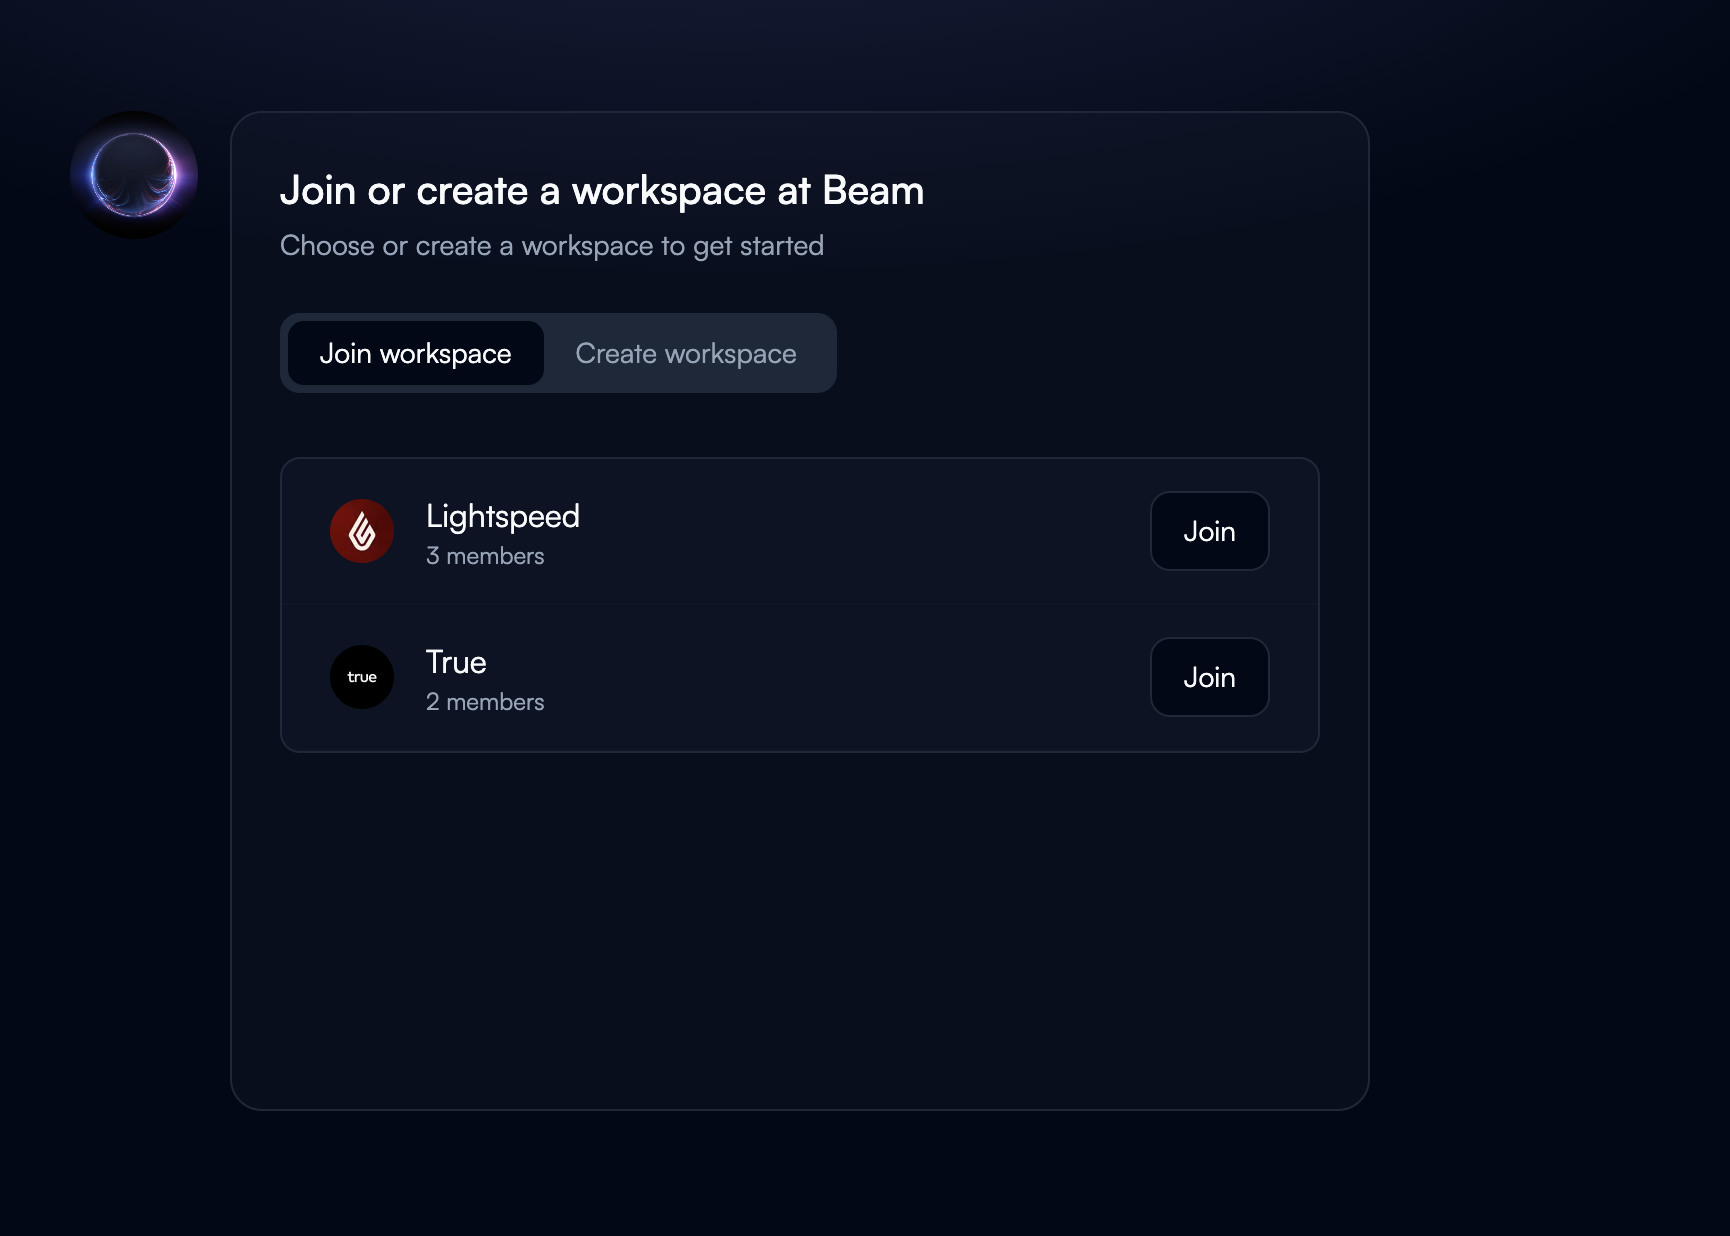
Accept Invitation
1. Review workspace name and inviting user
2. Confirm role and permissions
3. Click **"Join \[Workspace Name]"**
4. Access provisioned in 2-5 seconds
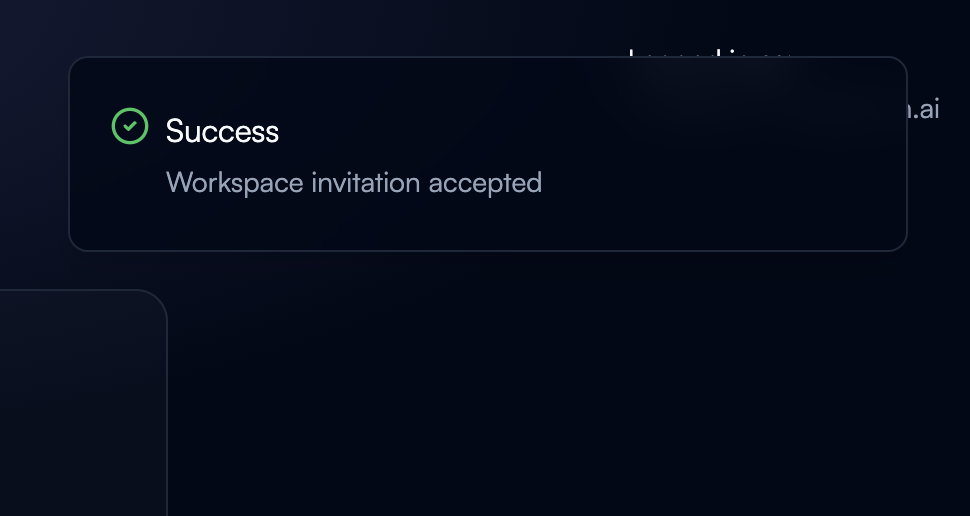 **Verify Success**:
* Workspace appears in top-left dropdown
* Can see workspace agents
* User role displays in profile settings
**Verify Success**:
* Workspace appears in top-left dropdown
* Can see workspace agents
* User role displays in profile settings
Troubleshooting
**Problem**: Corporate email scanner interference
**Solution**:
1. Use password login fallback option
2. Request password reset if needed
3. Login with email + password
**Check**:
* Spam/junk folder
* Email address typo
* Corporate email filters
**Solutions**:
* Request admin resend invitation
* Try alternative email
* Contact IT about email filtering
**Causes**:
* Browser not refreshed
* Permissions not propagated (5-10 seconds)
* Different browser used
**Steps**:
1. Refresh page (Ctrl+R or Cmd+R)
2. Log out and back in
3. Clear browser cache
4. Verify workspace in dropdown
Inviting Team Members
To invite people once the workspace exists:
1. Open the workspace dropdown and select **Settings**
2. Open the **Access** tab and stay on **People**
3. Select **Invite members**
4. Enter the email addresses, choose the **Role** those people should hold, and select **Send invite**
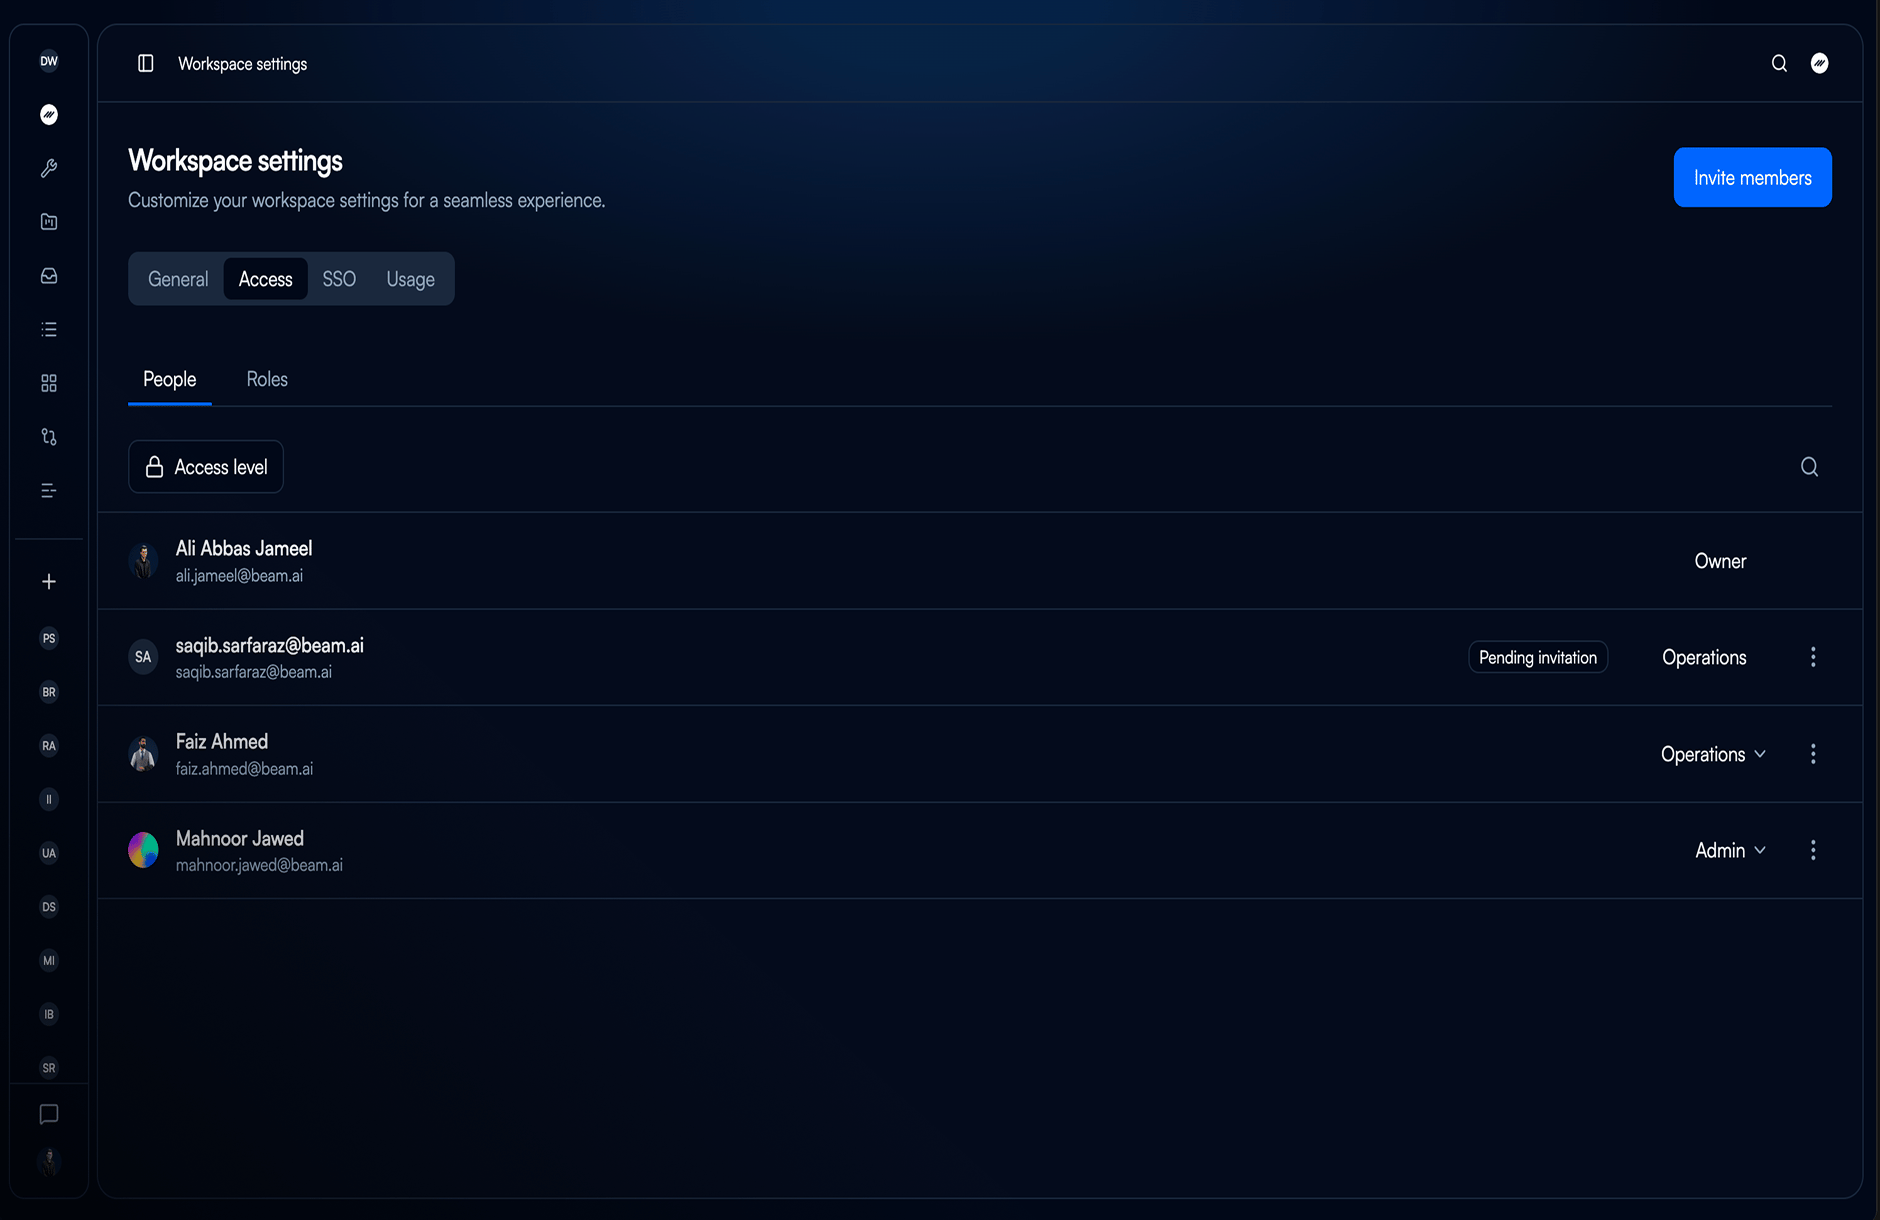 Everyone you invite receives an email and appears in the People list with a **Pending
invitation** badge until they accept. They join by following the steps in "Joining an
Existing Workspace" above.
The role you pick decides which agents that person can reach and what they can do with them.
**Member** is filled in for you unless you change it. To build roles of your own, see
[Roles and Permissions](/05-resources/roles-and-permissions/roles-and-permissions).
Everyone you invite receives an email and appears in the People list with a **Pending
invitation** badge until they accept. They join by following the steps in "Joining an
Existing Workspace" above.
The role you pick decides which agents that person can reach and what they can do with them.
**Member** is filled in for you unless you change it. To build roles of your own, see
[Roles and Permissions](/05-resources/roles-and-permissions/roles-and-permissions).
Next Steps
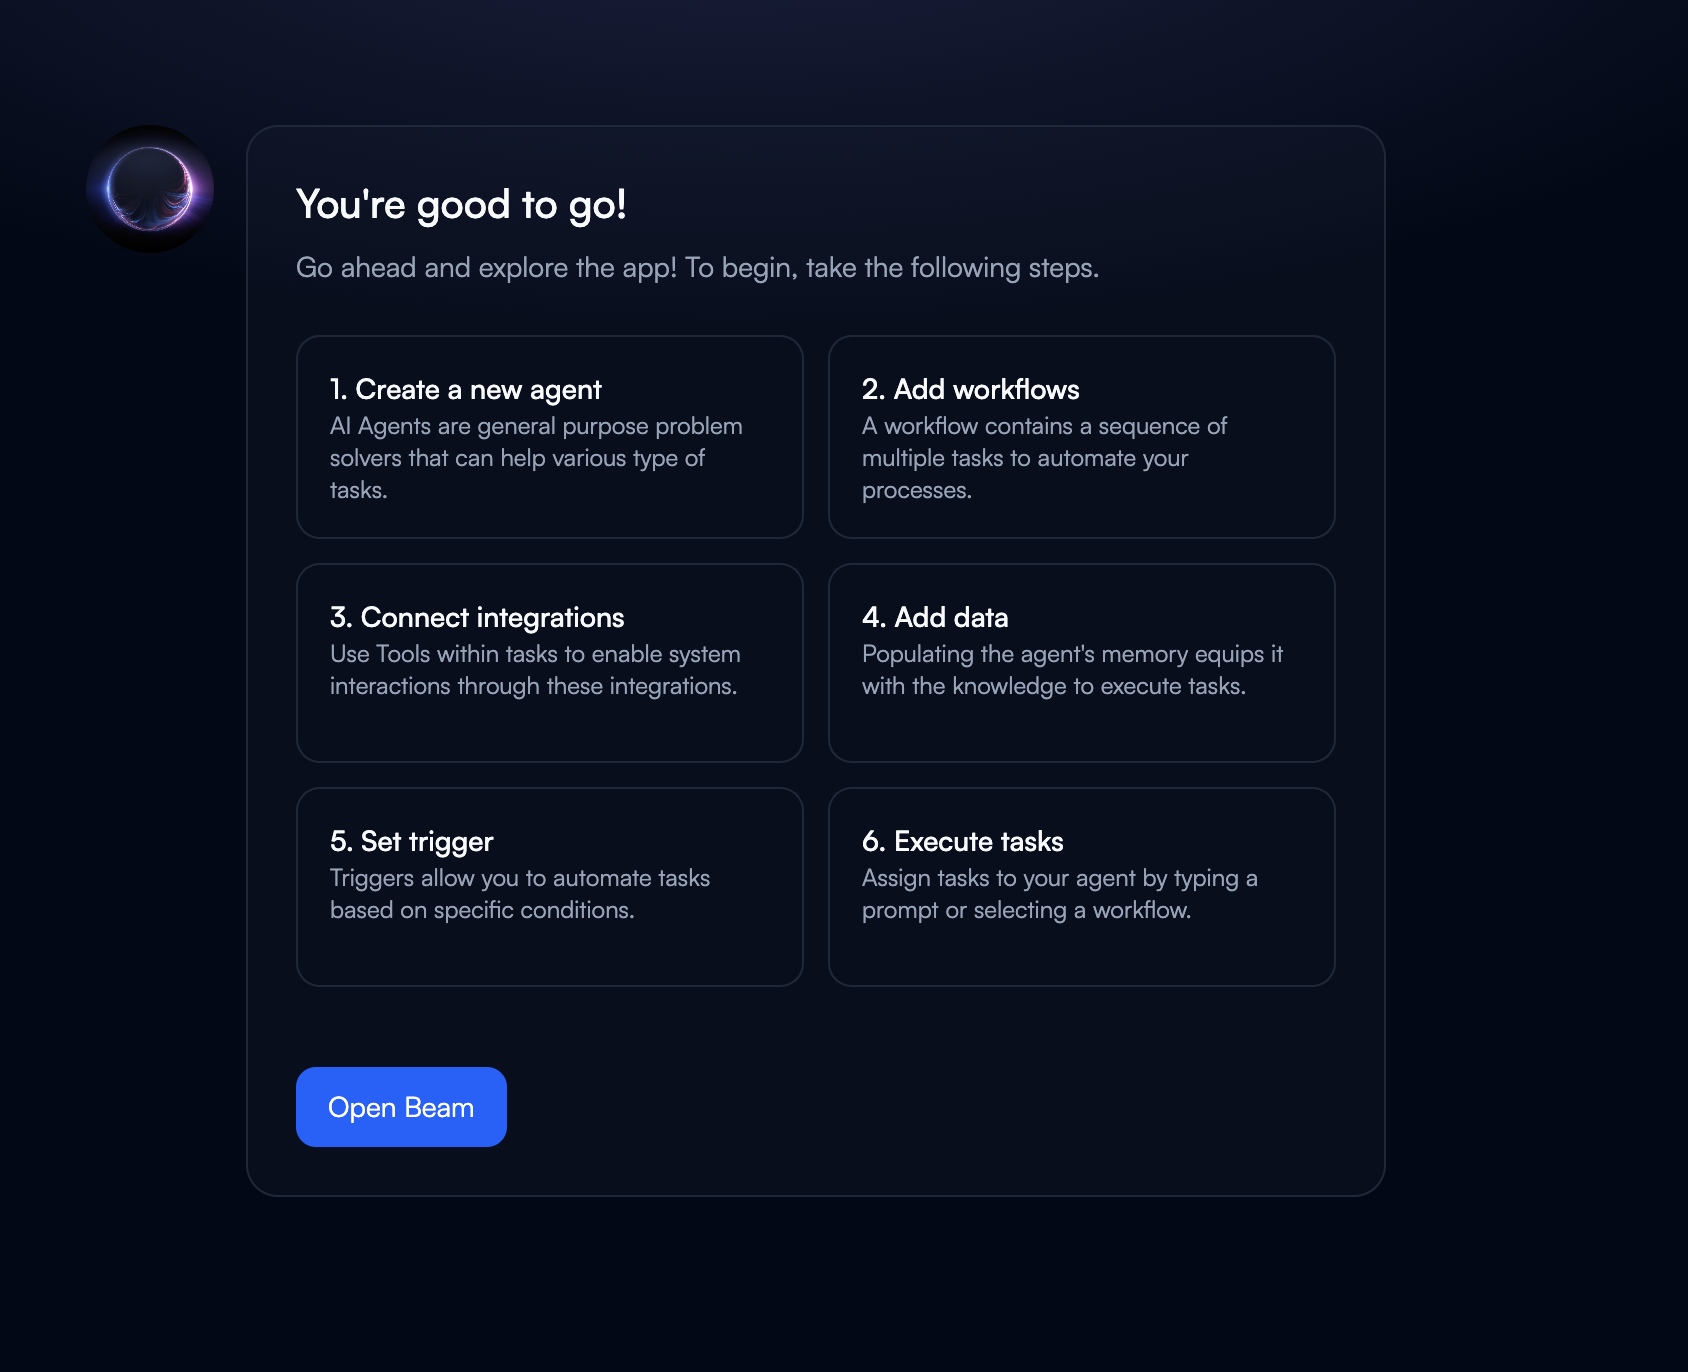 Start with pre-built agent templates
Deploy your first agent in minutes
Master agent development
Understand the platform fundamentals
Start with pre-built agent templates
Deploy your first agent in minutes
Master agent development
Understand the platform fundamentals