Your Beam workspace is where your team collaborates on AI agent automation. Whether you’re creating a new workspace or joining an existing one, setup takes just minutes.Documentation Index
Fetch the complete documentation index at: https://docs.beam.ai/llms.txt
Use this file to discover all available pages before exploring further.
Understanding Workspaces
A workspace is your team’s dedicated environment for building and managing AI agents. Each workspace keeps your team’s agents, tasks, and integrations completely separate from other organizations using Beam. What’s Included:- Team member access and permissions
- Shared agents and workflows
- Integration connections
- Task execution history
- Workspace-level settings
Beam offers SaaS (cloud-hosted), Managed Service (dedicated infrastructure), and Self-hosted deployment options. All provide the same workspace management experience.
Creating Your Workspace
Access Workspace Creation
- Click the workspace dropdown in the top-left corner
- Select “Create or Join Workspace”
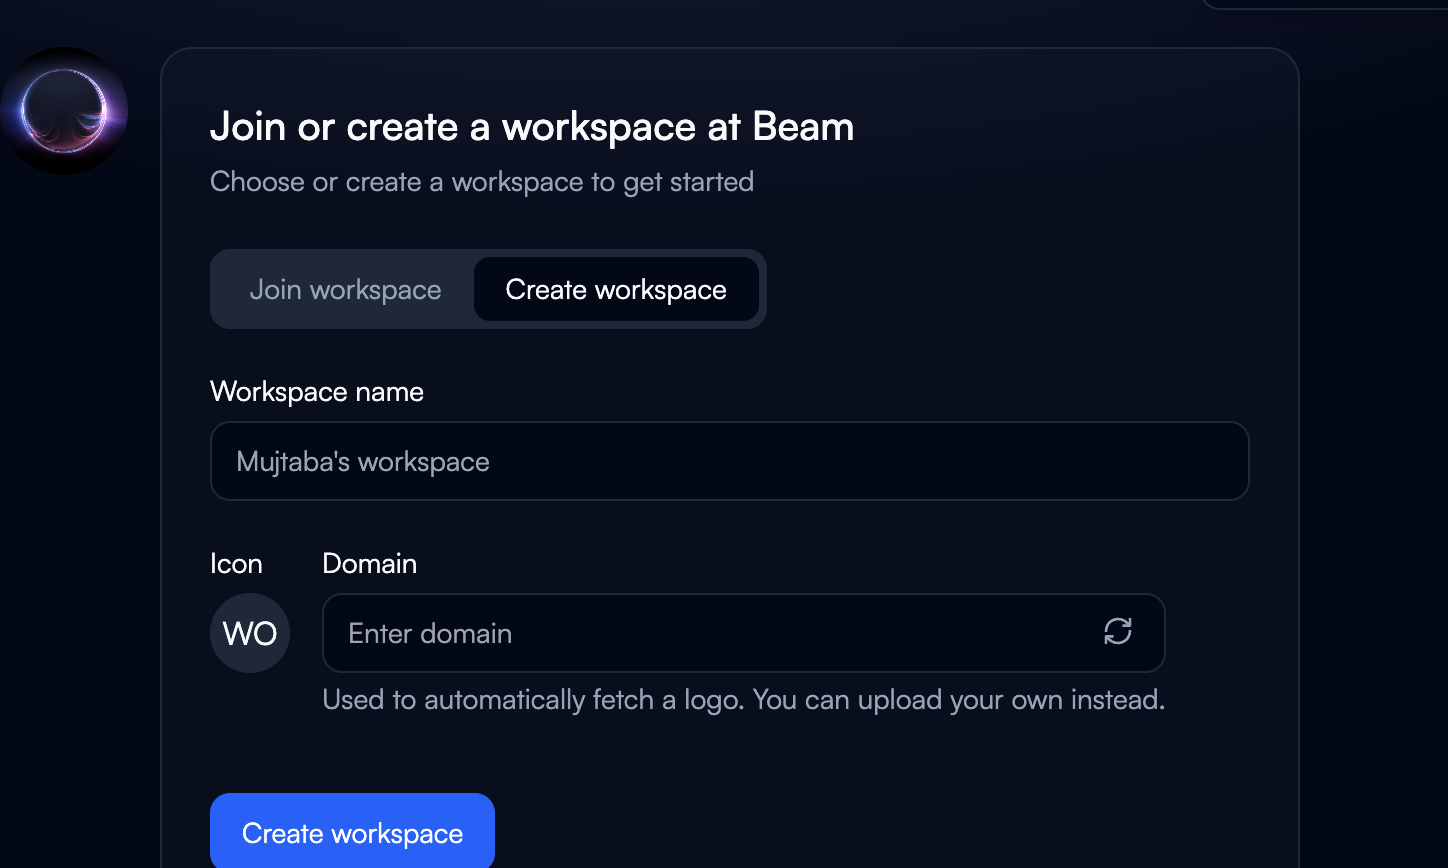
- Click the “Create workspace” tab
Configure Workspace Details
Workspace Name (Required):- Choose a descriptive name like “Engineering Team” or “Customer Success”
- Appears in workspace dropdown for all members
- Can be changed later in settings
- Enter your company domain (e.g., yourcompany.com)
- Beam automatically fetches your company logo
- You can upload a custom logo instead
- Automatically generated from workspace name
- Displays in the workspace selector
Create and Invite Members
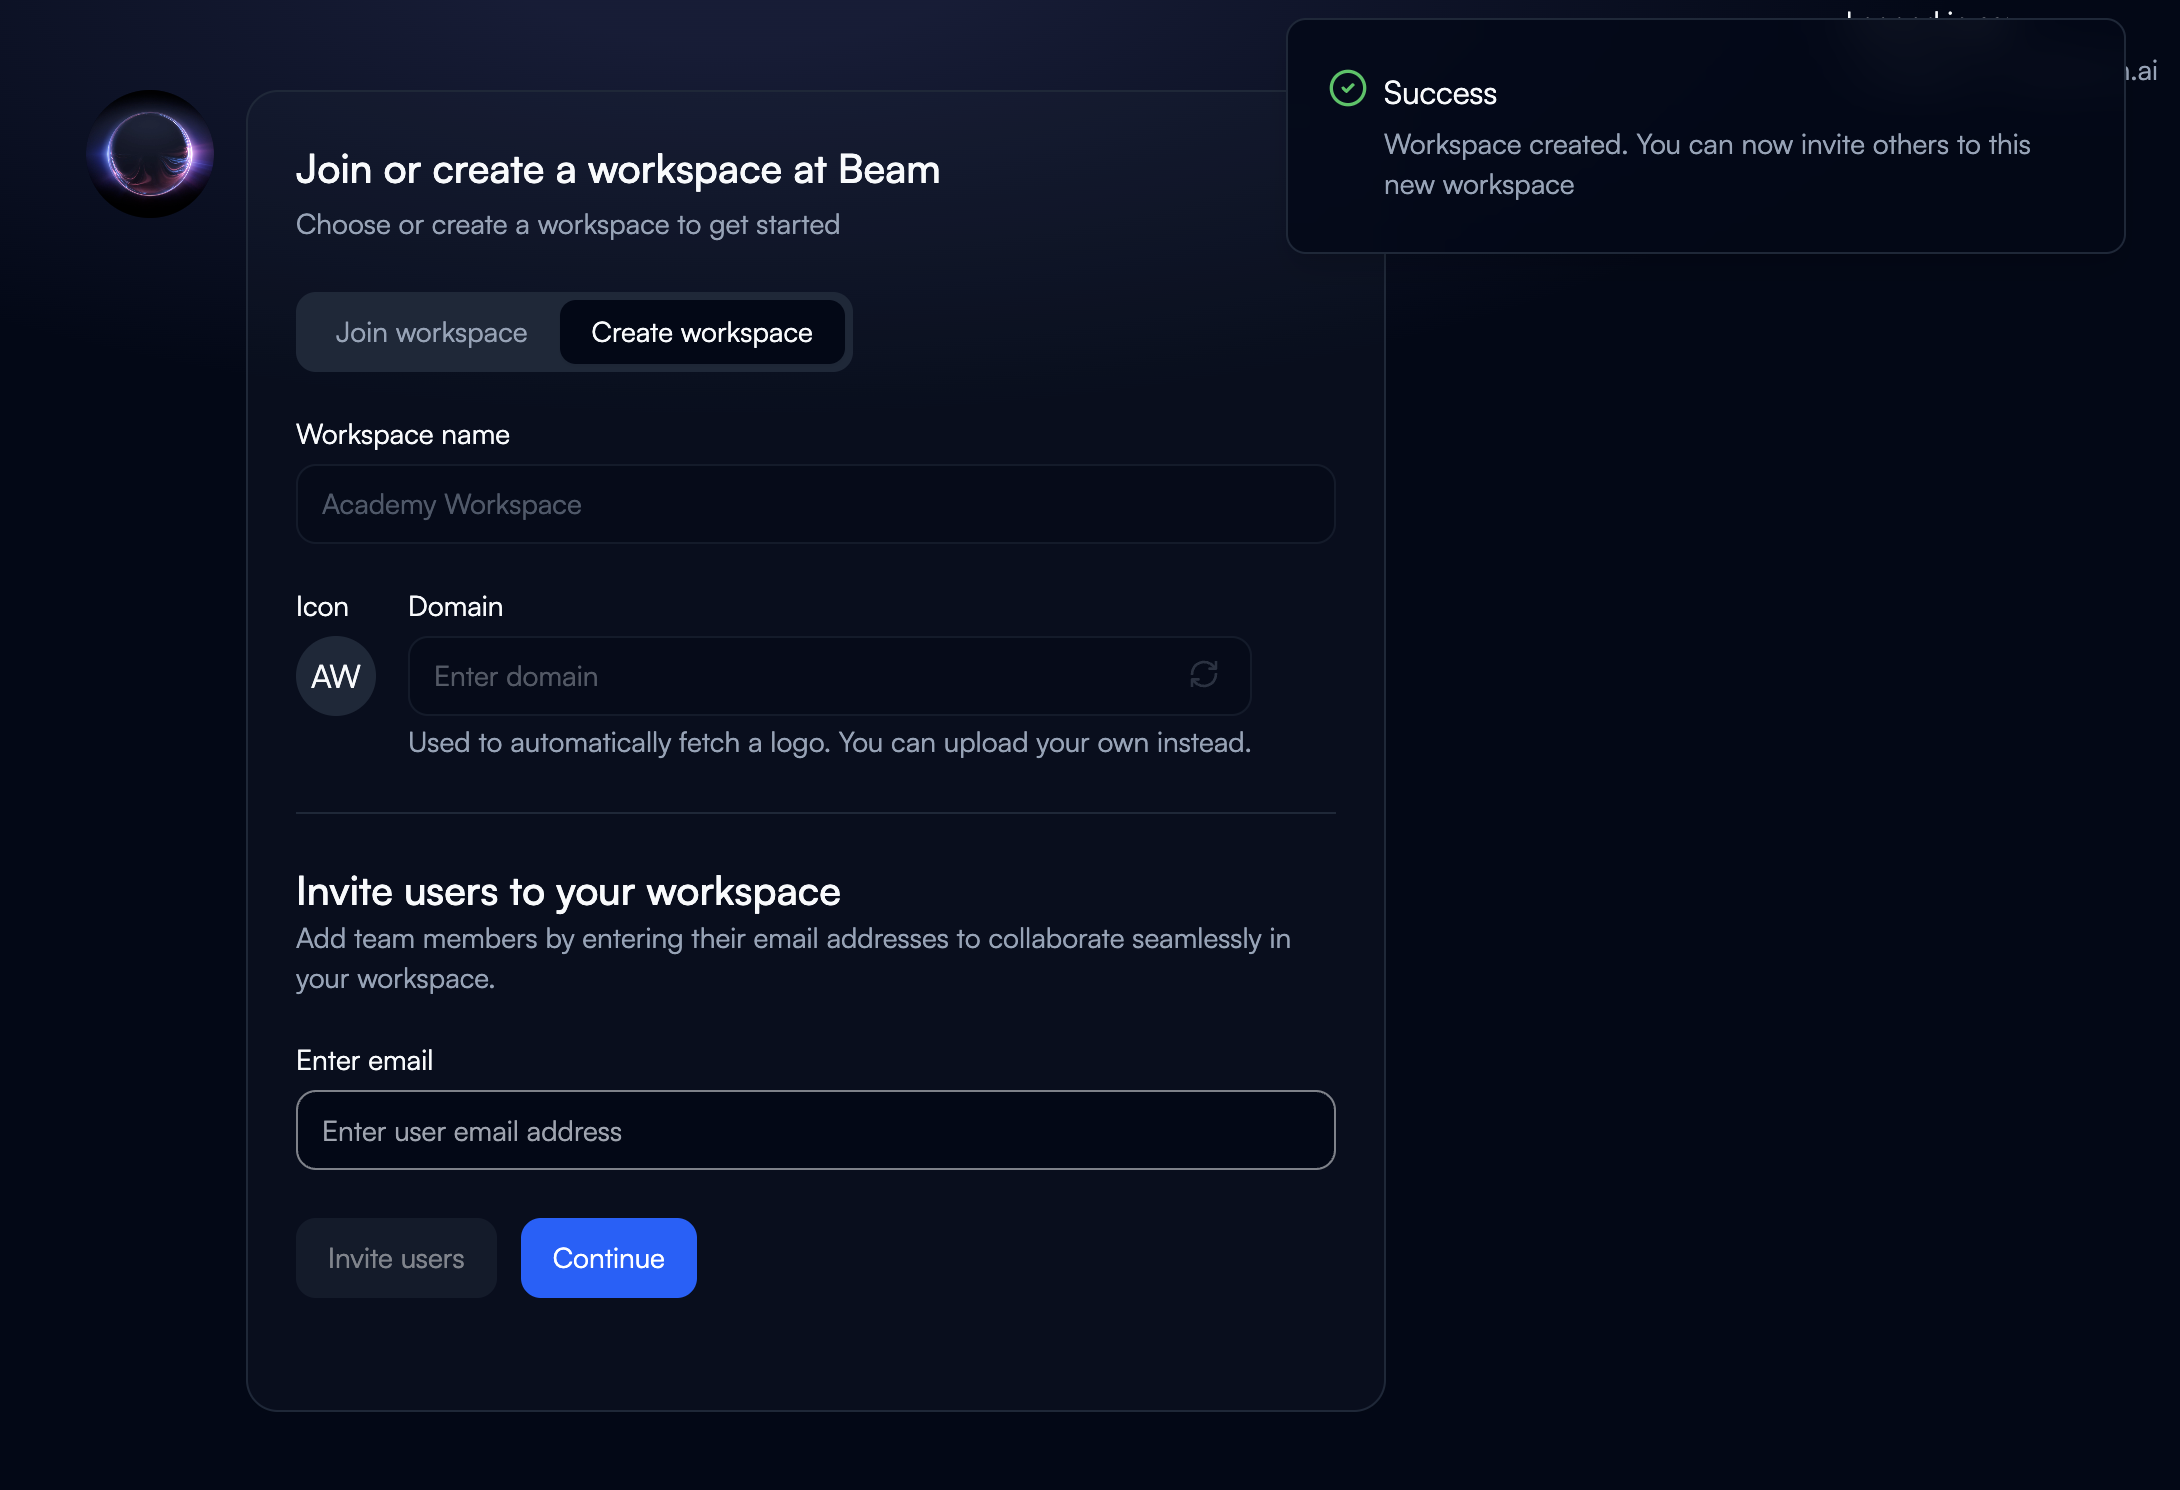
- Click “Create workspace” button
- Workspace created in 2-3 seconds
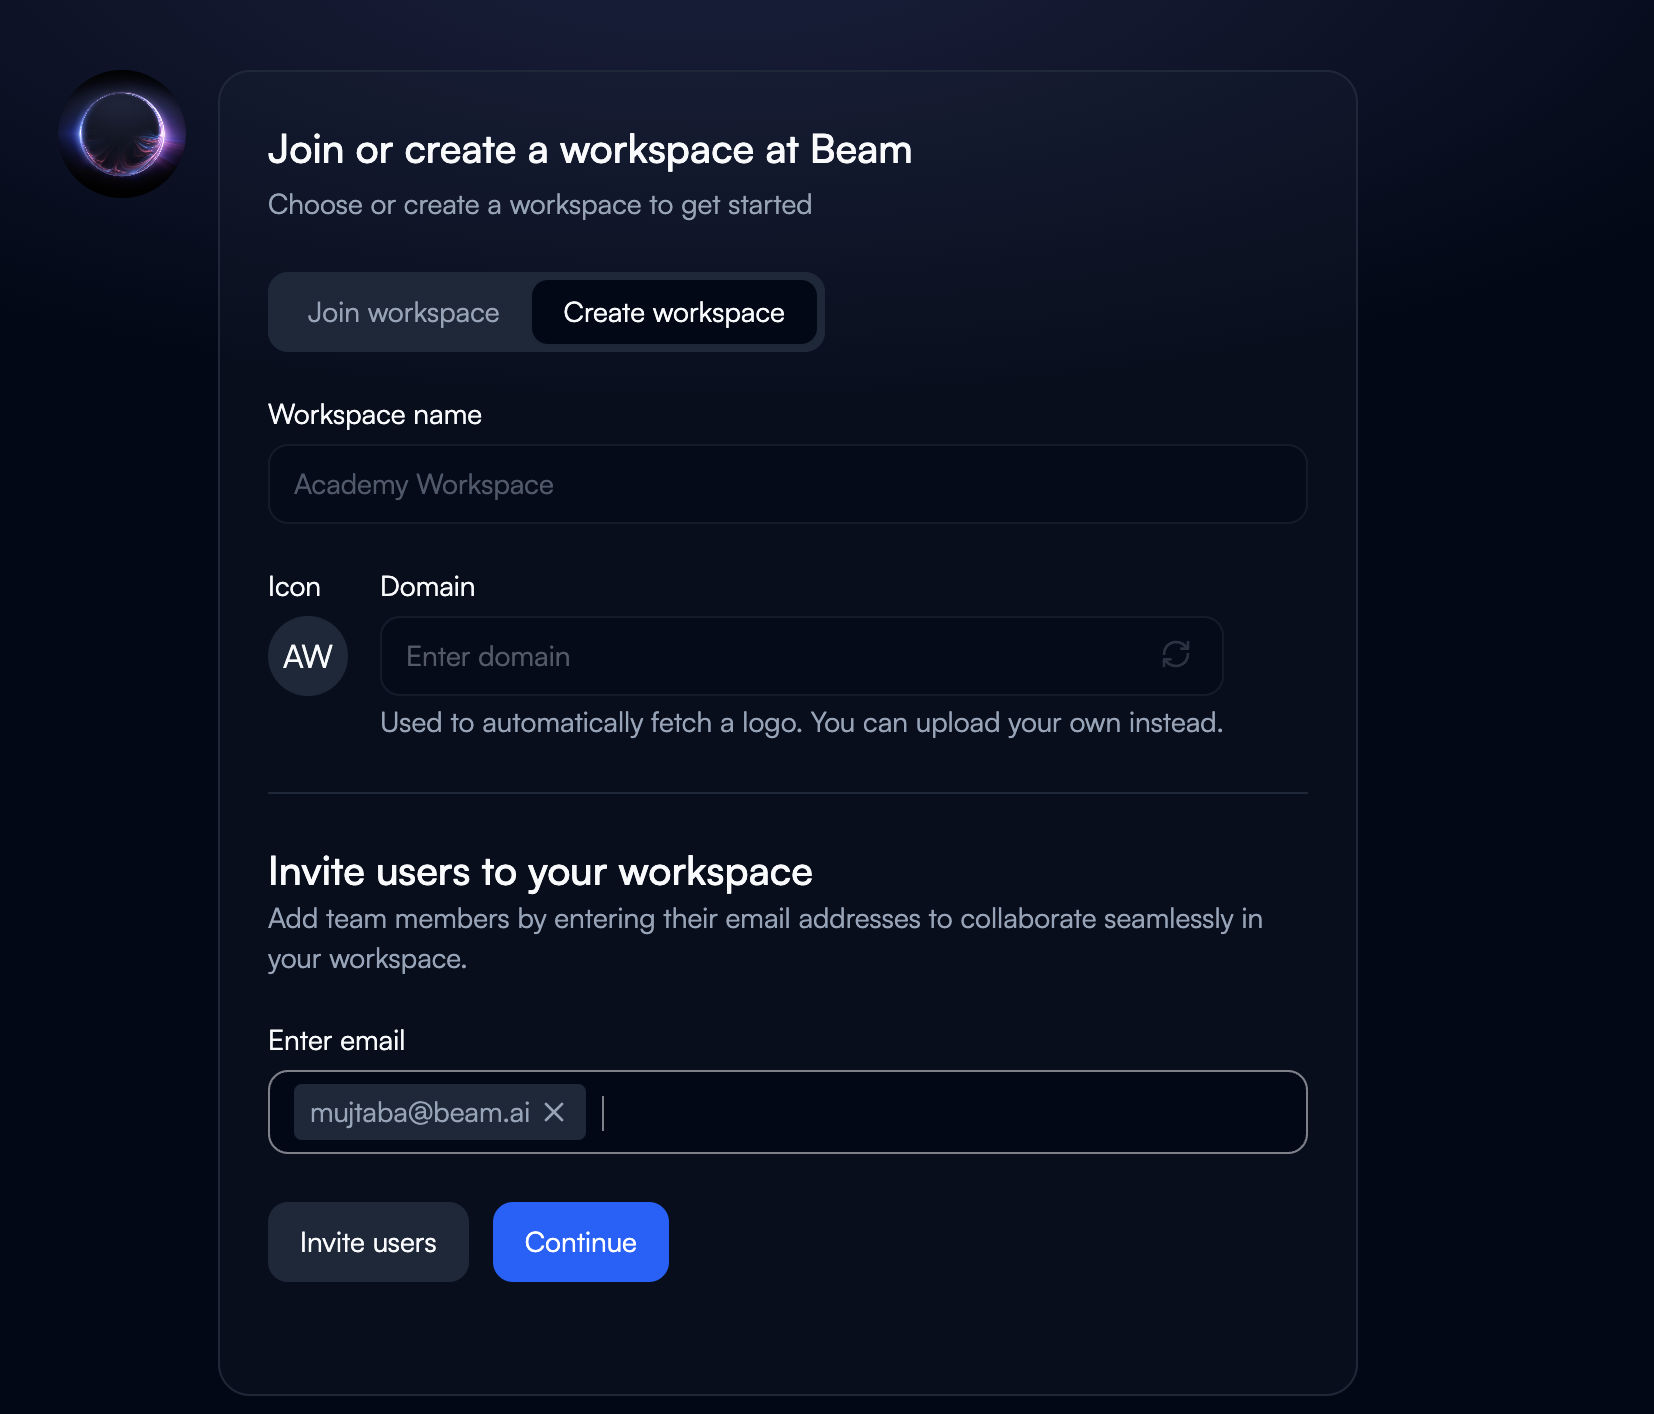
- Optionally add team member emails to invite them now, or skip to invite later from workspace settings
Joining an Existing Workspace
If you’ve been invited by a team member, follow these steps.Check Your Invitation
You’ll receive an email with:- Workspace name and organization
- Your assigned role
- Access link or password login instructions
- Invitation expiry (typically 7 days)
- Magic Link: Click link in email (most common)
- Password Login: Use email + password if magic links are blocked
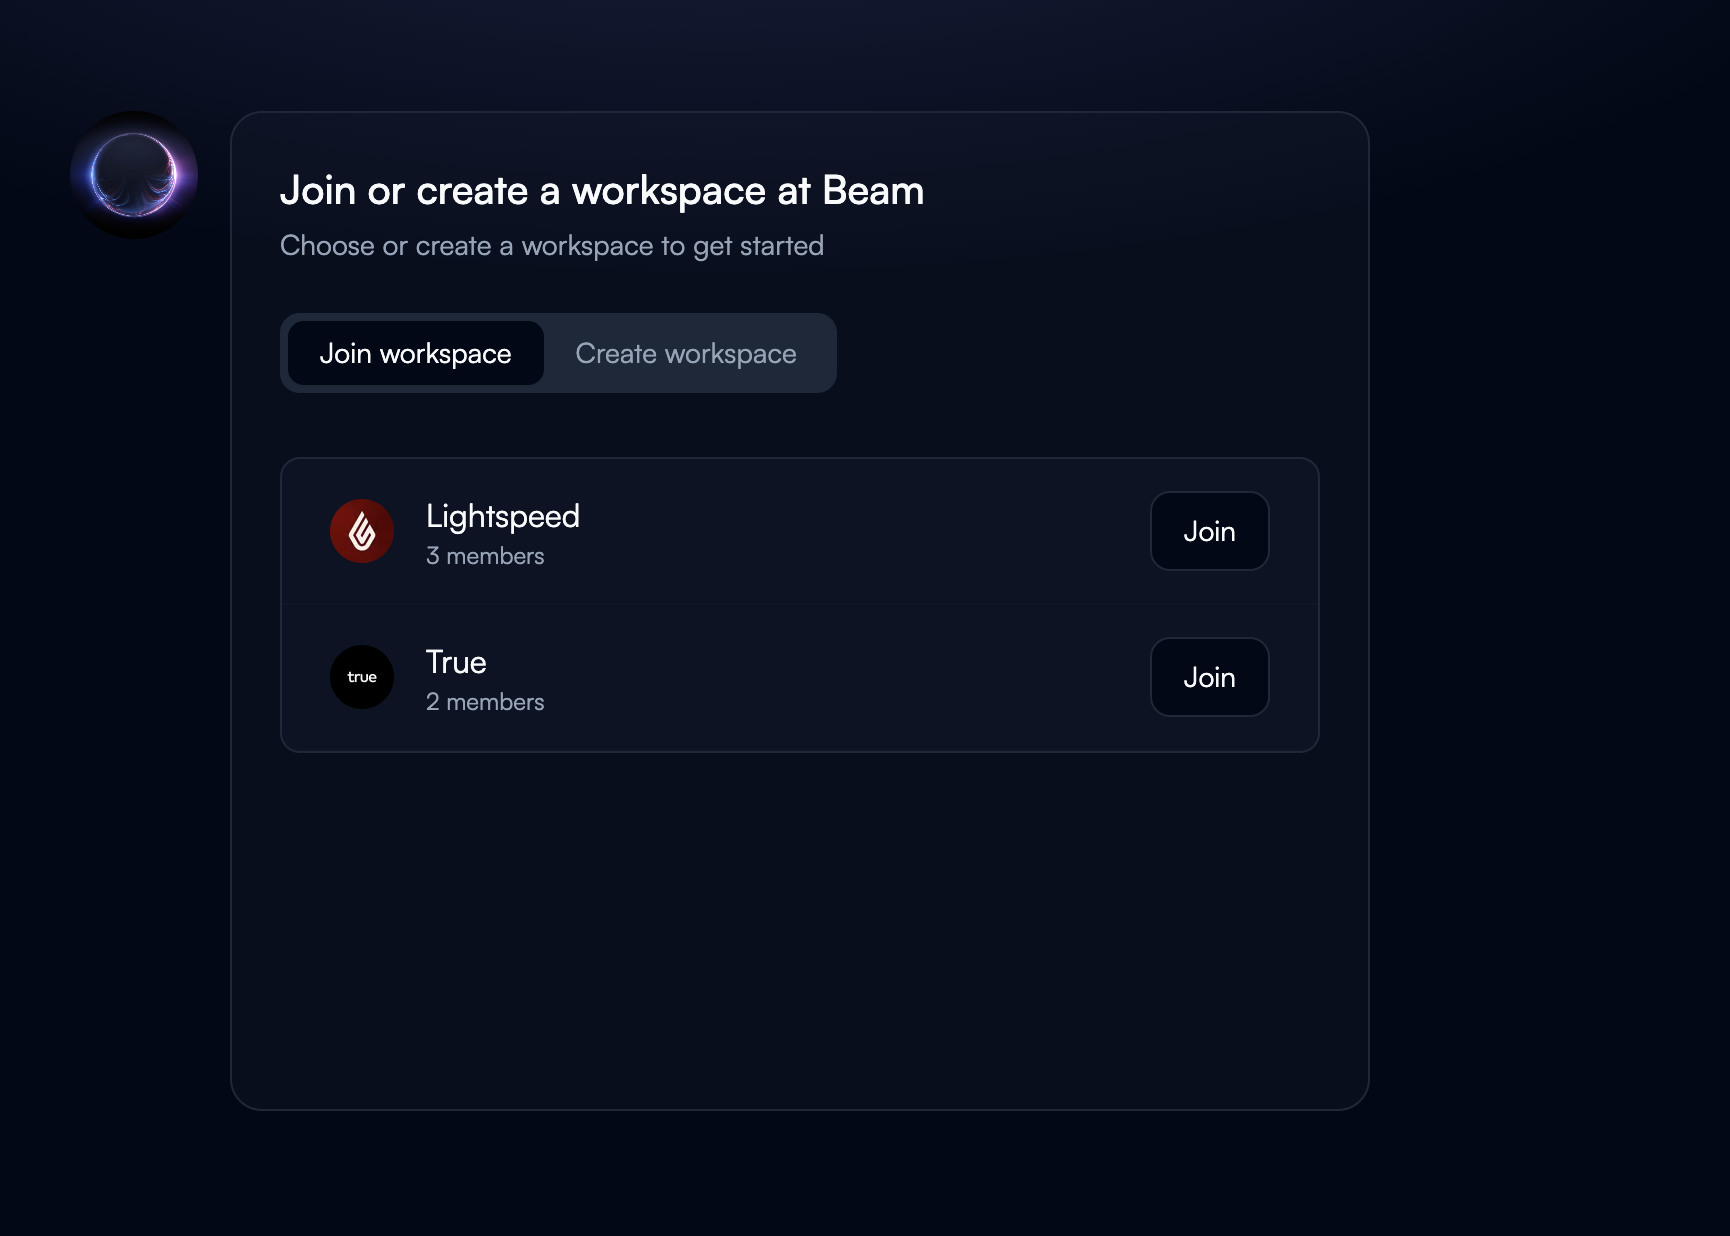
Access Join Workspace
- Navigate to Beam platform
- Click workspace dropdown in top-left
- Select “Create or Join Workspace”
- Click “Join workspace” tab
Accept Invitation
- Review workspace name and inviting user
- Confirm role and permissions
- Click “Join [Workspace Name]”
- Access provisioned in 2-5 seconds

- Workspace appears in top-left dropdown
- Can see workspace agents
- User role displays in profile settings
Troubleshooting
Magic link invalidated immediately
Magic link invalidated immediately
Problem: Corporate email scanner interferenceSolution:
- Use password login fallback option
- Request password reset if needed
- Login with email + password
Invitation not received
Invitation not received
Check:
- Spam/junk folder
- Email address typo
- Corporate email filters
- Request admin resend invitation
- Try alternative email
- Contact IT about email filtering
Cannot access after joining
Cannot access after joining
Causes:
- Browser not refreshed
- Permissions not propagated (5-10 seconds)
- Different browser used
- Refresh page (Ctrl+R or Cmd+R)
- Log out and back in
- Clear browser cache
- Verify workspace in dropdown
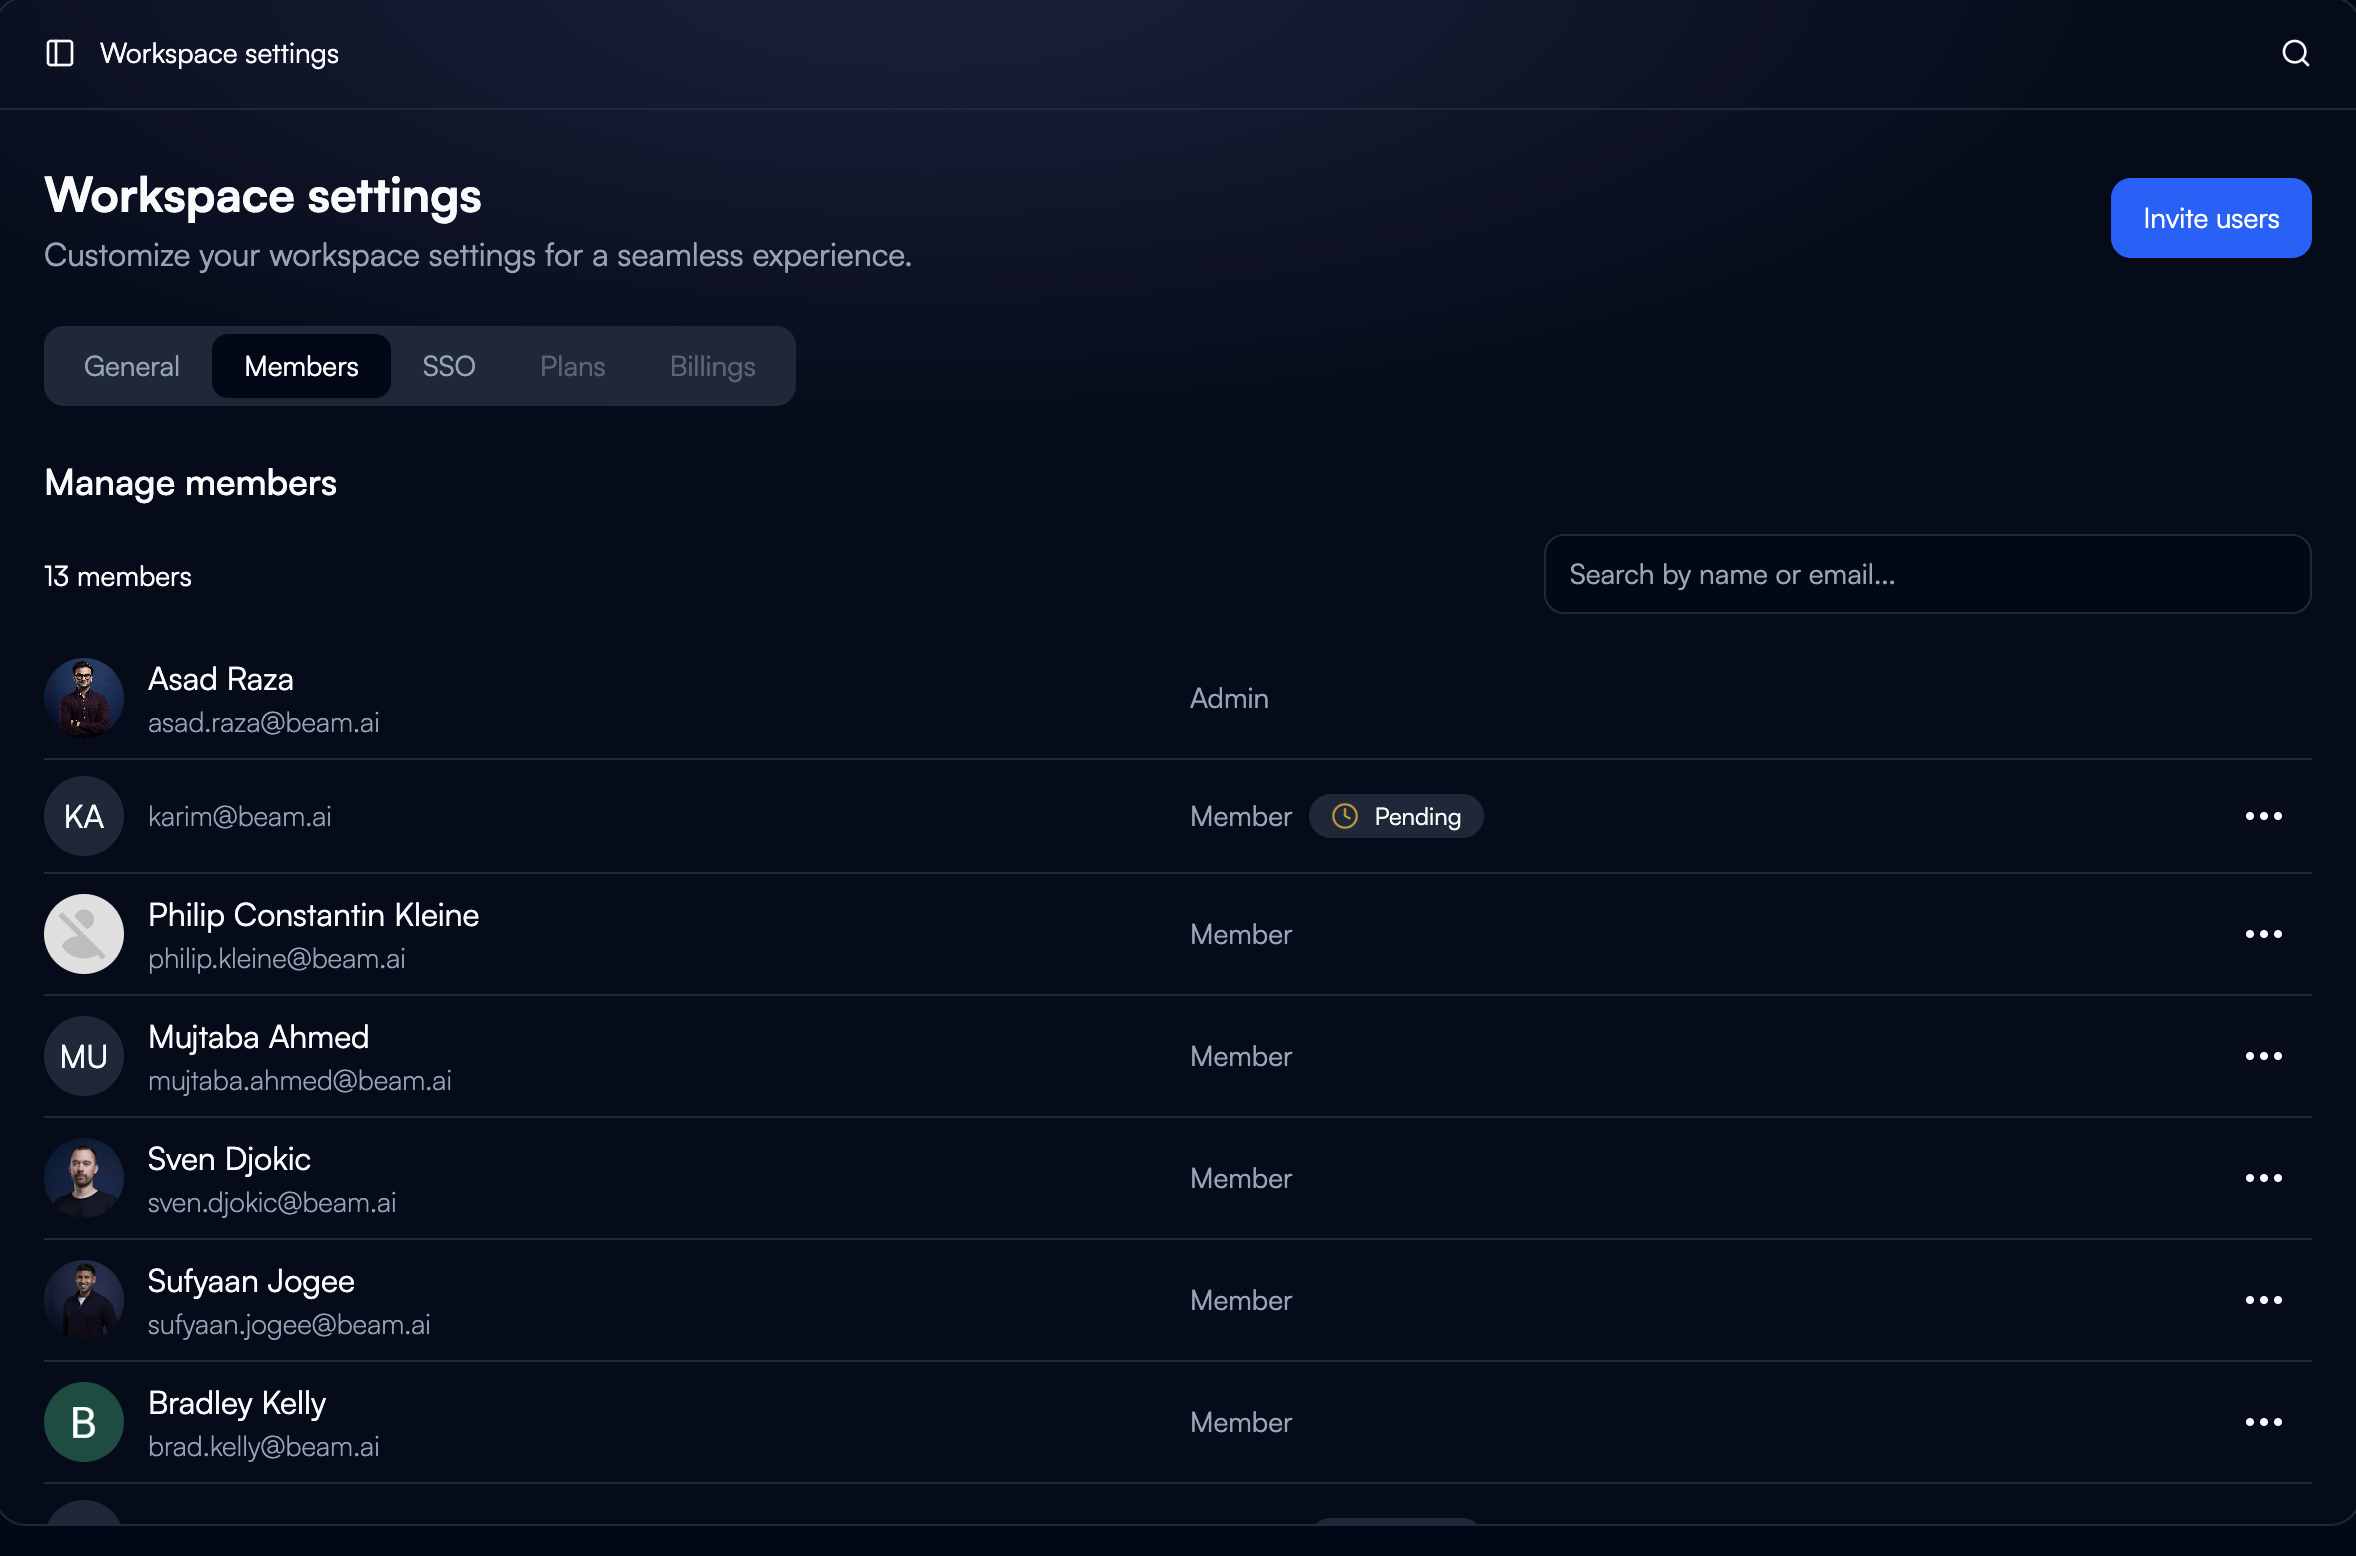
Inviting Team Members
To invite additional members after workspace creation:- Navigate to workspace settings (workspace dropdown → Settings)
- Select “Members” tab
- Click “Invite users” button
- Enter email addresses
- Click “Send invitations”
Next Steps
Browse Templates
Start with pre-built agent templates
Quick-start Guide
Deploy your first agent in minutes
Build Agents
Master agent development
Core Concepts
Understand the platform fundamentals