Configure Single Sign-On (SSO) with Azure Entra ID (formerly Azure Active Directory) to enable your team to access Beam using your organization’s existing credentials.Documentation Index
Fetch the complete documentation index at: https://docs.beam.ai/llms.txt
Use this file to discover all available pages before exploring further.
Prerequisites
Before configuring SSO, ensure you have:- Administrative access to Microsoft Entra ID
- Administrative access to your Beam workspace
- Access to your organization’s Azure tenant
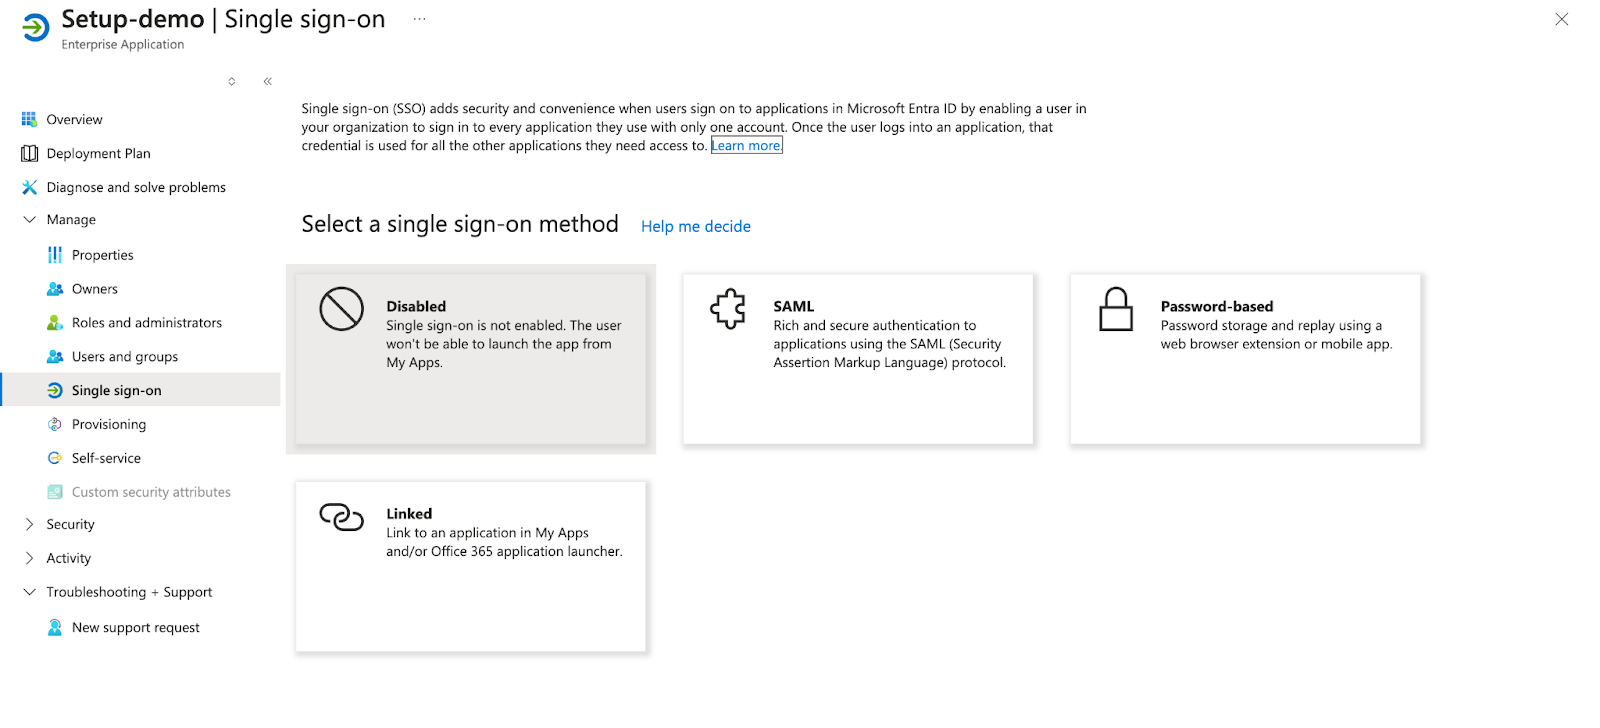
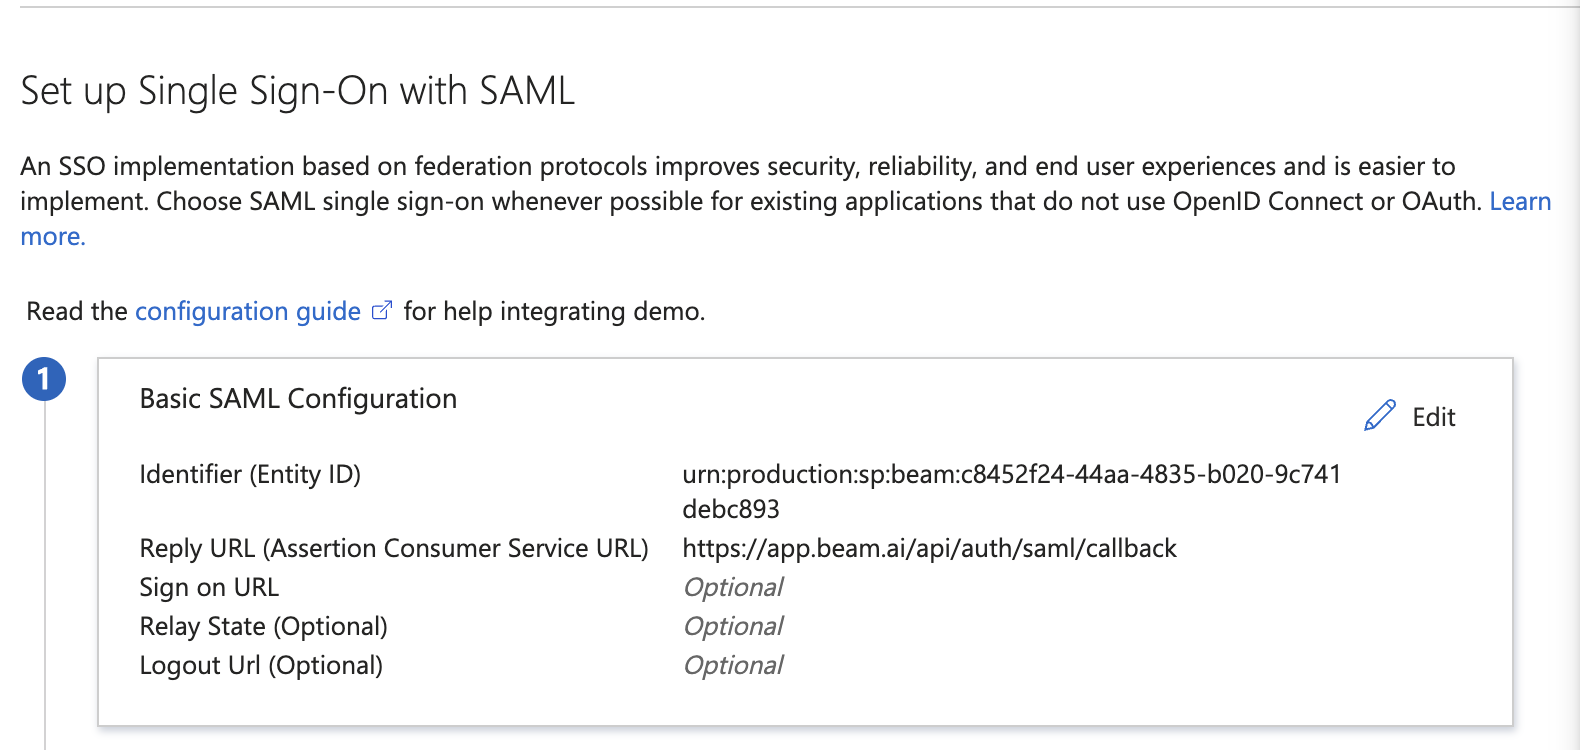
Authentication Method: Beam uses SAML 2.0 for SSO integration with Azure Entra ID. This guide walks through the complete setup process in both Azure and Beam.
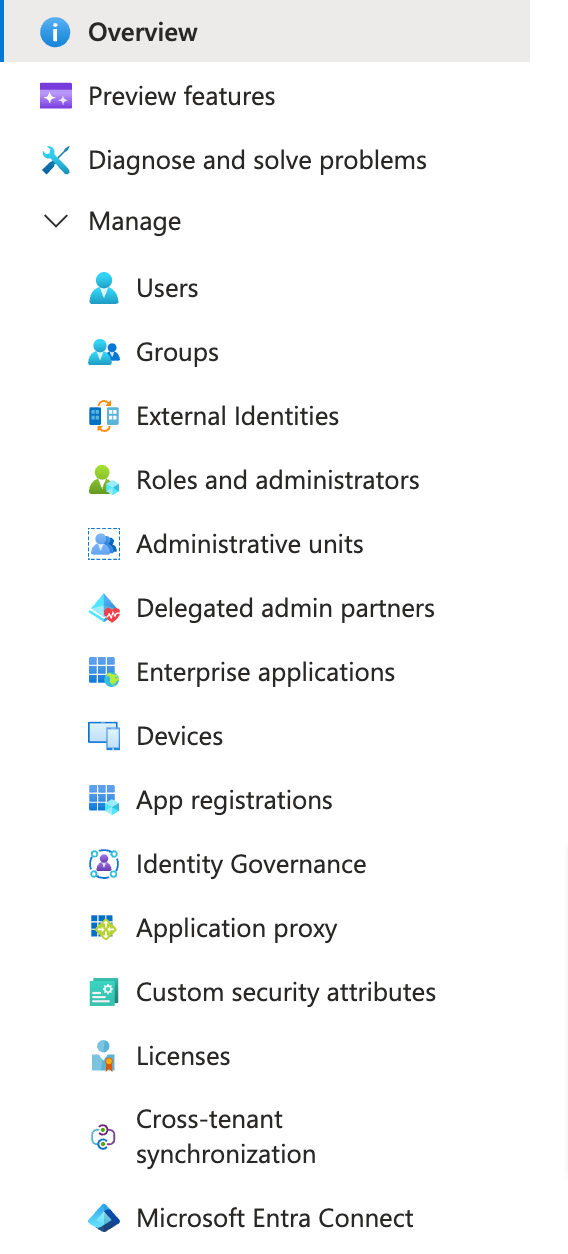
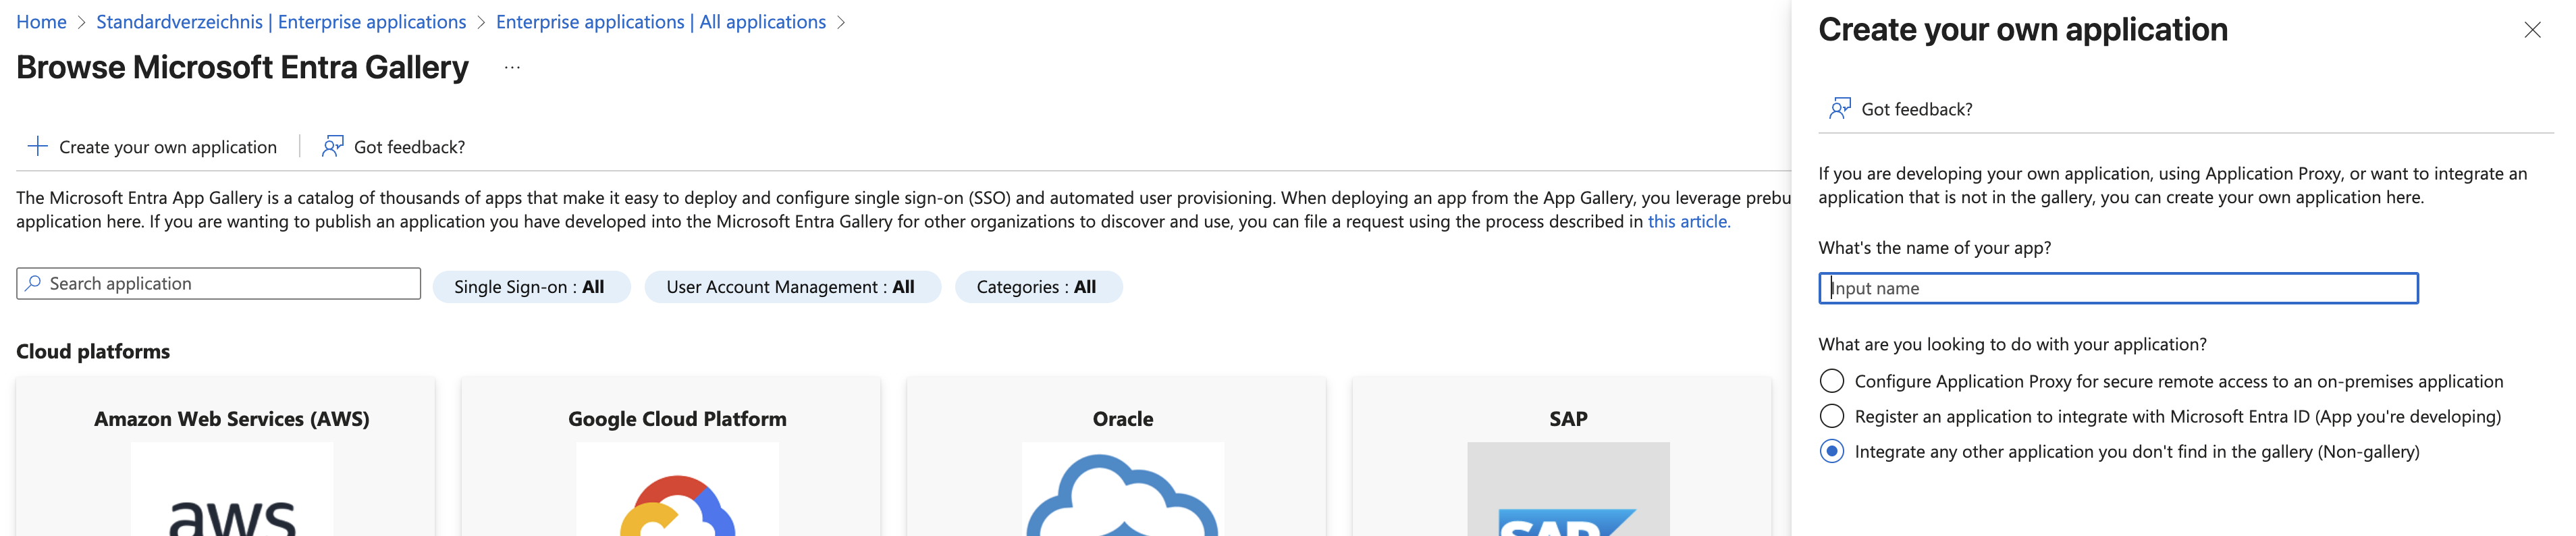
Configure Azure Entra ID


Configure Beam Platform
Now go to app.beam.ai login into it open workspace settings from top left and click on SSO and do these entries and upload XML file
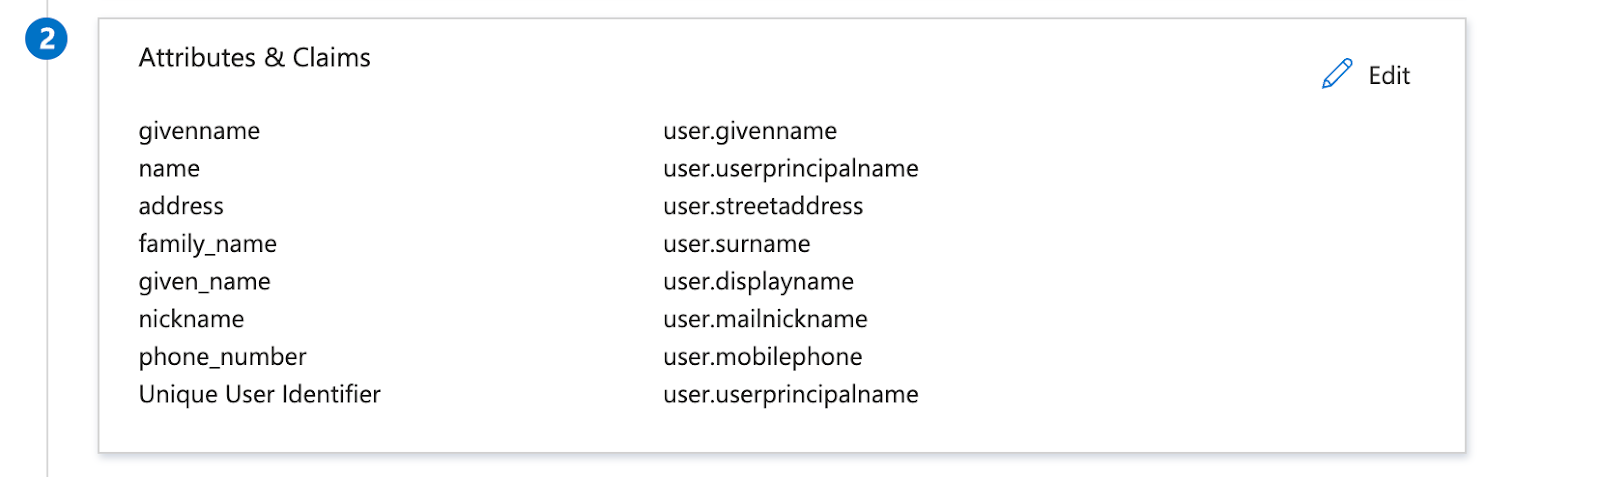
Attribute Mappings:Upload the Federation Metadata XML file you downloaded from Azure.Click Save to enable SSO for your workspace.
SSO Activation: Once saved, users can access Beam by clicking “Sign in with SSO” on the login page and entering their company email address.
Testing Your SSO Setup
After configuration, test the SSO integration:Test User Login
Log out of Beam (if currently logged in), navigate to app.beam.ai, and click Sign in with SSO. Enter a user’s company email address. The user should be redirected to Azure for authentication, then logged into Beam after successful Azure login.
Troubleshooting
SSO login fails with 'Application not approved'
SSO login fails with 'Application not approved'
Cause: The Beam application may be blocked by your organization’s Azure security policies.Solution:
- Have an Azure administrator locate the Beam application in the Enterprise Applications list
- Grant necessary permissions for the application
- Ensure users or groups are assigned to the application
- Verify the application is not blocked by Conditional Access policies
User attributes not mapping correctly
User attributes not mapping correctly
Cause: Attribute claim names in Azure don’t match the expected format in Beam.Solution:
- Verify the attribute mappings in Azure match exactly
- Check that source attributes are available in user profiles
- Re-download and re-upload the Federation Metadata XML file
- Contact Beam support if issues persist
'Sign in with SSO' button not appearing
'Sign in with SSO' button not appearing
Users can't access Beam after Azure authentication
Users can't access Beam after Azure authentication
Cause: Users may not have workspace access or proper role assignments.Solution:
- Ensure users are invited to the Beam workspace
- Check user role assignments in workspace settings
- Verify email addresses match between Azure and Beam invitations
- Have users check spam/junk folders for invitation emails
Next Steps
Workspace Setup
Configure workspace settings and invite team members
Quickstart Guide
Build your first AI agent after SSO is configured