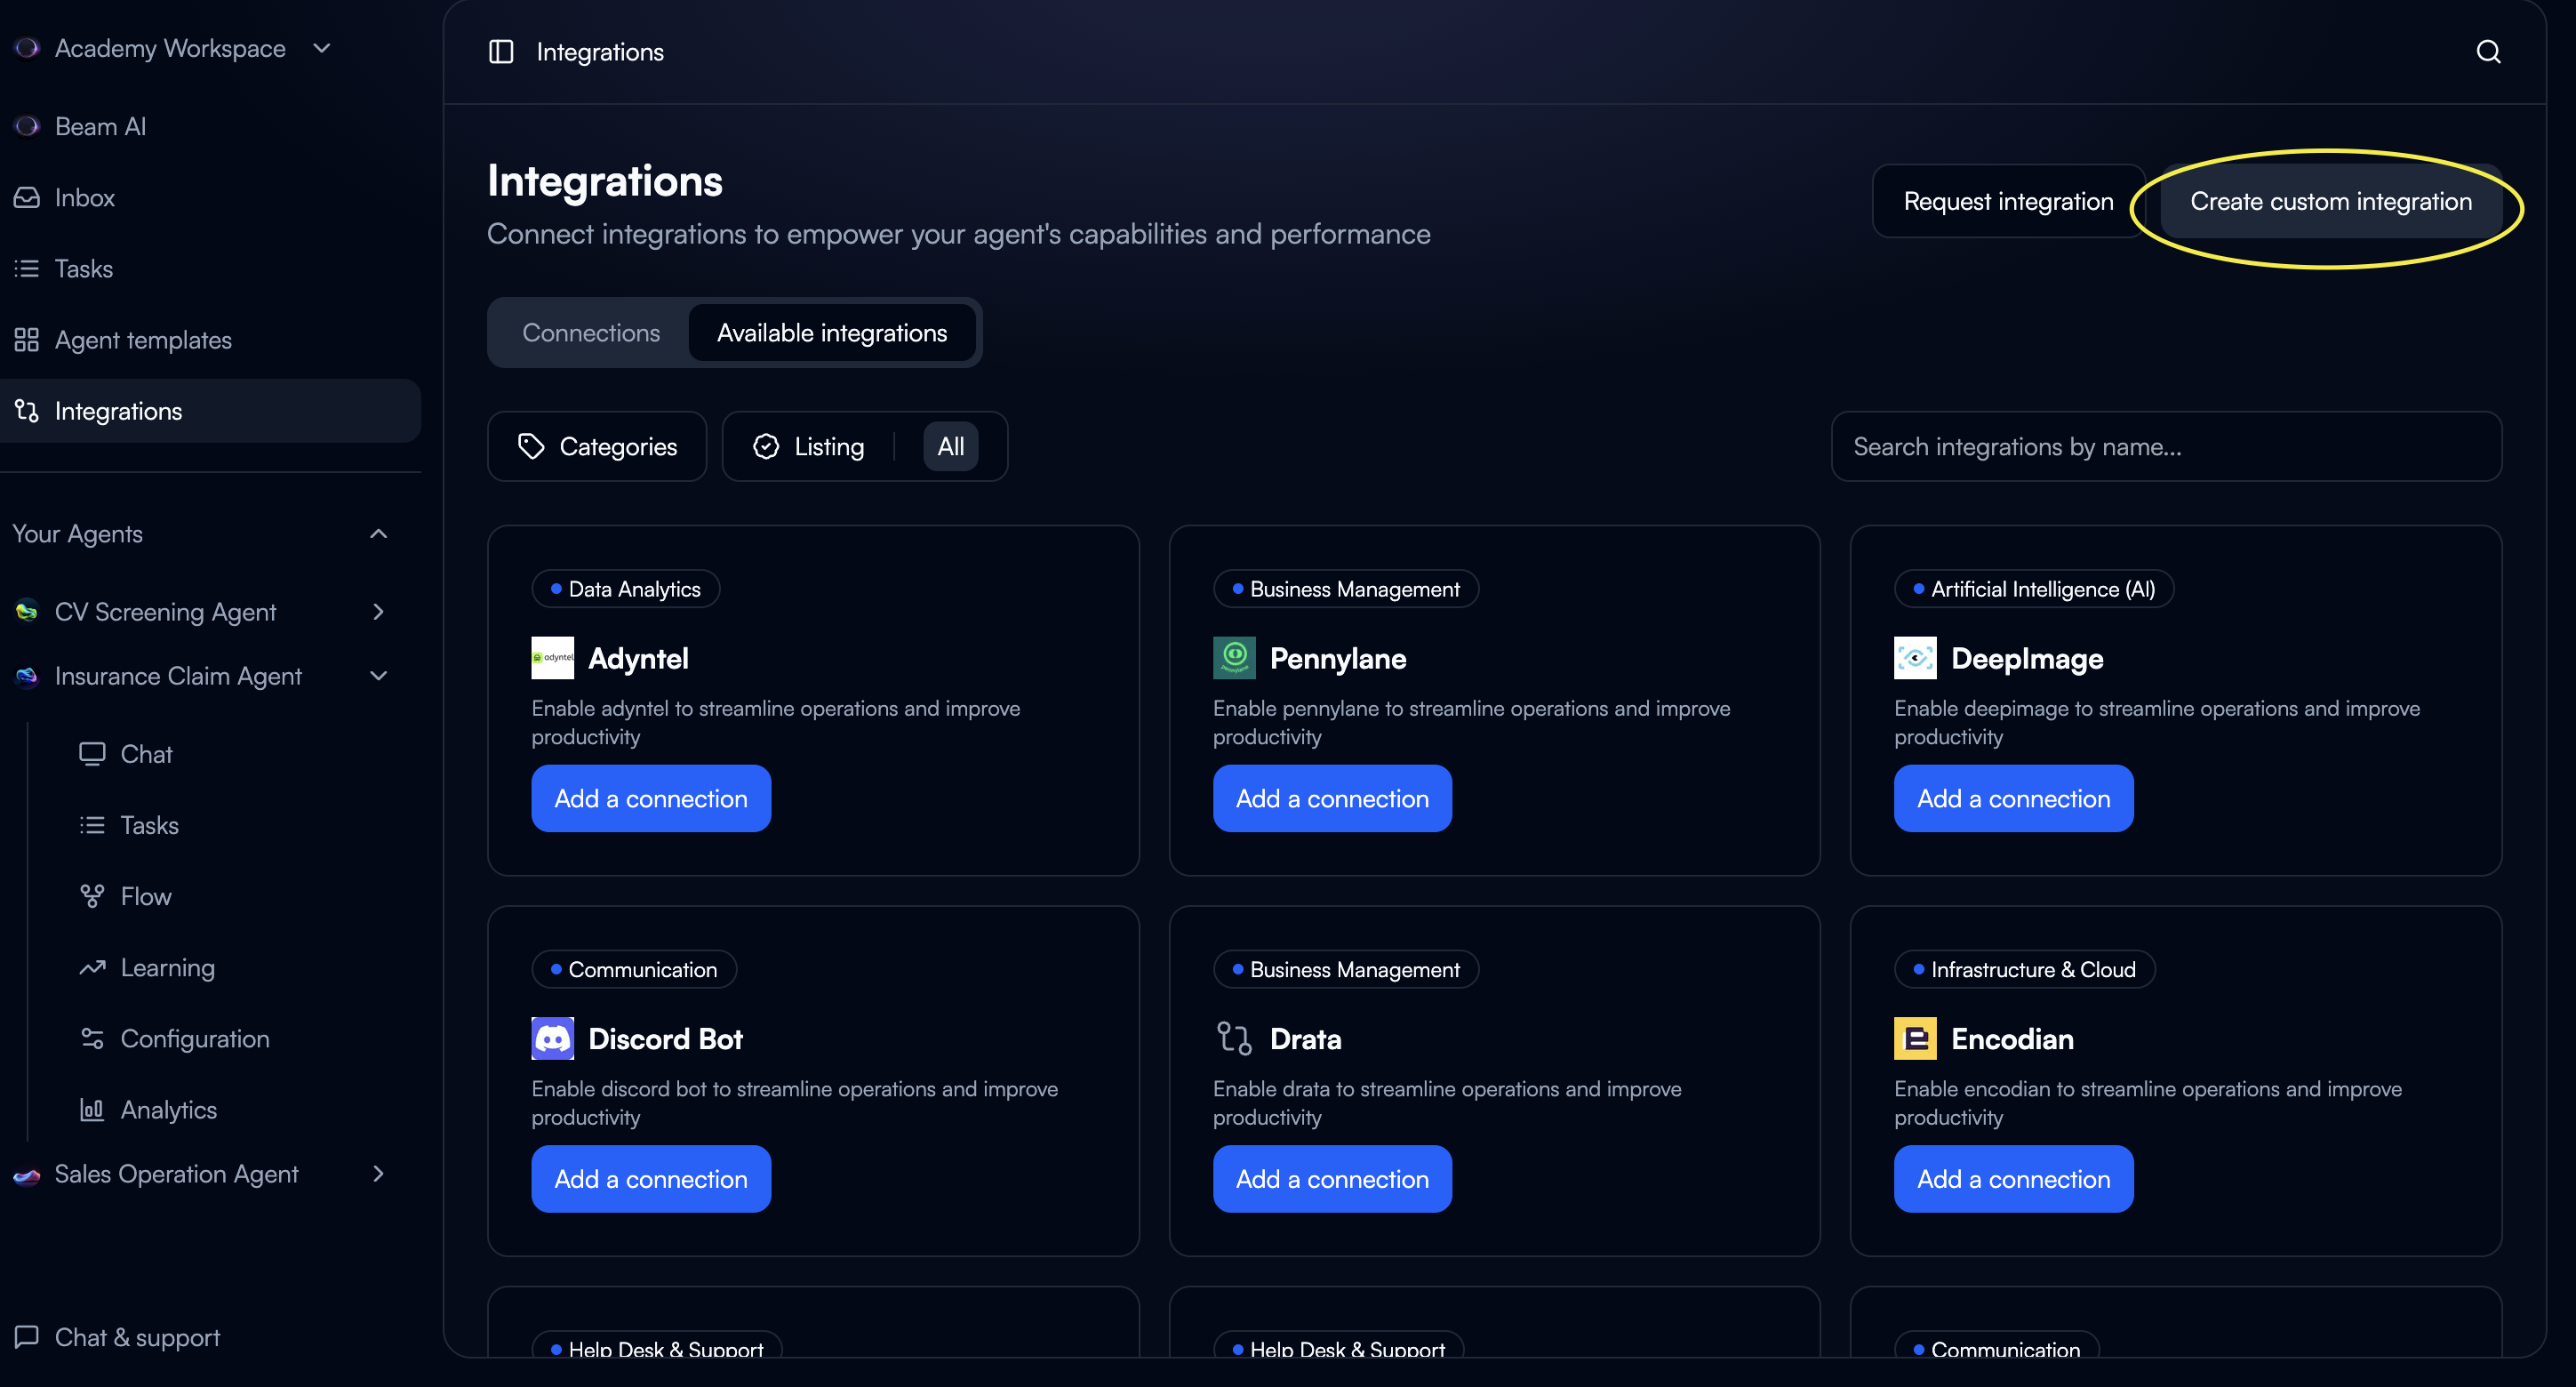
When to Build Custom Integrations
Internal Systems
Connect proprietary business systems and internal platforms
Specialized Services
Integrate industry-specific platforms not in the catalog
Custom APIs
Work with custom-built APIs and microservices
Custom Auth
Implement specialized authentication requirements
- Check if the service exists in Beam’s 1500+ integration catalog
- Have API documentation ready (OpenAPI spec preferred)
- Confirm authentication credentials and permissions
Building a Custom Integration
Configure Basics
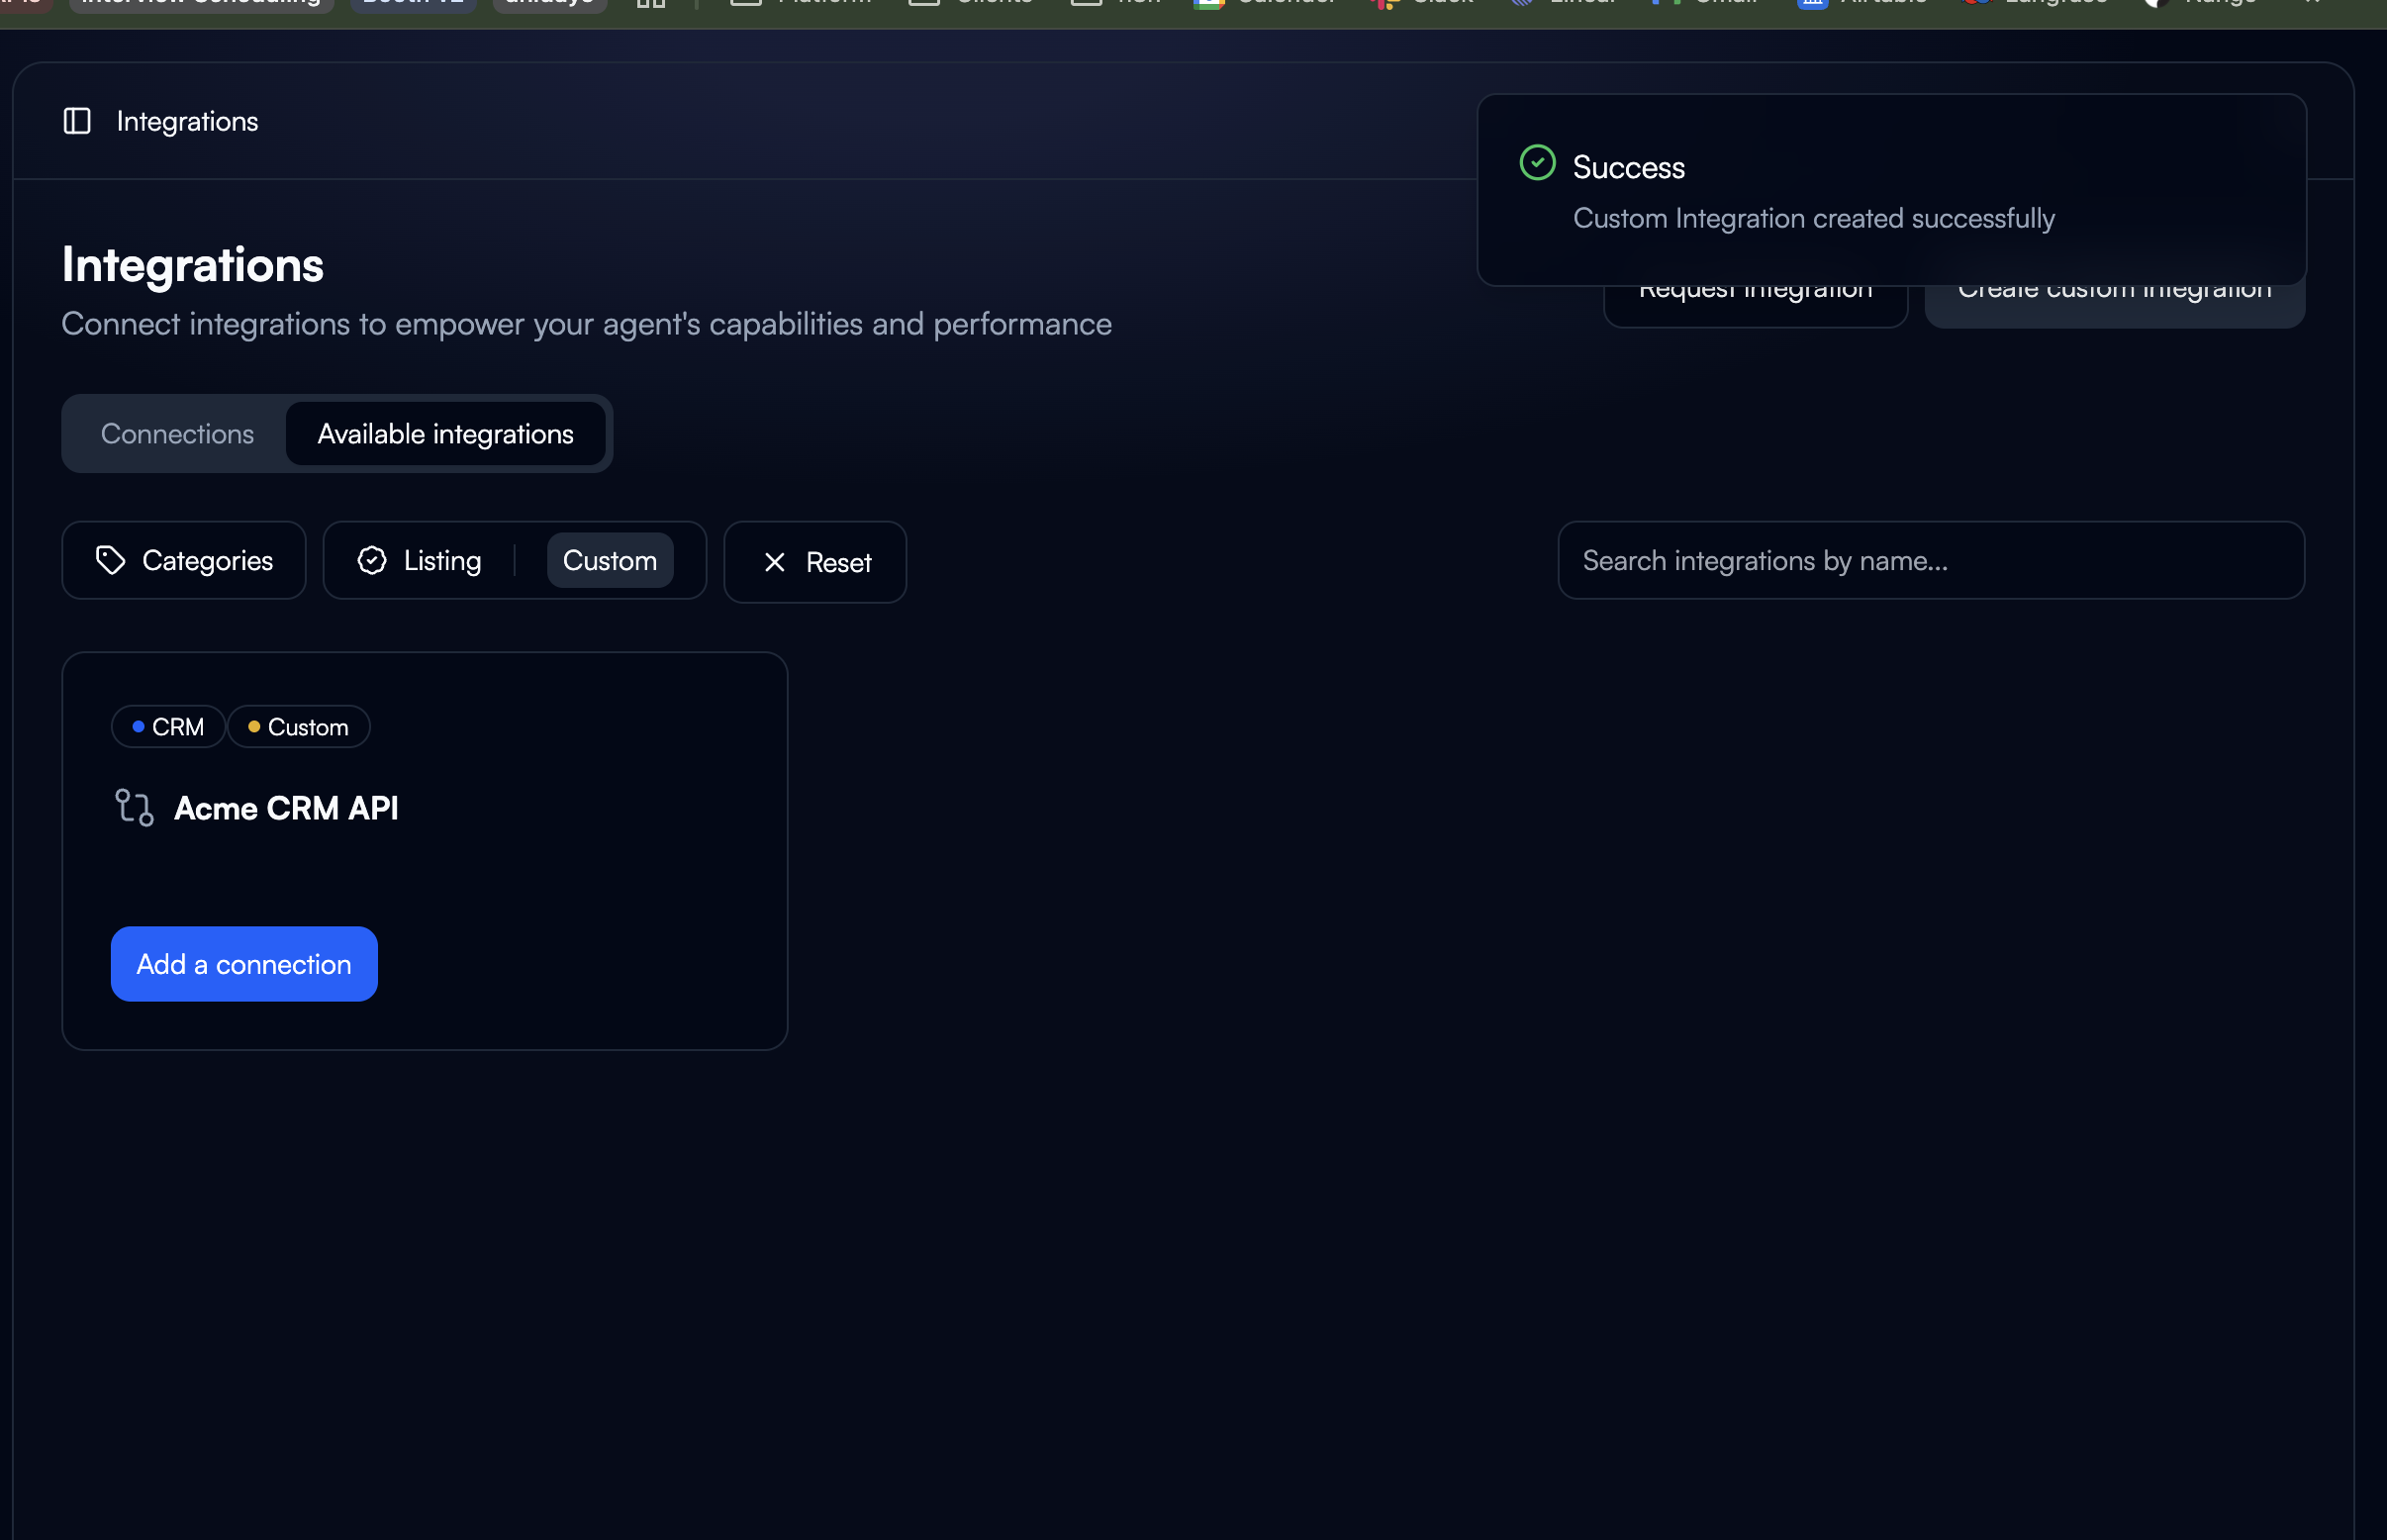
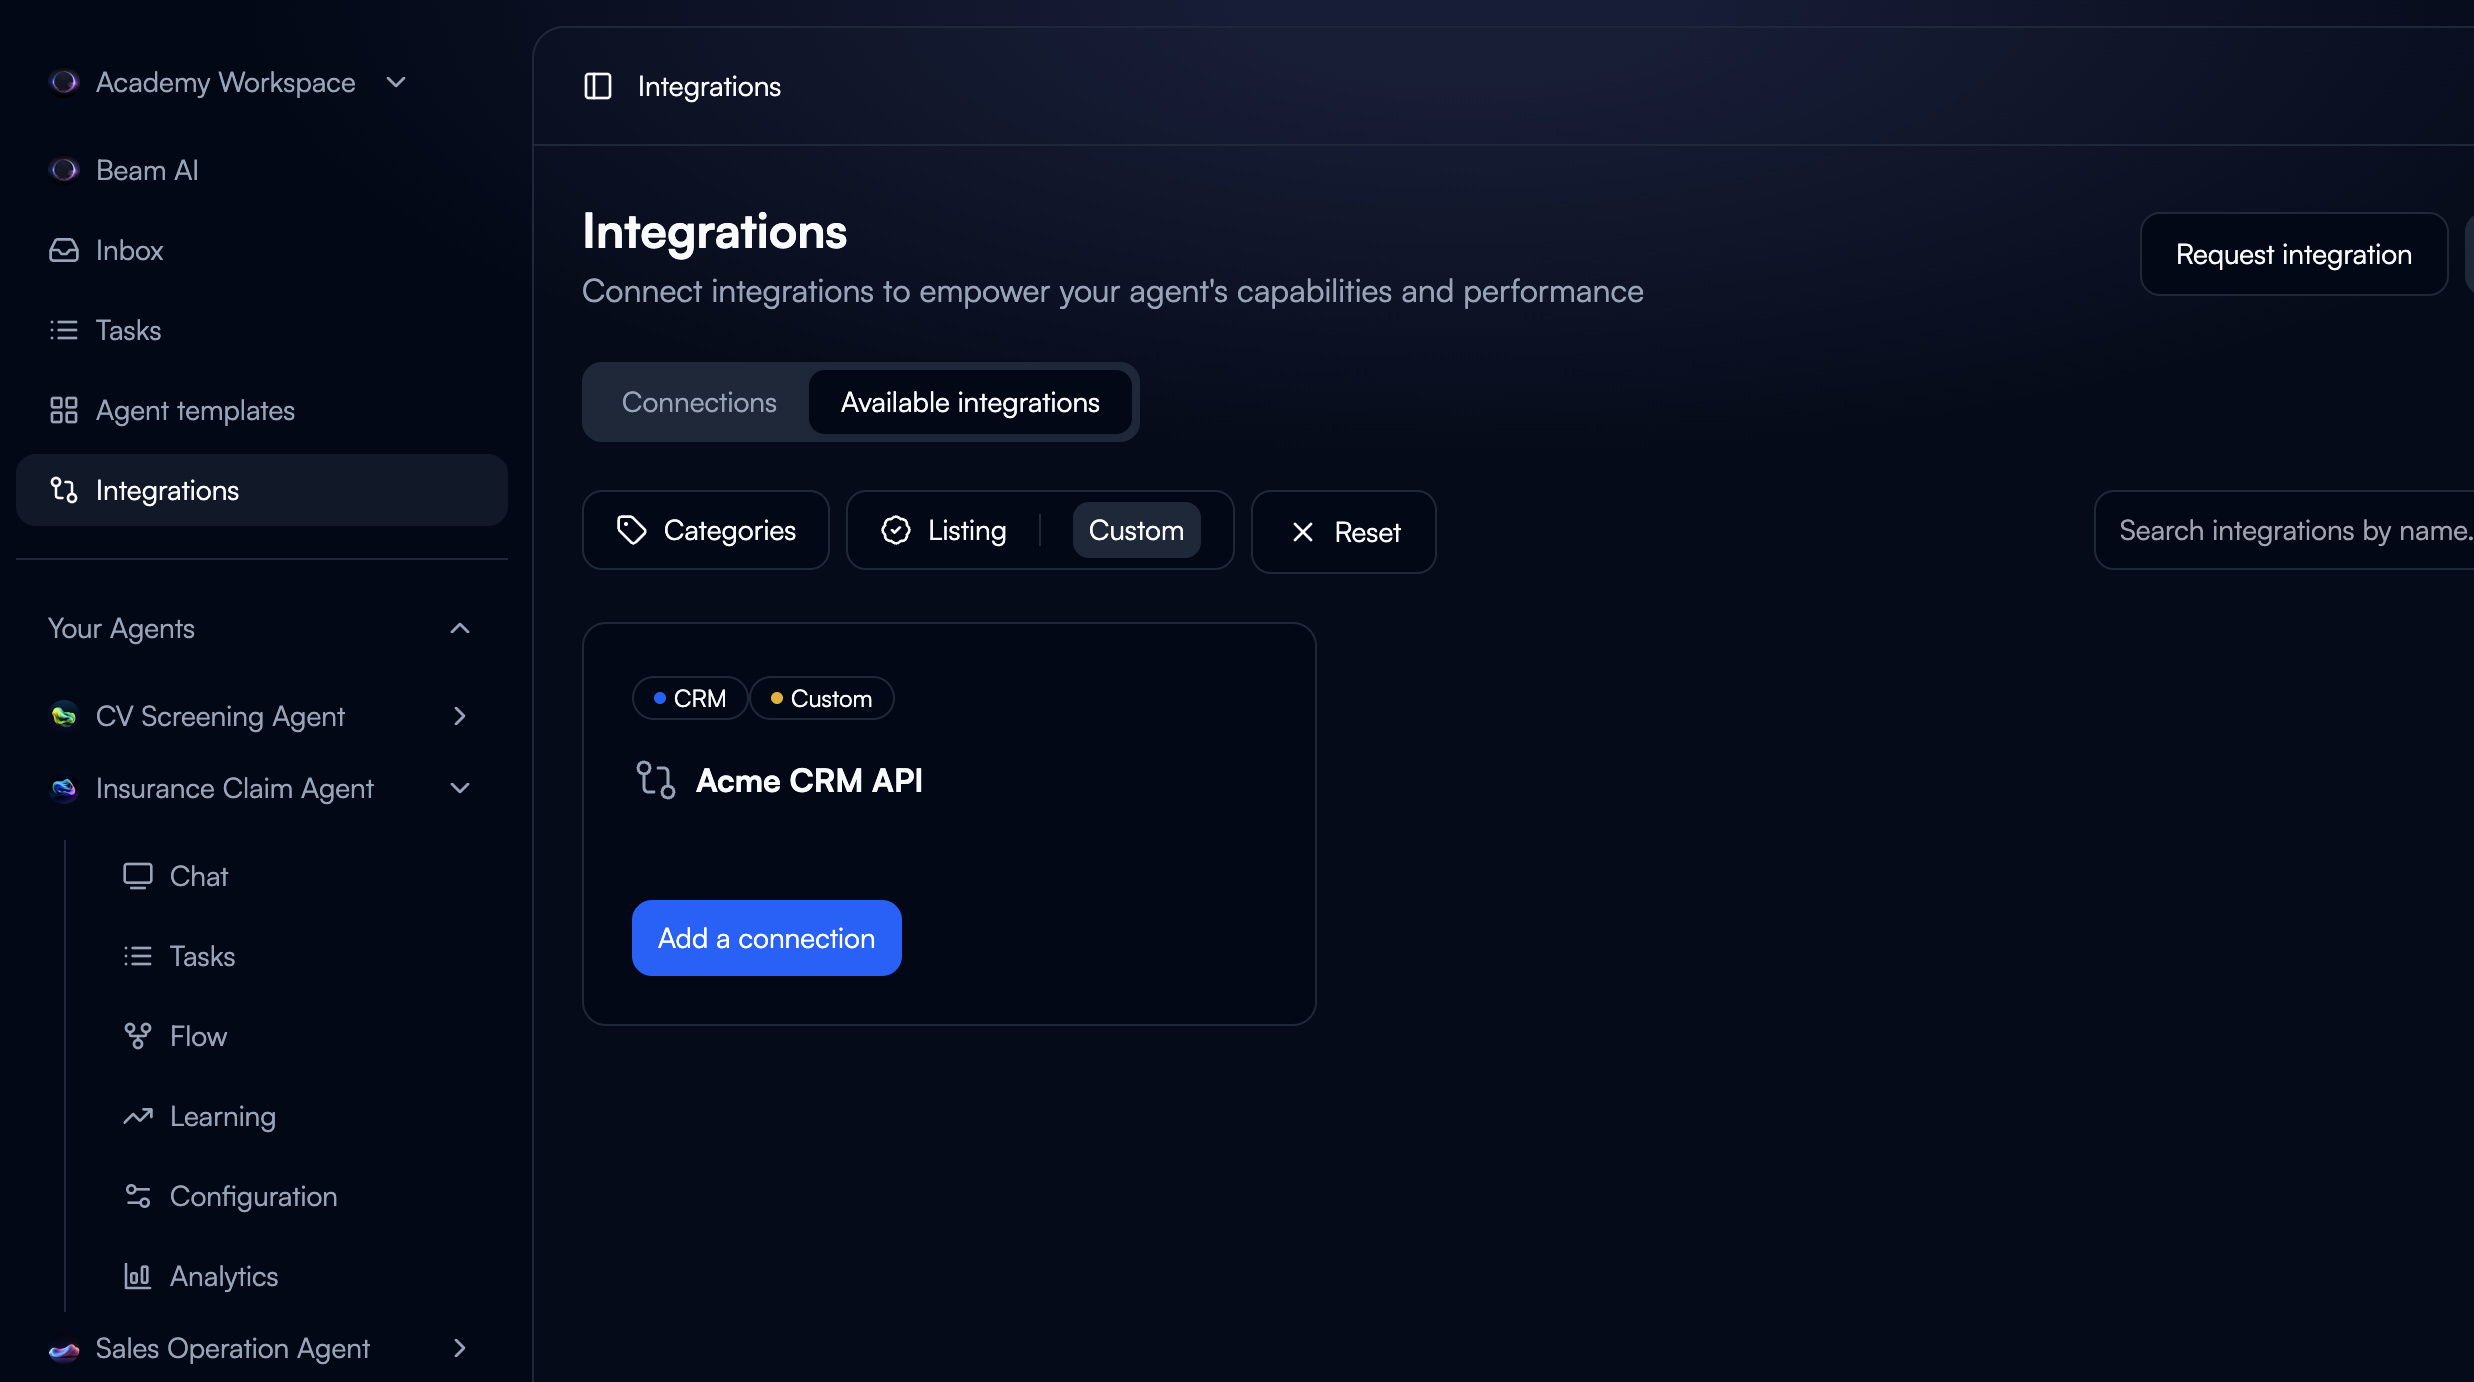
Name: Clear, descriptive (e.g., “Acme CRM API”)Icon: Optional, for visual identificationCategory: Select appropriate category for filtering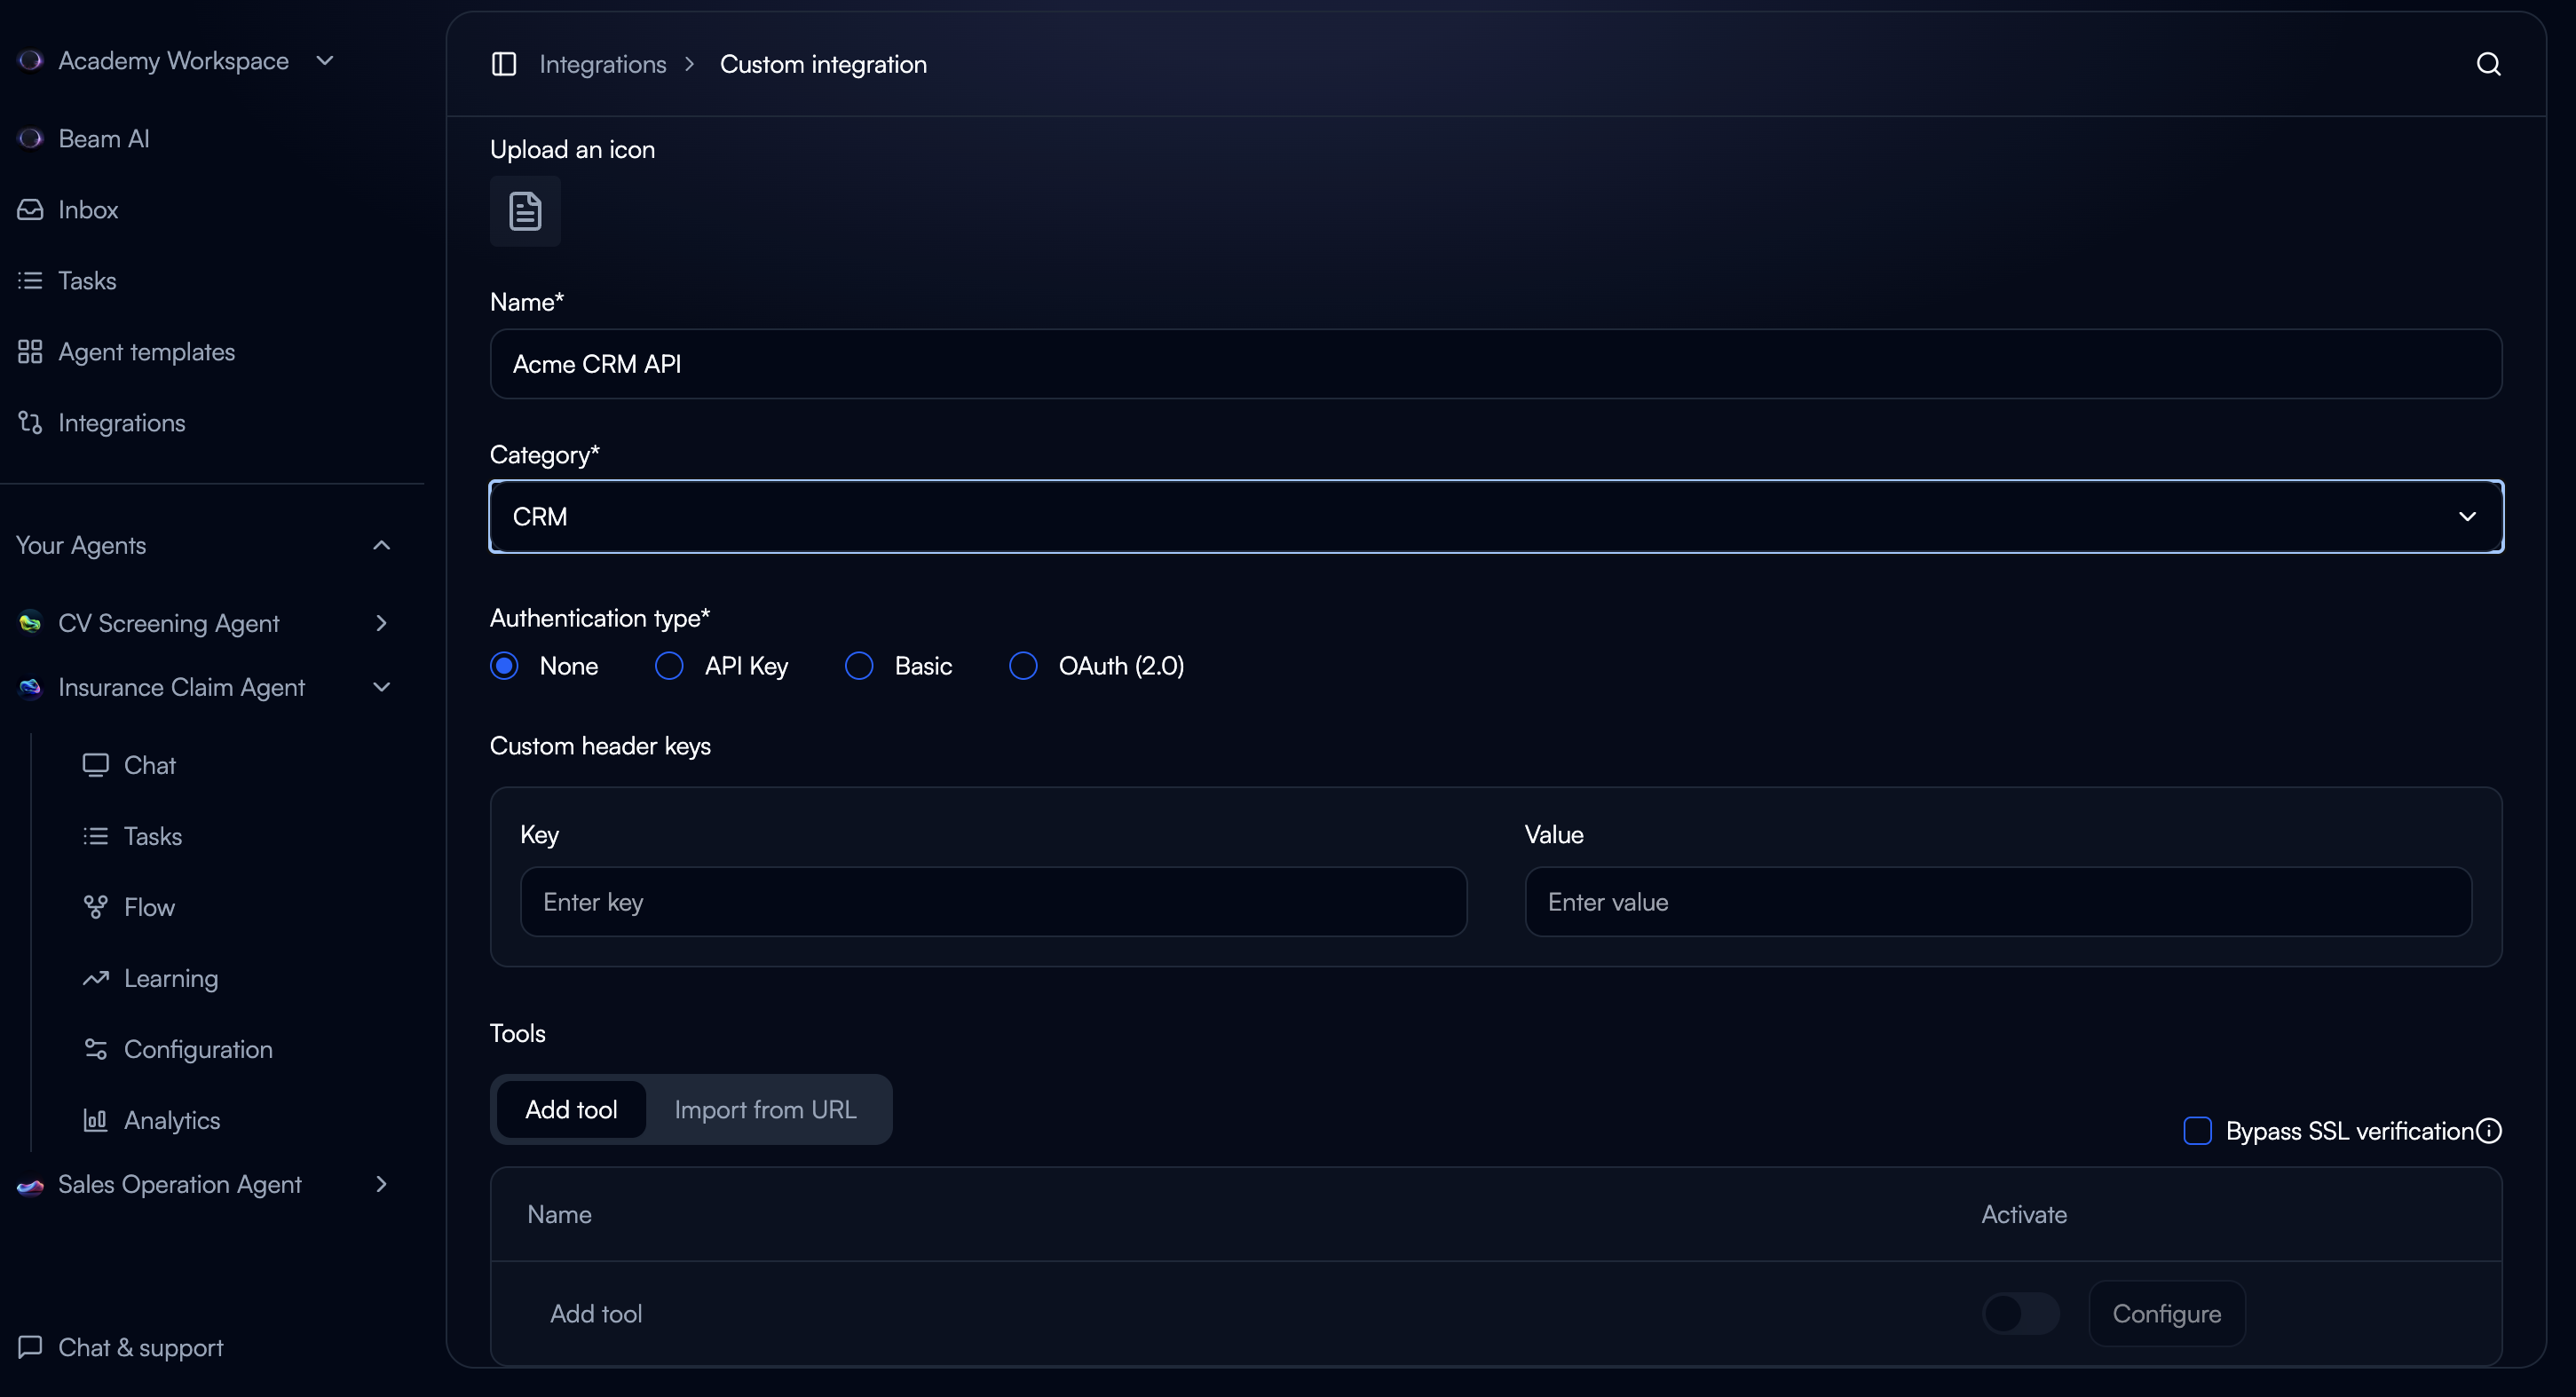
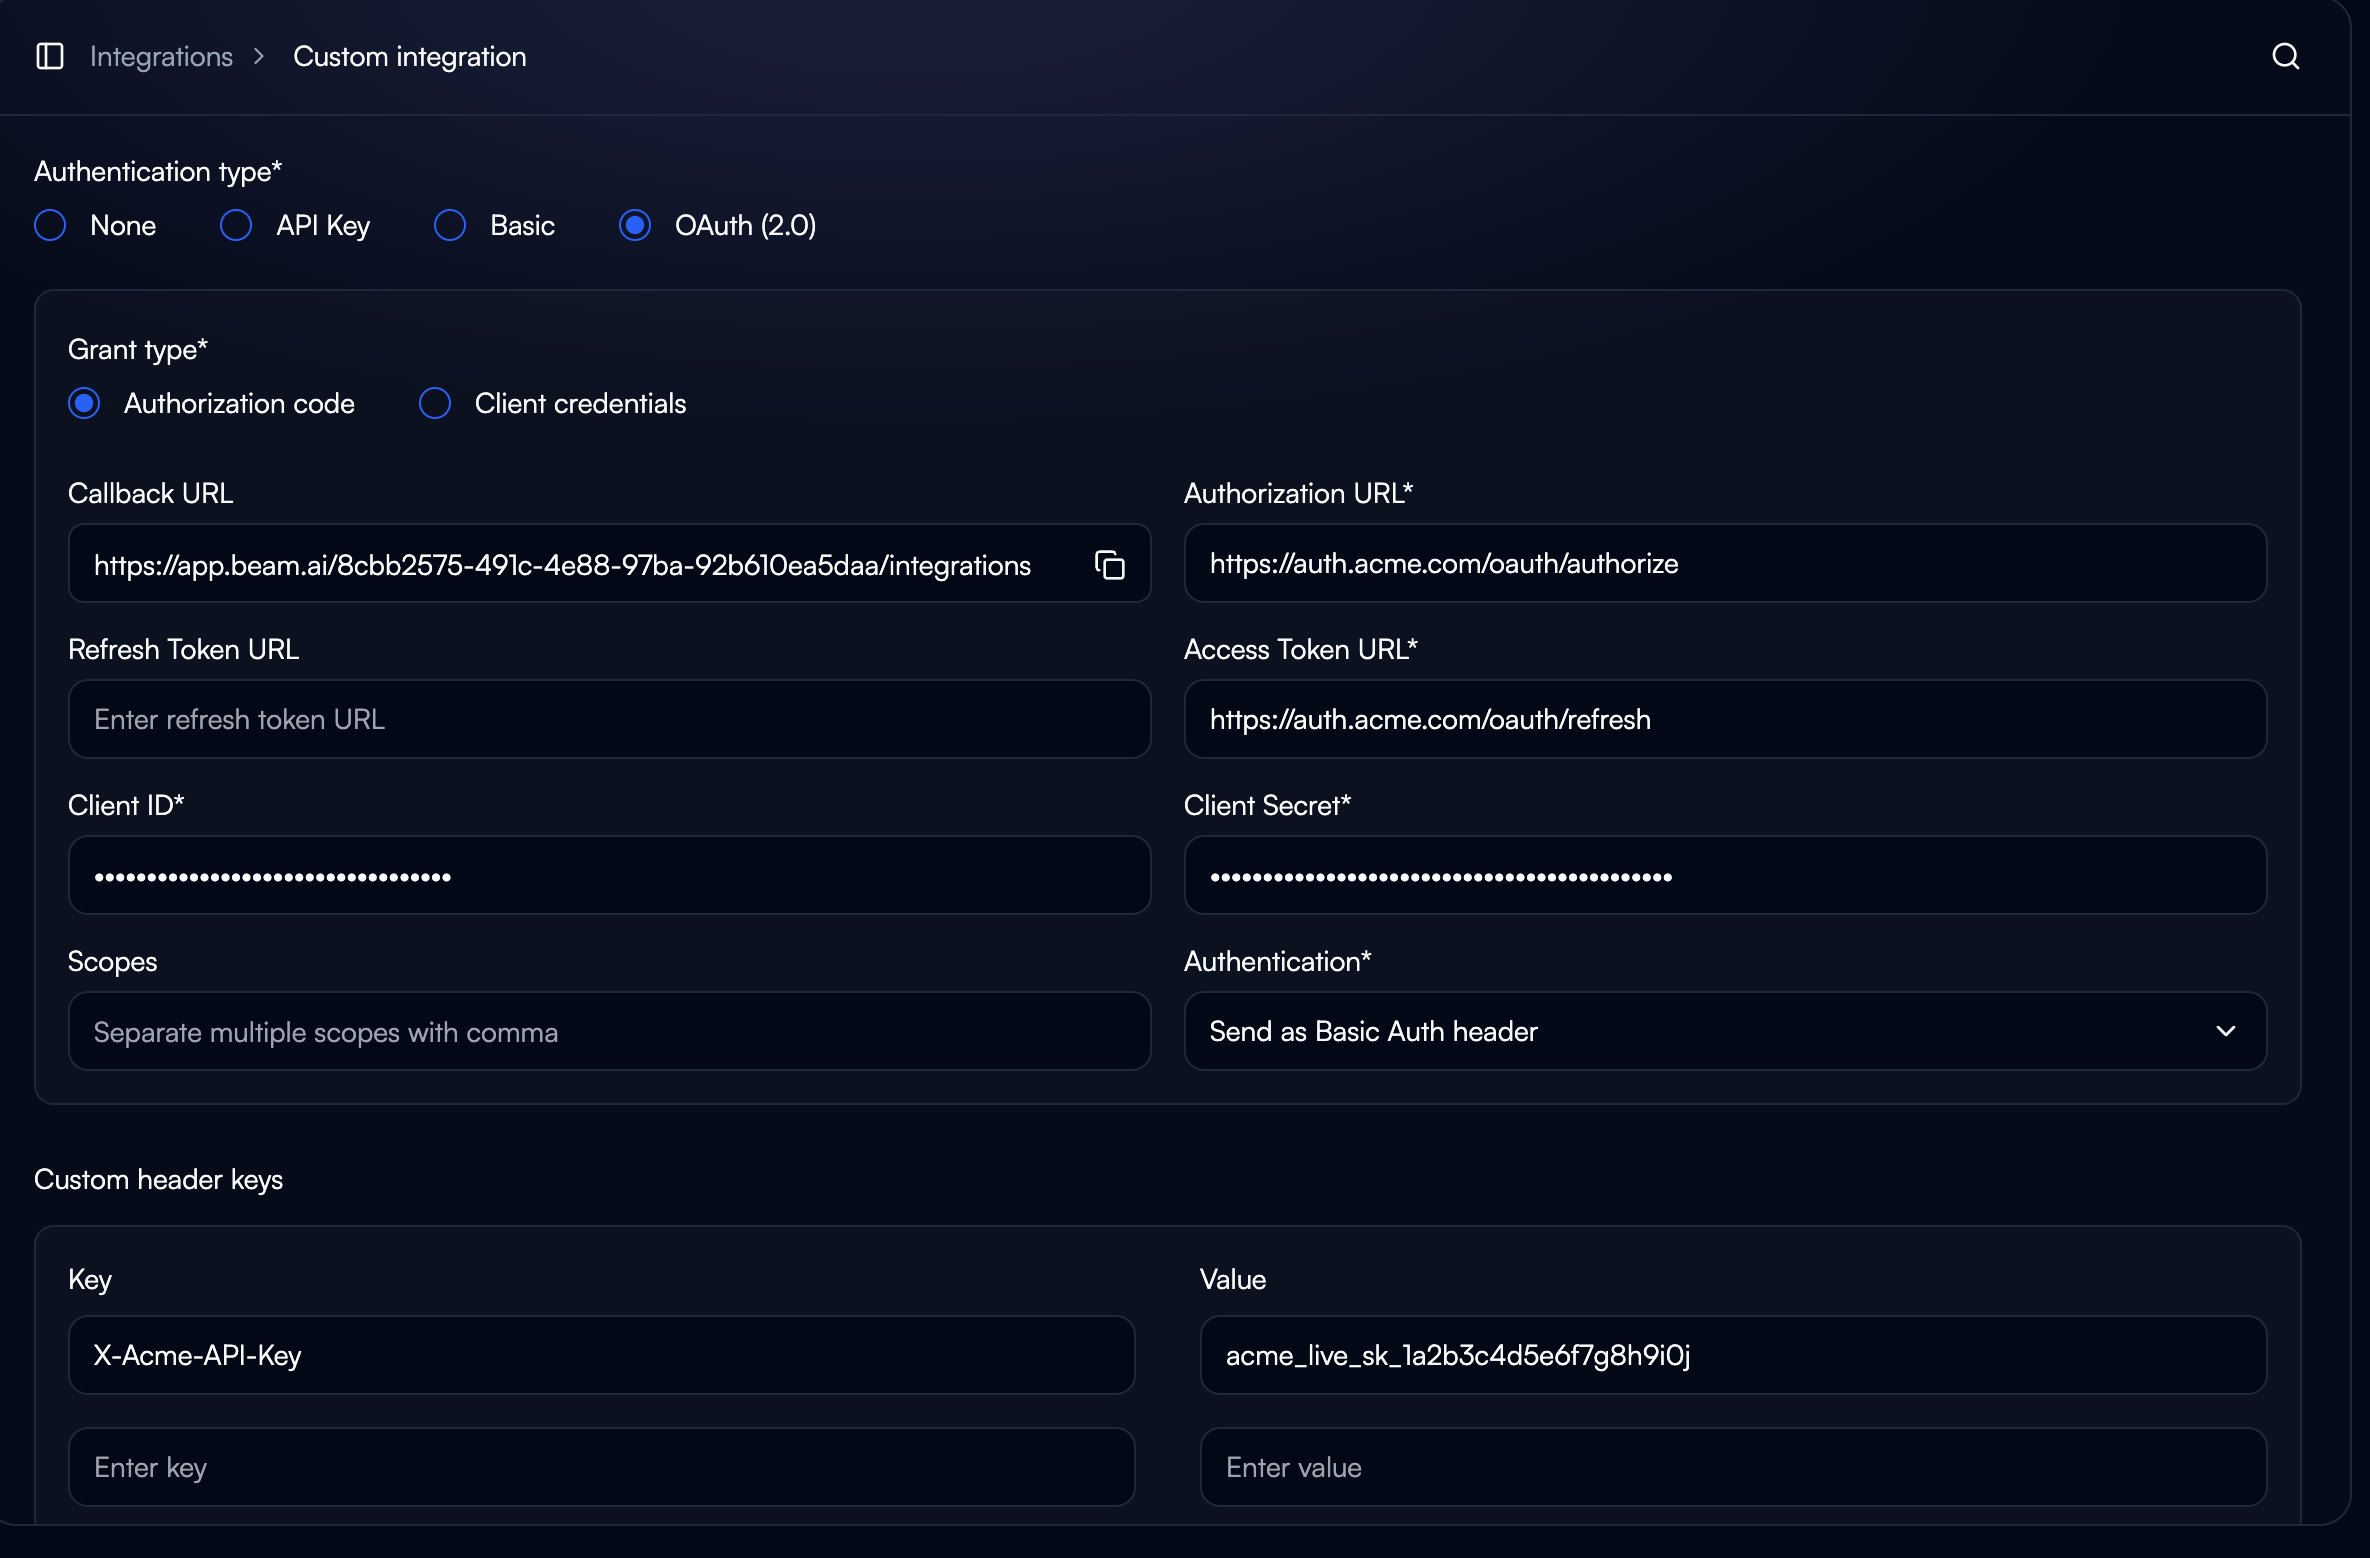
Configure Authentication
Choose authentication method:API Key (Most common):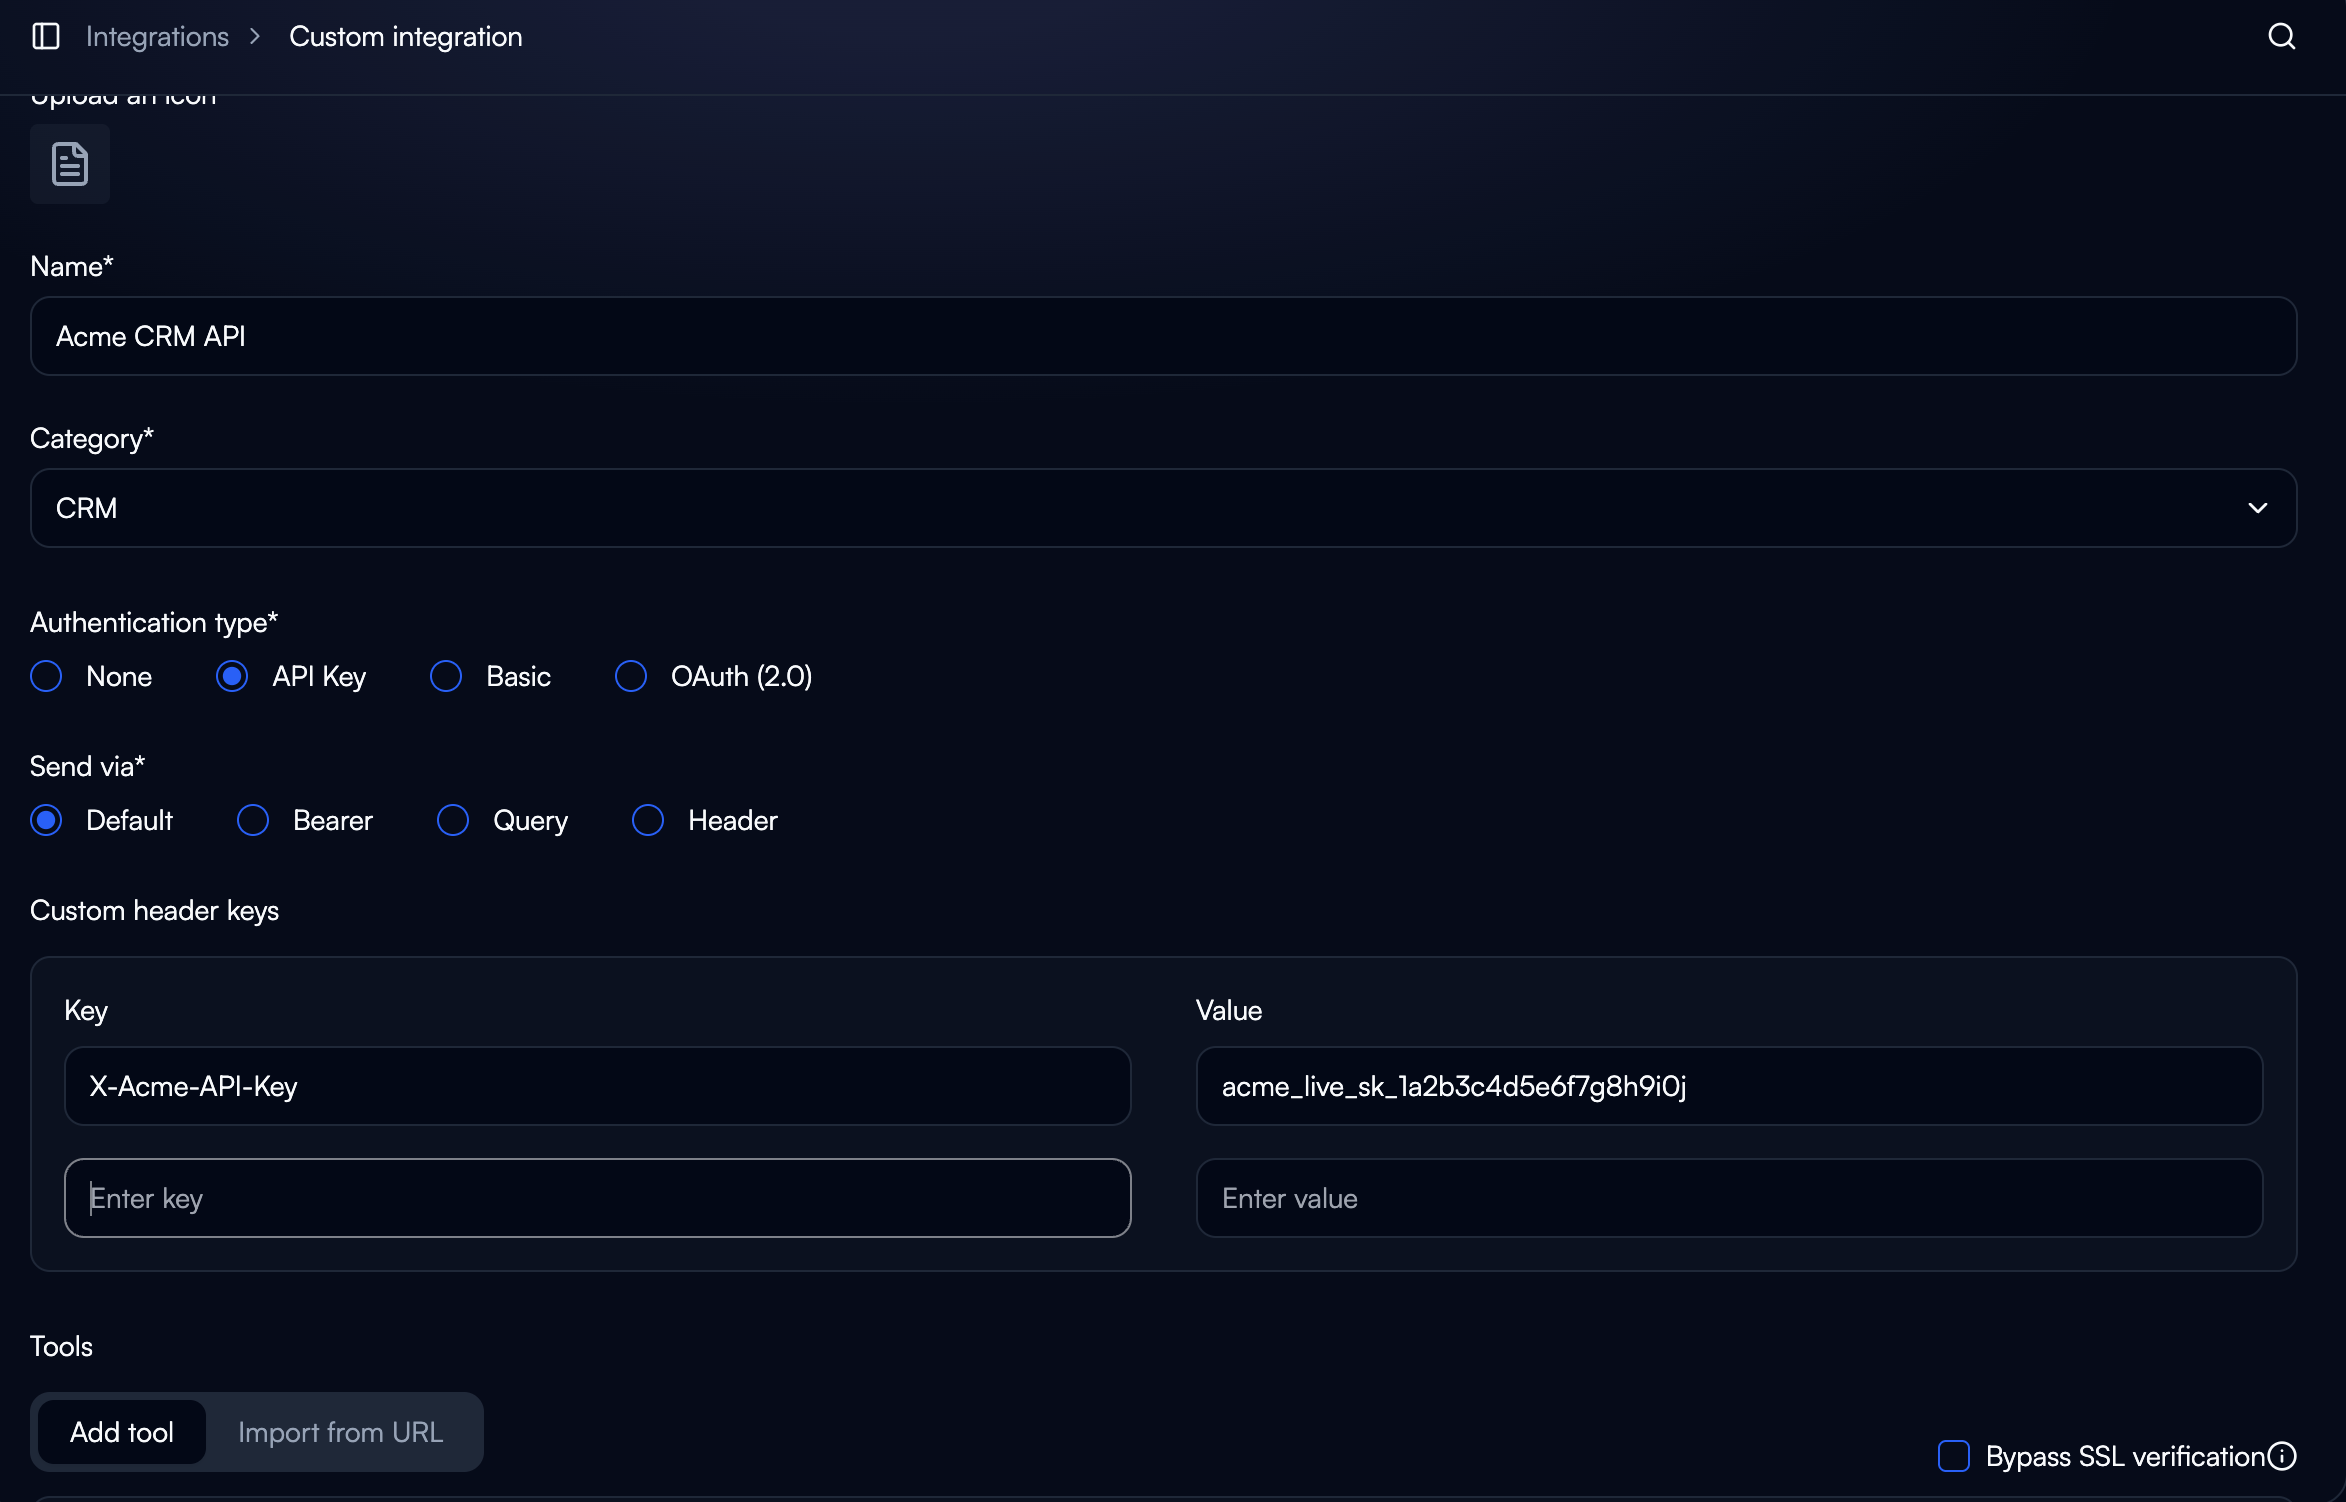
- Send via: Default, Bearer, Query, or Header
- Supports custom header names
Define Tools and Actions
Manual Creation: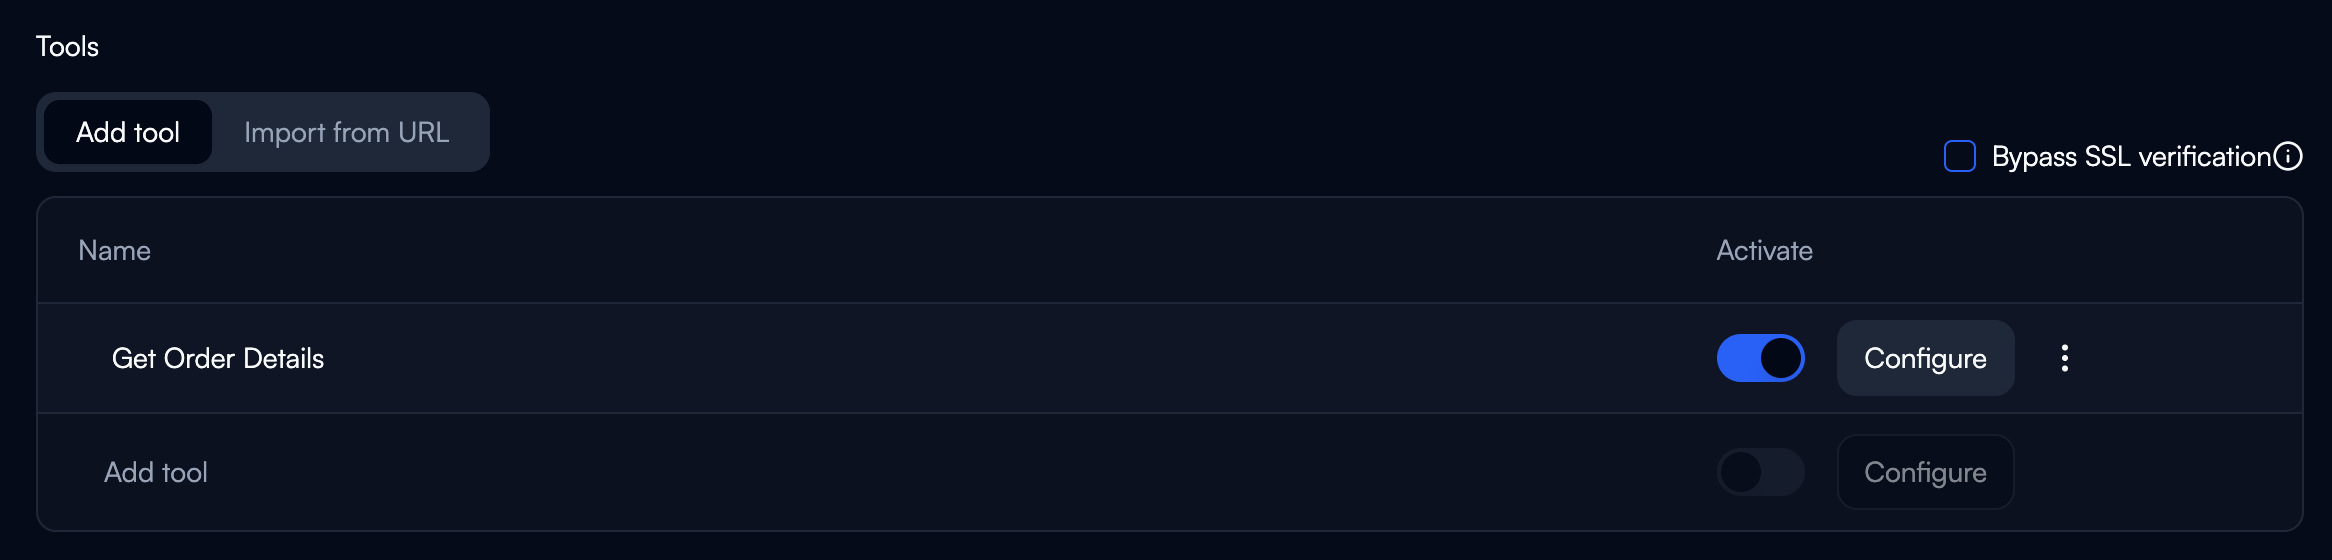
- Click “Add tool”
- Define name, description, endpoint, parameters
- Click “Import from URL”
- Provide OpenAPI spec URL
- System auto-generates tools
Configure Tool Details
API Endpoint: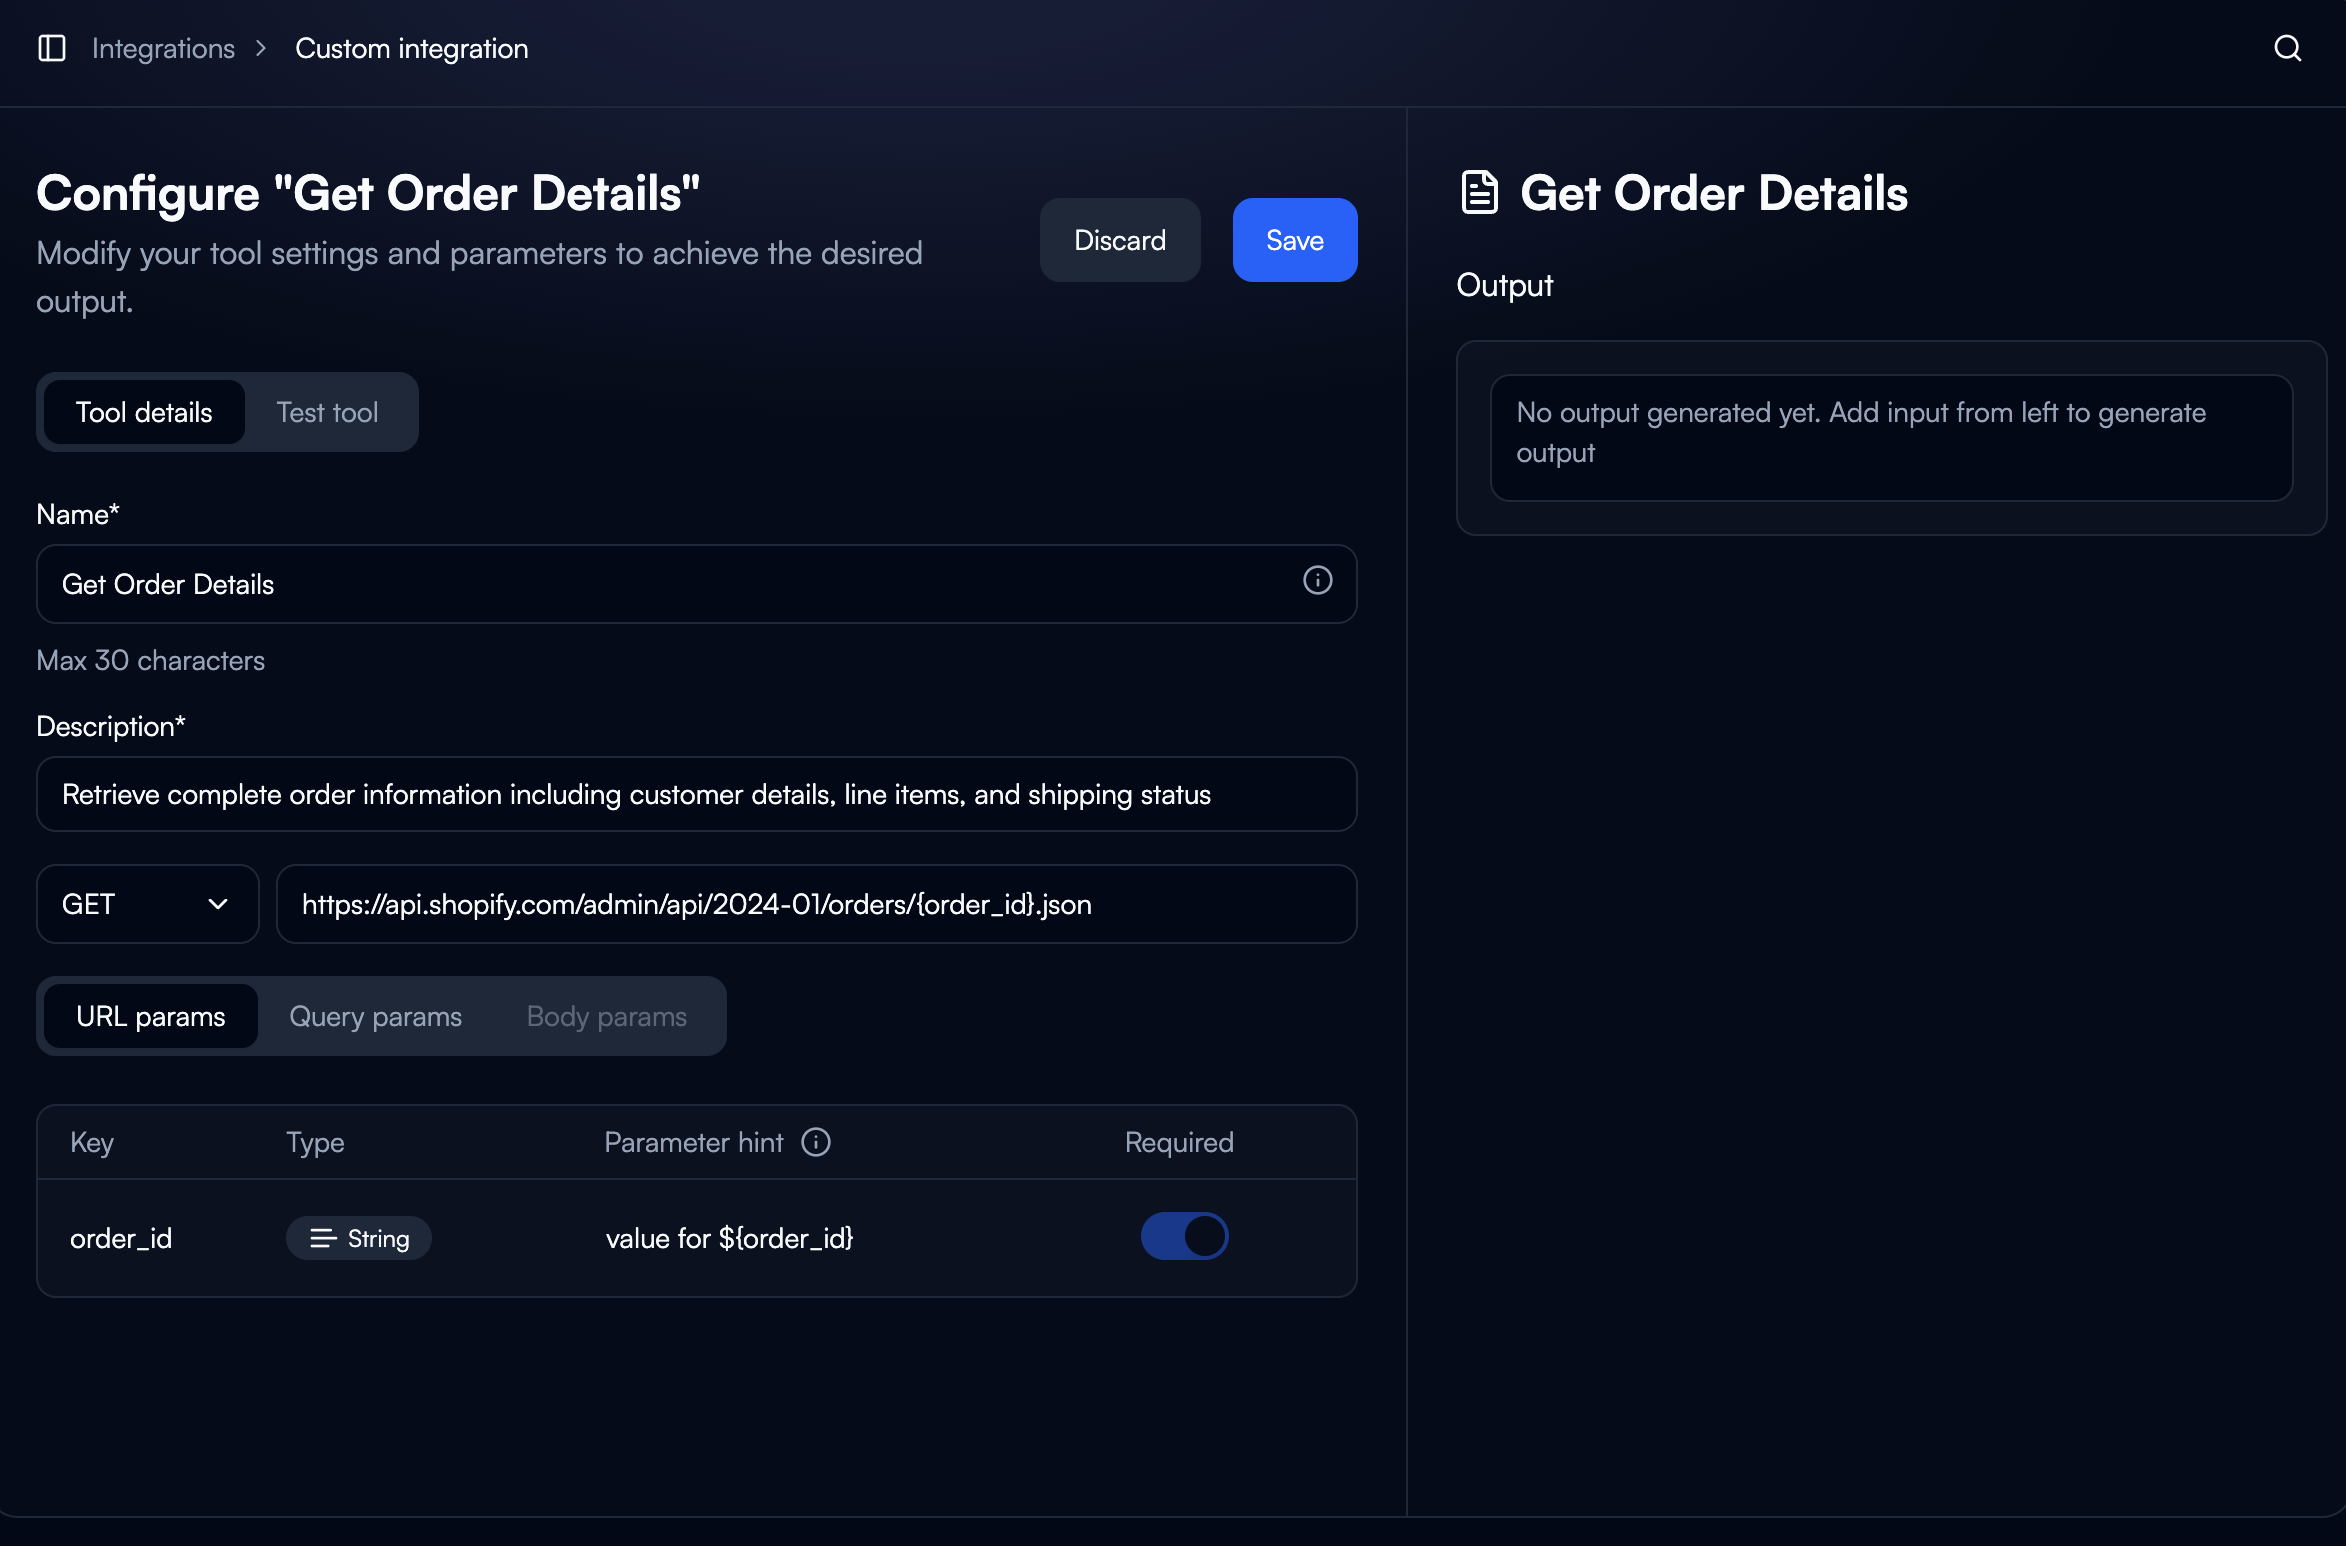
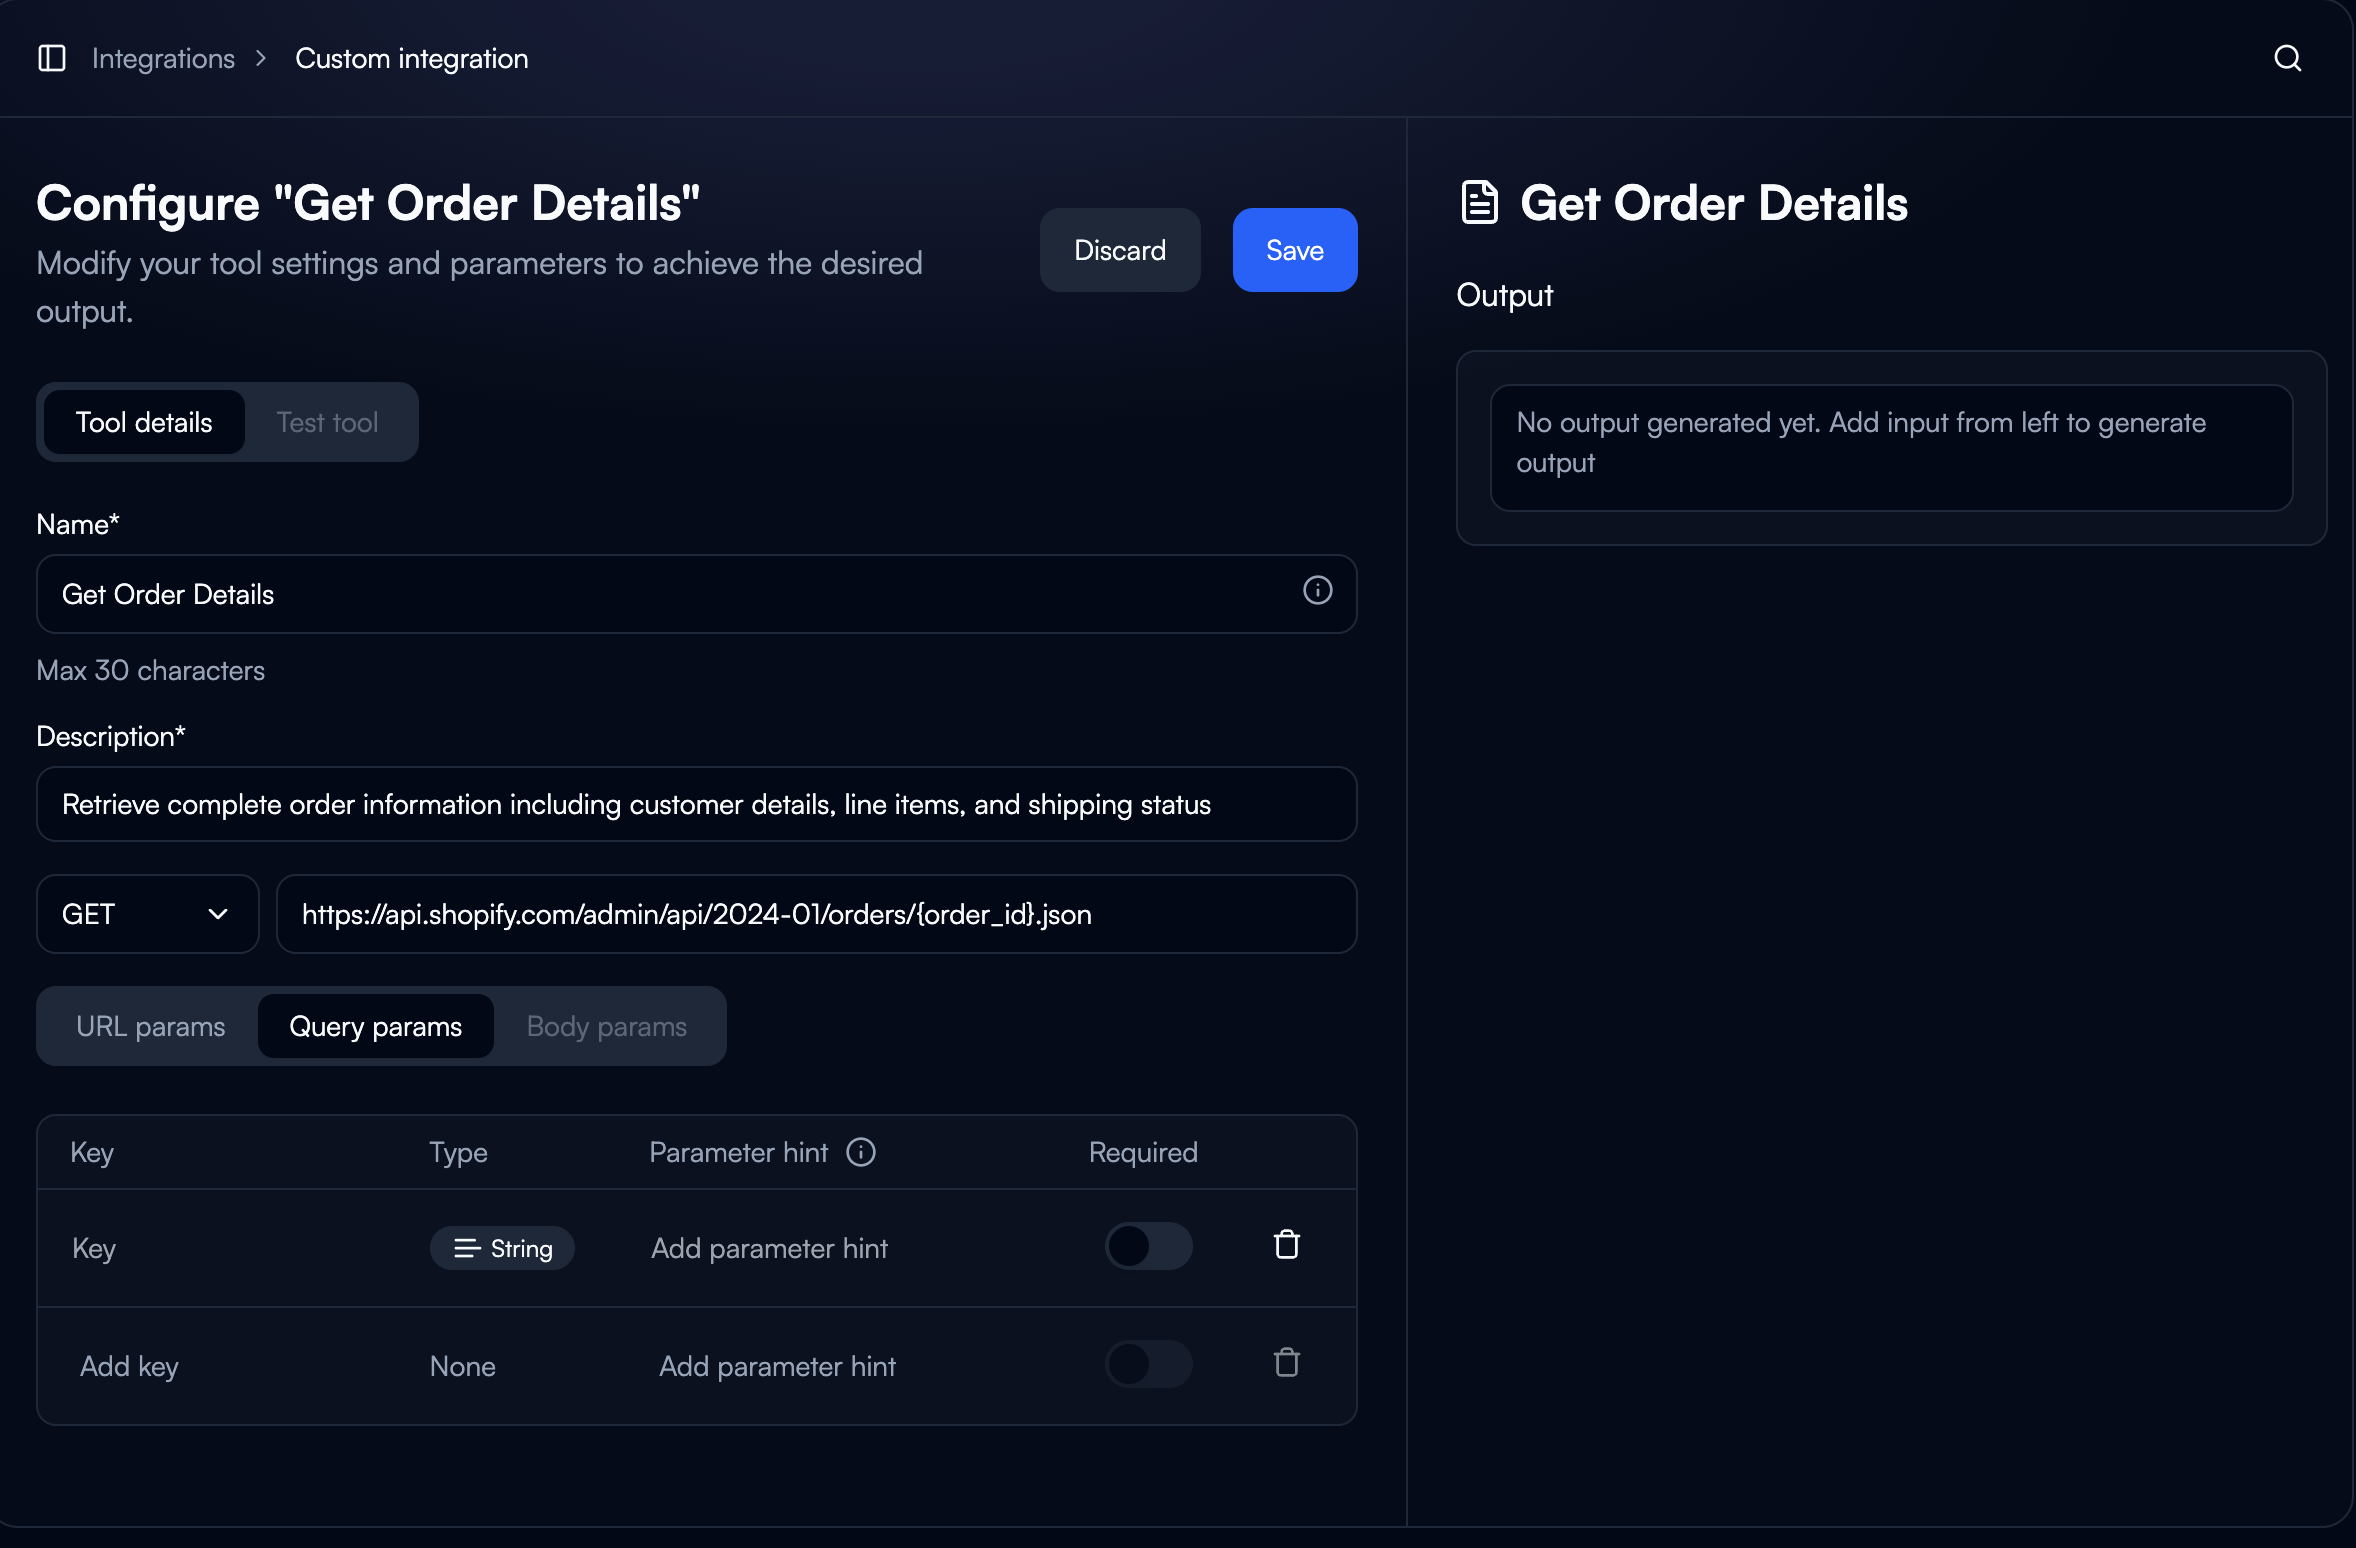
- HTTP Method: GET, POST, PUT, PATCH, DELETE
- Endpoint URL with parameter placeholders
- Example:
https://api.vendor.com/orders/{order_id}
- URL: Path variables (
{order_id}) - Query: URL parameters (
?status=completed) - Body: JSON for POST/PUT/PATCH
- Key (name)
- Type (String, Number, Boolean, Object, Array)
- Parameter hint (AI context)
- Required toggle
Using in Workflows
Adding Custom Integration to Nodes
- Select Tool: Browse to your custom integration in node configuration
- Choose Action: Pick specific API operation
- Map Inputs: Use variable fill methods to pass data
- Select Connection: Choose which credentials to use
Accessing Outputs
Custom integration outputs are accessible to downstream nodes:Authentication Methods
API Key
Most common method. Configure where the key is sent:- Bearer:
Authorization: Bearer {api_key} - Header: Custom header name
- Query: URL parameter
OAuth 2.0
Secure, user-authorized access: Authorization Code: User explicitly authorizes, supports token refresh Client Credentials: Machine-to-machine, no user authorization Required: Authorization URL, Access Token URL, Scopes, Client ID/SecretBasic
Username/password for legacy systems. Less secure than modern methods.Schema Definition
OpenAPI Import
Fastest setup for documented APIs:- Provide OpenAPI spec URL
- System generates tools automatically
- Review and activate endpoints
Manual Schema
For APIs without OpenAPI specs:Testing
Test Tool Feature:- Open tool configuration
- Click “Test tool” tab
- Provide sample values
- Verify response structure
- Build minimal flow with static data
- Run task manually
- Review execution results
- Verify data flows to next nodes
Common Errors
401 Unauthorized: Check credentials, token expiration, OAuth scopes 400 Bad Request: Verify required parameters, types, formats 429 Too Many Requests: Add delays, use caching, batch operations Request Timeout: Check endpoint accessibility, optimize queriesAdvanced Patterns
Dynamic Endpoints: Use variable substitutionBest Practices
Security:- Never expose API keys in logs
- Separate credentials for dev/staging/prod
- Rotate credentials regularly
- Minimize unnecessary requests
- Cache frequently accessed data
- Respect rate limits
- Document API version in integration name
- Test after API updates
- Monitor provider changelogs
Examples
Internal CRM
- Auth: API Key (Header)
- Tools: Get Customer, Create Customer, Update Status
- Use: Workflow creates CRM record on signup
Legacy ERP
- Auth: Basic Authentication
- Tools: Query Inventory, Create PO, Update Status
- Use: Check inventory before order, create PO if low
Microservices
- Auth: OAuth 2.0 (Client Credentials)
- Tools: Process Order, Calculate Shipping, Validate Payment
- Use: E-commerce workflow orchestrates multiple services
Next Steps
Multi-Agent Collaboration
Enable agents to call other agents for complex workflows
Integrations
Learn about pre-built integration catalog
Structured Outputs
Design predictable output schemas for integrations
Multi-Agent Collaboration
Enable agents to share data and coordinate workflows