Creating AI agents in Beam can be approached through multiple pathways, each designed for different use cases and skill levels.Documentation Index
Fetch the complete documentation index at: https://docs.beam.ai/llms.txt
Use this file to discover all available pages before exploring further.
Quick Start: New to Beam? Start with a template to understand core concepts, then progress to custom builds as your needs evolve.
Agent Creation Methods
Template-Based Creation
Best for: Quick deployment, learning fundamentals, standard use cases Time to deploy: 5-15 minutes Skill level: Beginner to Intermediate Templates provide pre-configured agents with complete workflows already built and ready to deploy. Each template includes a fully connected flow with nodes, tools, and configurations set up for specific use cases. You can immediately view the entire workflow structure, understand how it operates, and customize it to match your exact requirements. Perfect for common business scenarios like Customer Service, Sales Operations, and Data Extraction.Access Templates
Navigate to Agent Templates in the sidebar or use the search bar to find “Create a new agent from a template”
Select Your Template
Choose the template that matches your use case: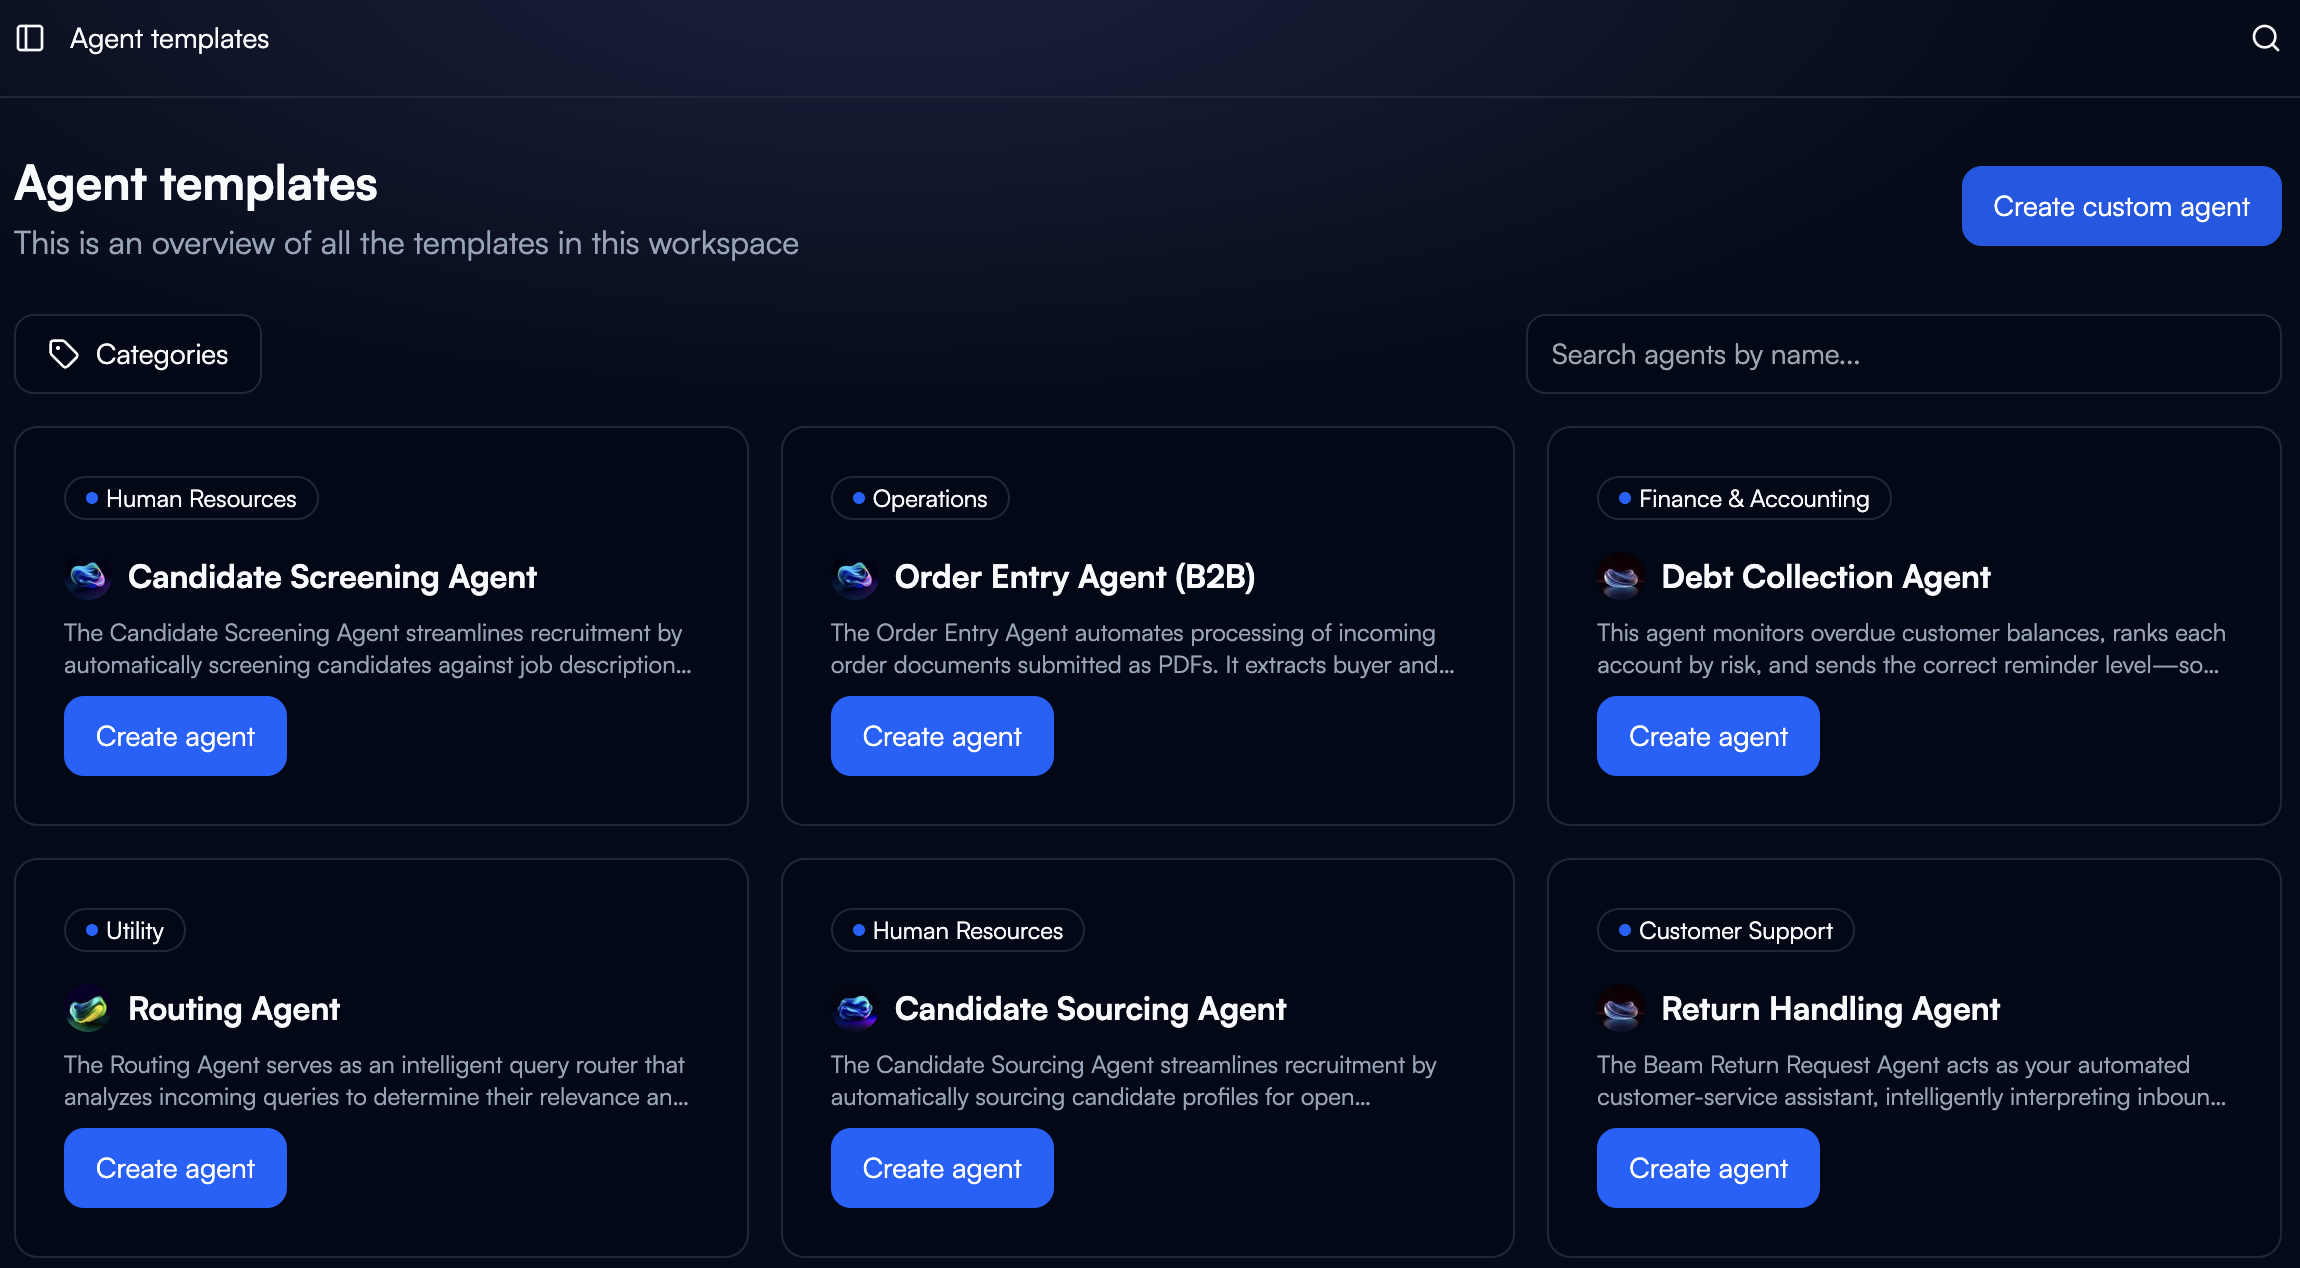
- Customer Service: Email processing, reply generation, escalation routing
- Sales Operations: Lead qualification, CRM updates, follow-up automation
- Data Extraction: Document processing, structured output generation
Review Pre-Built Flow
Once created, you’ll see the complete workflow with all nodes already connected and configured. Review: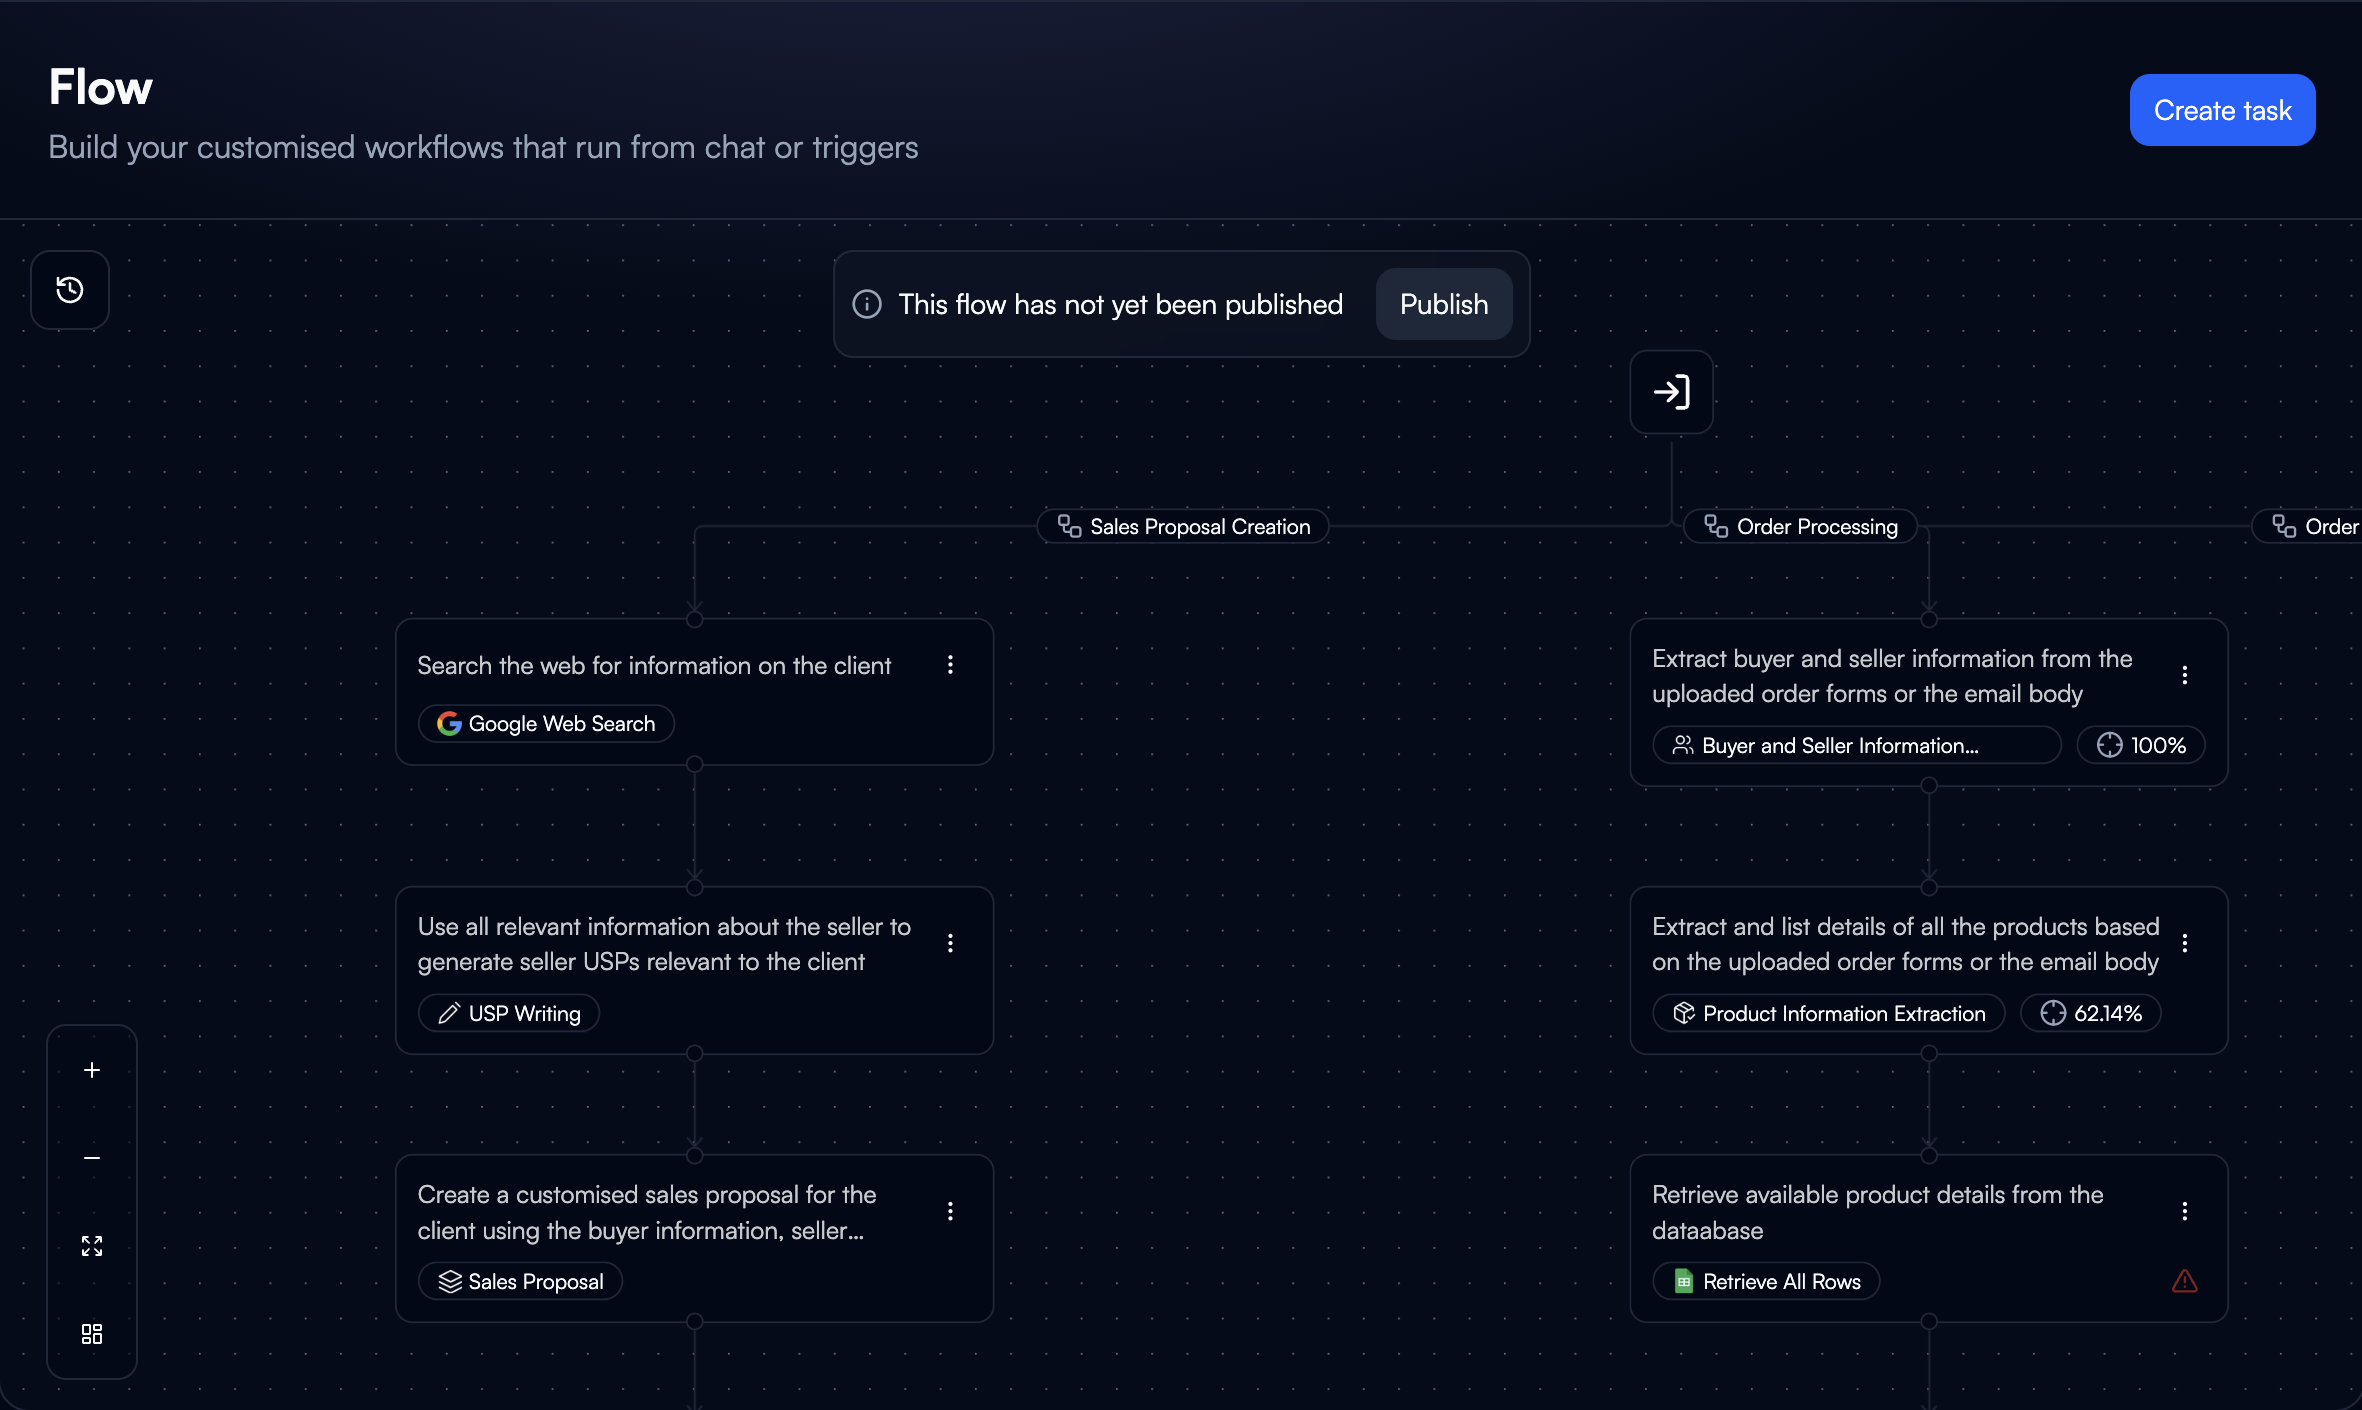
- Node sequence and connections
- Tools assigned to each node
- Variable mappings and data flow
- Branch conditions and exit points
Modify As Needed
Customize the template to match your specific requirements:
- Adjust node objectives and tools
- Modify prompts for your domain
- Add or remove nodes
- Reconfigure variable mappings
Chat-Based Creation
Best for: Rapid prototyping, conversational workflows, quick iterations Time to deploy: 10-20 minutes Skill level: Beginner to Intermediate Describe your automation need in natural language and Beam automatically generates a complete flow with connected nodes. You receive a working workflow that you can immediately view, test, and modify.Describe Your Process
Type a description of what you want to automate. Be specific about:
- Input data sources
- Desired actions and transformations
- Expected outputs
Review Generated Flow
Beam creates a complete agent workflow based on your description. Review:
- Workflow nodes and connections
- Tools automatically selected for each node
- Variable configurations
- Input/output schema
Refine and Test
Adjust the generated workflow as needed:
- Modify node configurations
- Adjust prompts and tool selections
- Test with sample data
Custom Agent Creation
Best for: Unique workflows, complex requirements, advanced users Time to deploy: 30-90 minutes Skill level: Intermediate to Advanced Building from scratch offers complete control over agent configuration for precise business requirements. You start with an empty canvas and build your flow node by node.Start with Empty Canvas
Click “Create custom agent” to open the visual flow builder with a blank workspace.
Add Your First Node
Create the first node in your workflow:
- Click the + icon on the canvas
- Add an objective describing what the node should accomplish
- Select the tool for this node:
- Match: Find existing tools that fit the objective
- Select from catalog: Browse integration connectors
- Generate new: Create a new Custom GPT tool
task_query: The trigger input that started the workflow- Previous node outputs: Via Linked variable fill method
- Memory context: Historical data from past interactions
- Static values: Configuration data defined in the workflow
Build Your Complete Flow
Continue adding nodes, branches, and configuring the workflow.See Creating Flows for detailed guidance on:
- Adding and connecting multiple nodes
- Setting up branches and conditional logic
- Configuring variable mappings
- Defining merge points
- Setting exit conditions
Every Agent Has a Flow: Regardless of creation method, all agents execute through workflows. Templates and chat-based agents provide pre-built flows you can modify, while custom agents start with an empty canvas where you build the flow from scratch.
Additional Configuration
After setting up your flow (via template, chat, or custom), configure these additional agent settings:Trigger Configuration
Define how your agent receives data and when it executes. Triggers determine what starts your agent’s workflow and what data (task_query) gets passed to the first node.
Adding Triggers:
- Navigate to your agent’s Triggers tab
- Click “Add Trigger” to open the trigger selection modal
- Choose from available trigger types
- Configure trigger-specific settings
- Define the input schema that becomes
task_query
Integration-Based Triggers
Integration-Based Triggers
Event-driven triggers that respond to actions in connected services:New Pull Request (GitHub)
- Triggers when a new pull request is created
- Use case: Automate PR review, testing, or notifications
- Input: PR details, author, files changed, description
- Triggers when new email arrives in Gmail inbox
- Use case: Auto-categorize emails, extract data, route to teams
- Input: Email subject, body, sender, attachments
- Triggers when files or folders change in Google Drive
- Use case: Process uploaded documents, sync data, notify teams
- Input: File name, path, content, modification details
- Triggers when new email arrives in Outlook
- Use case: Email triage, data extraction, automated responses
- Input: Email metadata, content, sender information
- Triggers when new message posted in channels
- Use case: Monitor conversations, extract action items, respond to requests
- Input: Message content, channel, sender, timestamp
Schedule-Based Triggers
Schedule-Based Triggers
Timer
- Runs agent on defined time intervals
- Use case: Daily reports, periodic data syncs, scheduled analysis
- Configuration: Set cron schedule or interval (hourly, daily, weekly)
- Input: Timestamp, scheduled execution metadata
HTTP-Based Triggers
HTTP-Based Triggers
Webhook
- Receives HTTP requests from external systems
- Use case: Custom integrations, API endpoints, third-party notifications
- Configuration: Beam provides webhook URL endpoint
- Input: HTTP request body, headers, query parameters
- Authentication: Optional API key or signature validation
Manual Triggers
Manual Triggers
Manual Execution
- User manually starts the agent
- Use case: On-demand processing, testing, ad-hoc operations
- Input: User-provided form data or predefined test inputs
- Define Clear Input Schema: Specify exactly what data the trigger provides to
task_query - Test Triggers: Use test mode to verify trigger data before production deployment
- Multiple Triggers: Add multiple triggers to the same agent for different entry points
- Authentication: Configure authentication for webhook triggers to secure endpoints
- Error Handling: Set up error notifications if trigger fails or receives malformed data
- Trigger: New Email Received (Gmail)
- Input: Email content, sender, subject
- Flow: Classify inquiry → Route to appropriate team → Auto-respond
- Trigger: New Pull Request (GitHub)
- Input: PR details, changed files, description
- Flow: Analyze code → Run tests → Post review comments
- Trigger: Timer (Daily at 9 AM)
- Input: Current date, reporting parameters
- Flow: Fetch metrics → Generate report → Send via email
Memory Files
Upload files to agent memory for use across workflow executions: When to Use Memory Files:- Reference documents the agent needs to consult
- Knowledge bases for context-aware responses
- Product catalogs, pricing sheets, documentation
- Templates or examples for generation tasks
- Navigate to agent Memory tab
- Upload files (PDF, CSV, TXT, JSON, etc.)
- Files become accessible to all nodes via “From Memory” variable fill method
- Agent can search and retrieve relevant content during execution
Next Steps
Creating Flows
Deep dive into building workflows with nodes, branches, and logic
Selecting Tools
Choose and configure tools for your workflow nodes
Variable Fill
Configure how data flows through your workflow
Integrations
Connect external services and APIs to your agents