Flows define how your AI agent executes tasks through a graph-based structure of nodes, branches, and decision points. This enables intelligent automation that adapts dynamically to input data and real-time conditions.Documentation Index
Fetch the complete documentation index at: https://docs.beam.ai/llms.txt
Use this file to discover all available pages before exploring further.
Understanding Flows
A flow is a graph-based structure that defines agent execution. It consists of:Nodes
Actions the agent performs using tools (AI processing, integrations, data operations)
Branches
Conditional paths with unique edge selection criteria determining the next node
Merging
Points where multiple branches converge back into a single execution path
Building Flows: Step-by-Step
Step 1: Creating Nodes
Every flow is built from nodes, and every node requires a tool to execute its action.Add a Node
Click the + icon on the canvas to create a new node. You’ll see options to: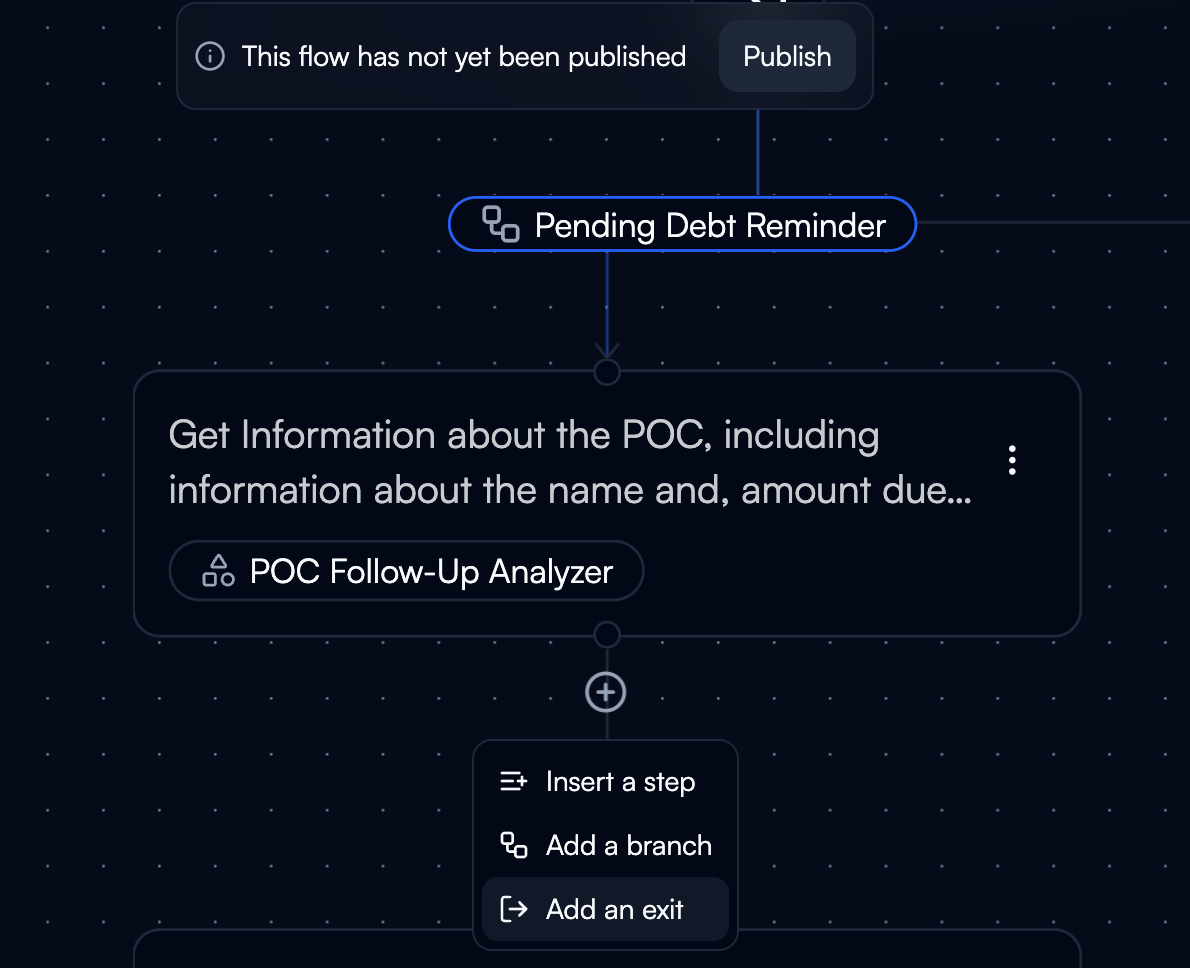
- Insert a step: Add a new node with a tool
- Add a branch: Create conditional logic paths
- Add an exit: Define workflow termination point
Define Node Objective
Add a clear objective describing what the node should accomplishExample Objectives: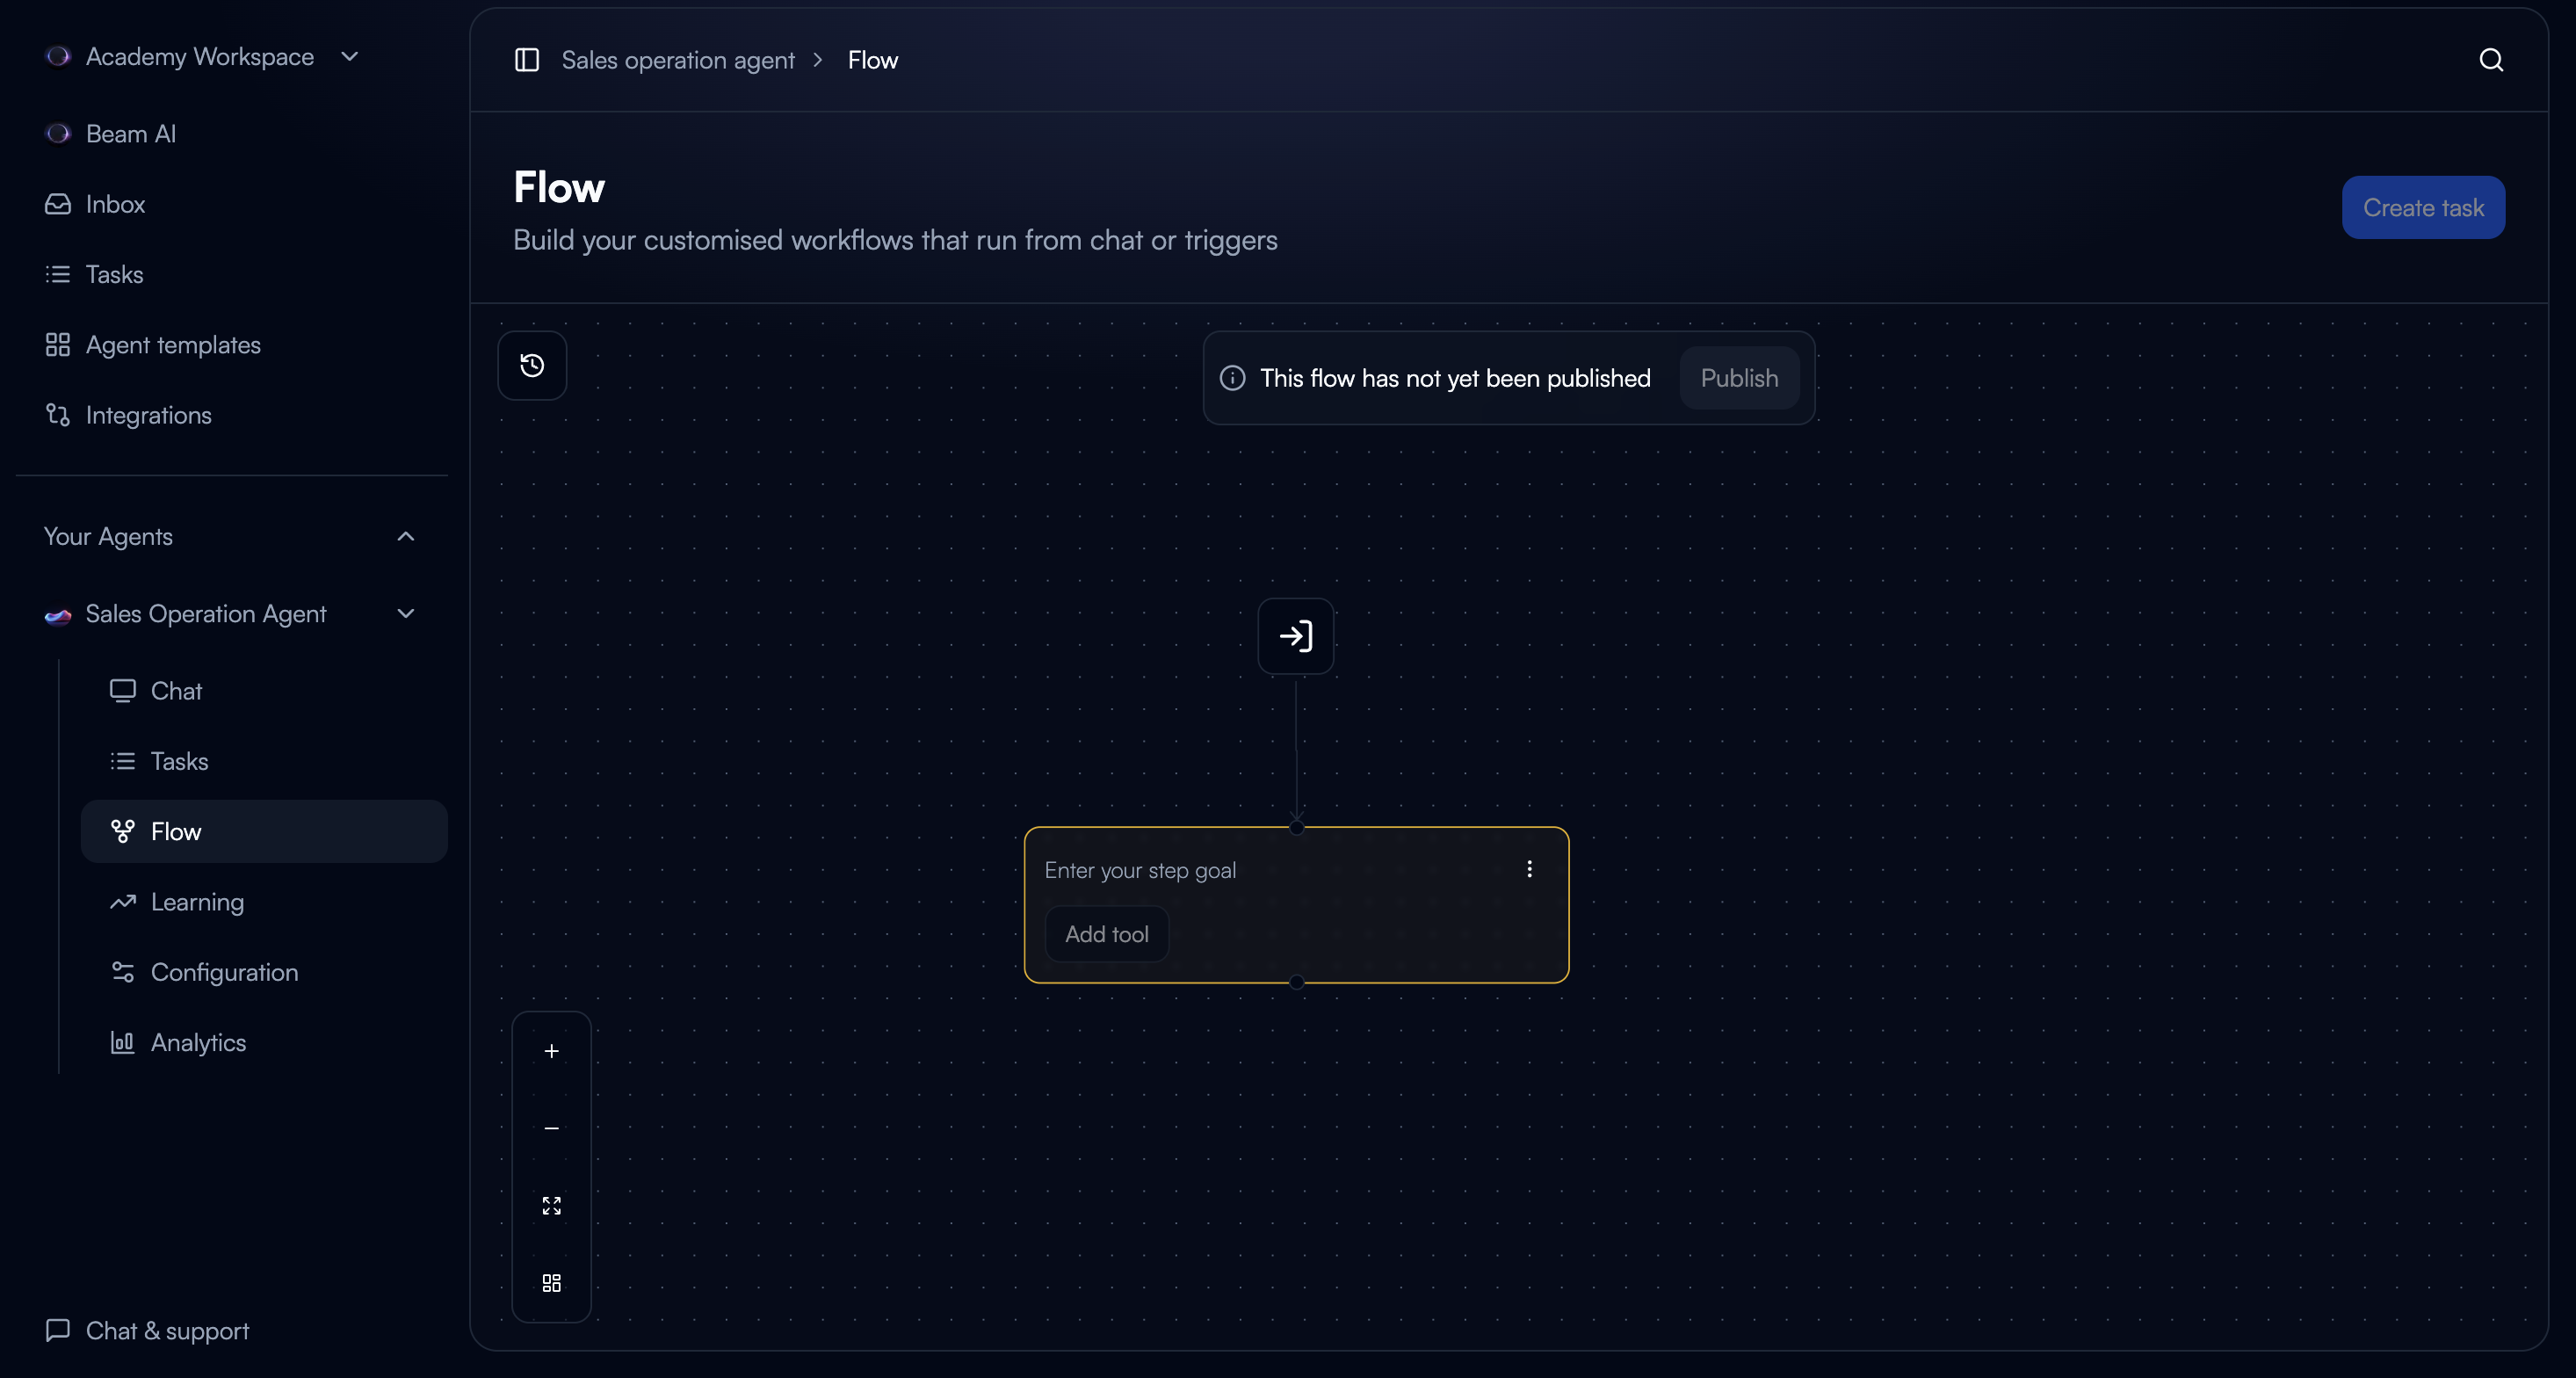
- “Extract customer email and order number from request”
- “Send confirmation email to customer”
- “Create new support ticket in Salesforce”
- “Check if order exists in database”
Select the Tool
Choose ONE tool that defines what the node does: Option A: Match Tool
- Automatically pick the tool that fits your objective
- System suggests best tool based on node description
- Reuse tools across different agents
- Let AI generate a new tool for you
- Create new Custom GPT tool for AI-powered processing
- Define prompt for classification, extraction, or analysis
- Configure output schema
- Browse and select a tool from the catalog
- Browse 1500+ integration connectors
- Choose actions like “Gmail - Send Email” or “Airtable - Create Record”
- Connect external systems and platforms
Configure Node Inputs
Map data to the tool’s input parameters using variable fill methods:Every node has access to:
task_query: The trigger input that started the workflow (available to ALL nodes)- Previous node outputs: Via Linked variable fill method
- Memory context: Historical data from past interactions via From Memory fill
- Static values: Fixed configuration data defined in the workflow
- User inputs: Values provided at runtime via User Fill method
- AI-extracted values: Data extracted from context via AI Fill method
- AI-powered processing using language models
- Classify, extract, or analyze data
- Generate structured outputs based on prompts
- Example: Email Classifier, Invoice Extractor, Sentiment Analyzer
- From Integration Catalog: Pre-built connectors to 1500+ services (Gmail, Salesforce, Airtable, Slack, etc.)
- Custom Integration: Your own API connections for proprietary systems
- Execute actions like sending emails, creating records, retrieving data
- Handle data exchange with external systems
Step 2: Adding Branches
After every node, you can add branches to create conditional logic and dynamic routing.Add Branch to Node
- Click on the node you want to branch from
- Select “Add Branch” or click the branch icon
- A new branch path appears from the node
Define Edge Selection Criteria
Each branch requires unique edge selection criteria that determines when this path should be taken.Edge Selection Criteria Types:Condition-Based: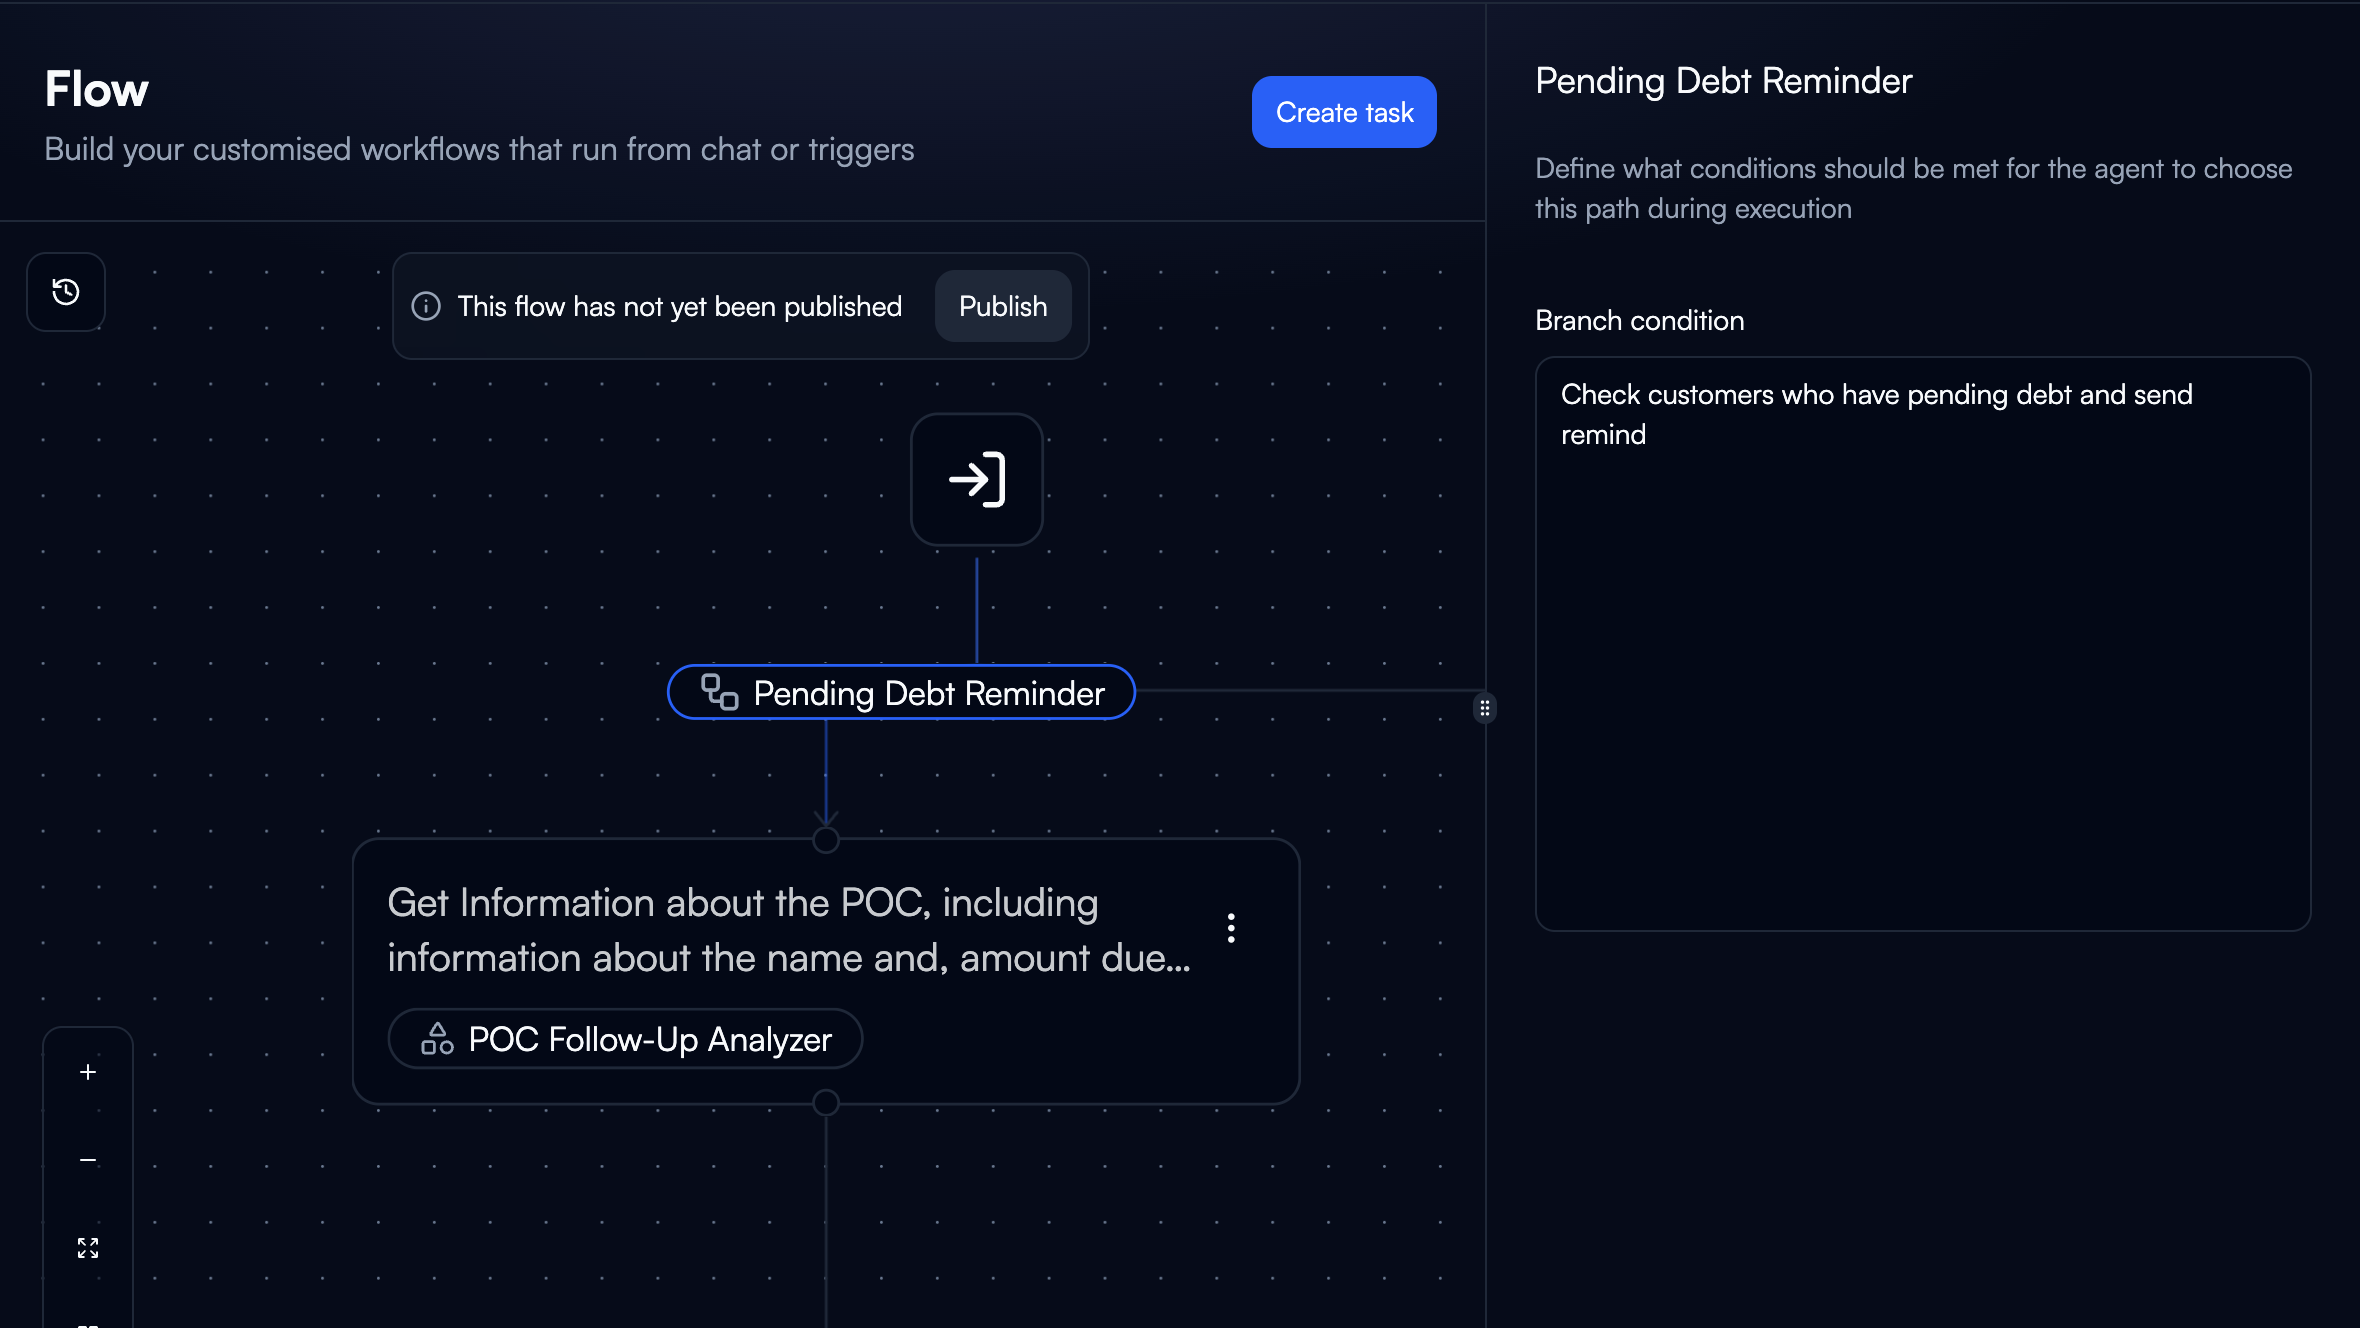
- Data value comparisons (e.g.,
priority == "high") - Boolean checks (e.g.,
order_exists == true) - String matching (e.g.,
category contains "urgent") - Numeric ranges (e.g.,
order_total > 1000)
- Semantic classification (e.g., “Route to sales if inquiry is about purchasing”)
- Intent detection (e.g., “Branch to support if customer needs help”)
- Content analysis (e.g., “Take urgent path if sentiment is negative”)
Connect to Next Node
- Each branch leads to a different next node
- Create new nodes or connect to existing ones
- Each path follows its own execution logic
- Branches can have different lengths and complexity
Step 3: Merging Branches
Merging nodes allow multiple branches to converge back into a single execution path.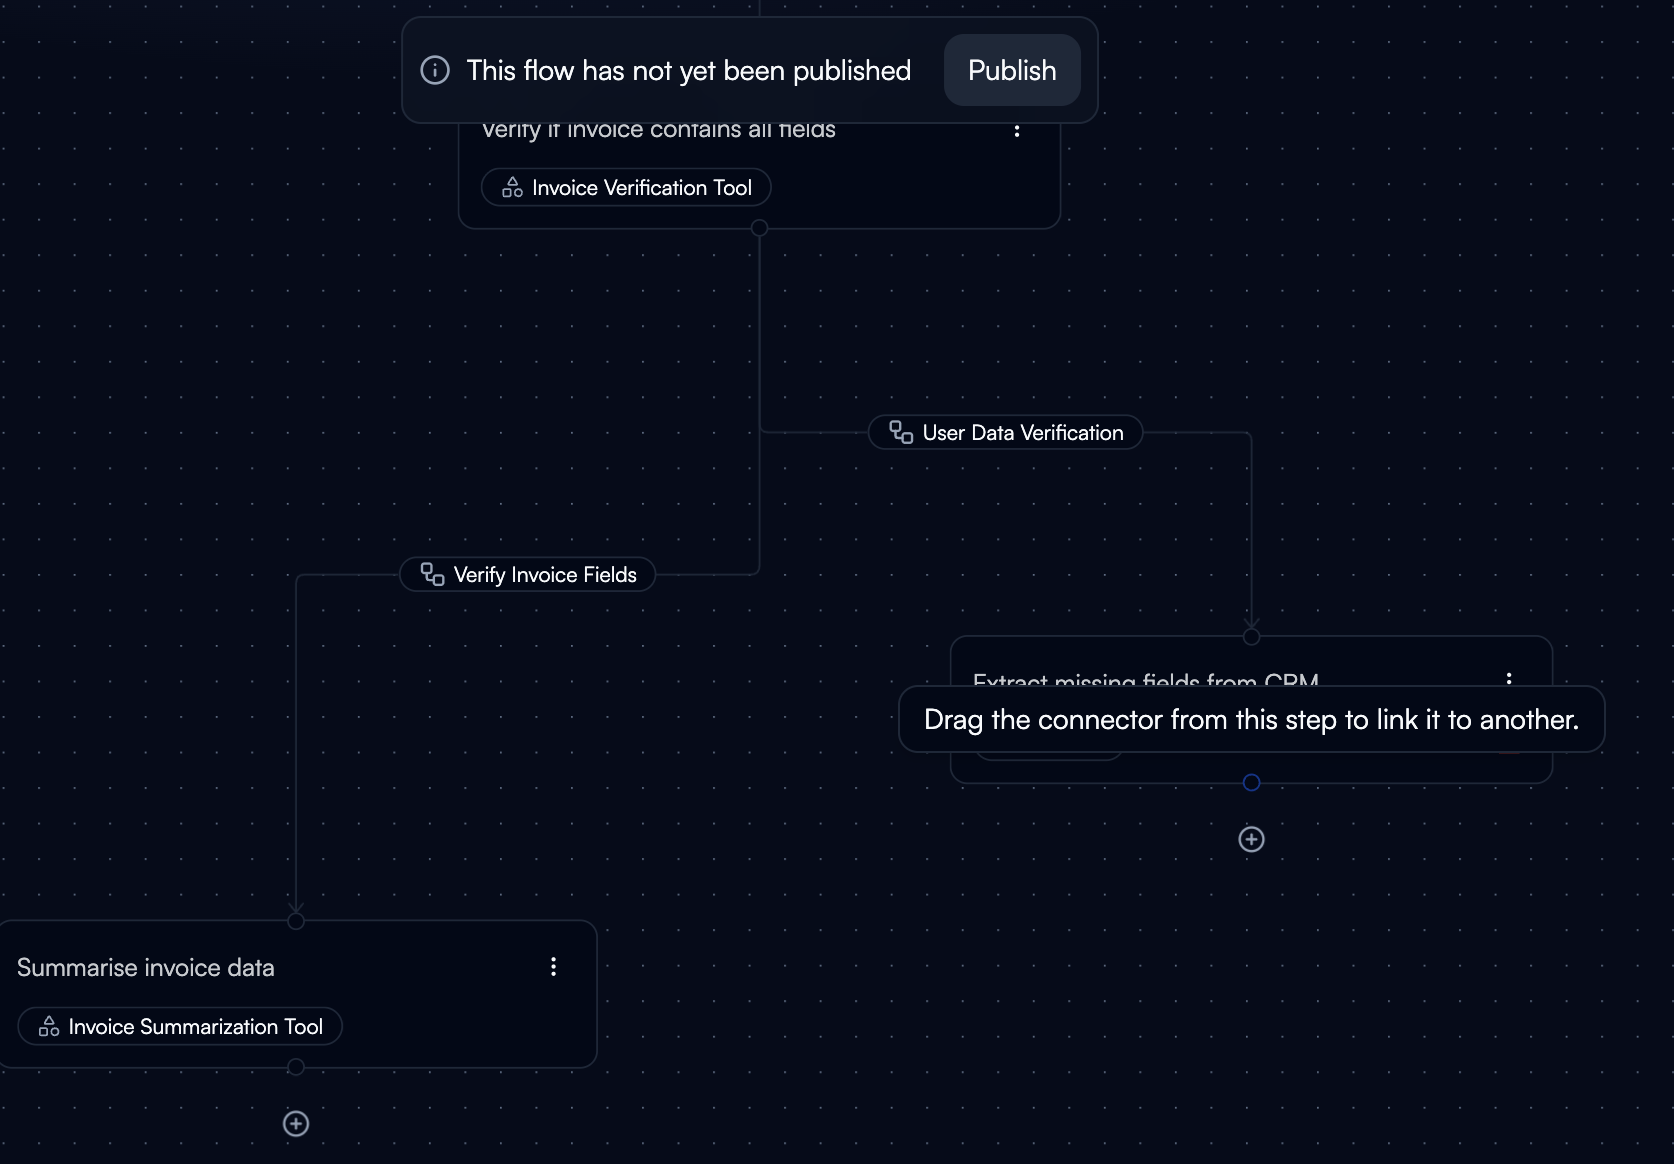
Identify Merge Point
Determine where parallel or conditional branches should rejoin:When to Use Merging:
- After parallel processing that needs aggregation
- Combining results from multiple conditional paths
- Consolidating data from different sources
- Rejoining branches before final output
Create Merge Node
- Add a new node where branches should converge
- Connect multiple branch endpoints to this single node
- Each execution follows one branch path at a time
- Multiple executions can run simultaneously through different branches
- One execution = one branch path followed
- Multiple task executions can happen at the same time
- Each execution maintains its own state and data
- Merging occurs when different execution paths need to converge
Step 4: Setting Exit Conditions
Define when and how the workflow should stop execution.
- Flows end when they reach a node configured as an exit point
- You can have multiple exit points in one flow
- Each exit can return different output formats
- Configure output structure for each exit point
- Add a node at any point in the flow
- Mark it as an exit node
- Configure the exit output schema
- Connect from any node that should terminate there
- Successful completion: Task finished, return results
- Manual review required: Pause for human intervention
- Error handling: Graceful failure with error details
- Early termination: Conditions met, no further processing needed
Next Steps
Selecting Tools
Choose and configure tools for your nodes
Variables & State
Configure variable fill methods and data flow between nodes
Integration Connectors
Configure external service connections and multi-connection patterns
Structured Outputs
Design JSON schemas for predictable tool outputs